TechRadar Verdict
There is no magic bullet for noise reduction, but Macphun Noiseless does offer quick and effective improvements with little effort or know-how – and it's easy to tweak the balance between noise and detail, too.
Pros
- +
Quick and simple presets
- +
Straightforward 'Amount' slider
- +
Standalone app or plug-in
Cons
- -
Pro version brings a big price hike
- -
Results not obviously better than rivals
Why you can trust TechRadar
Macphun makes a whole bunch of quick and simple desktop apps for Mac users, and Macphun Noiseless is its latest release.
Like other Macphun apps it's designed to do one job simply. It goes on sale at £17.99 for the Standard version available on the Apple App Store and £49.99 for the Pro version bought directly from Macphun website – you can upgrade the Standard version to Pro later. Both will be available from mid-April.

The Pro version adds the ability to open raw files, brings extra detail controls and comes with plug-in versions for Photoshop, Lightroom and Aperture.
It's not exactly a budget buy, then, but Macphun does do bundle deals and offers on its software so it's worth checking the Macphun website periodically for the latest offers or subscribing to the newsletter.
Besides, you can try it on a free 'test drive' at the Macphun Noiseless website and see for yourself ahead of the main launch.
How it works
Noise reduction can be an extremely time-consuming and complex business. There are many dedicated noise-reduction plug-ins on the market already, as well as the noise reduction tools built into photo editing software. You can end up chasing your own tail as you try to reduce noise while preserving fine detail, juggling a whole bunch of sliders and parameters and sometimes ending up worse off that when you started.
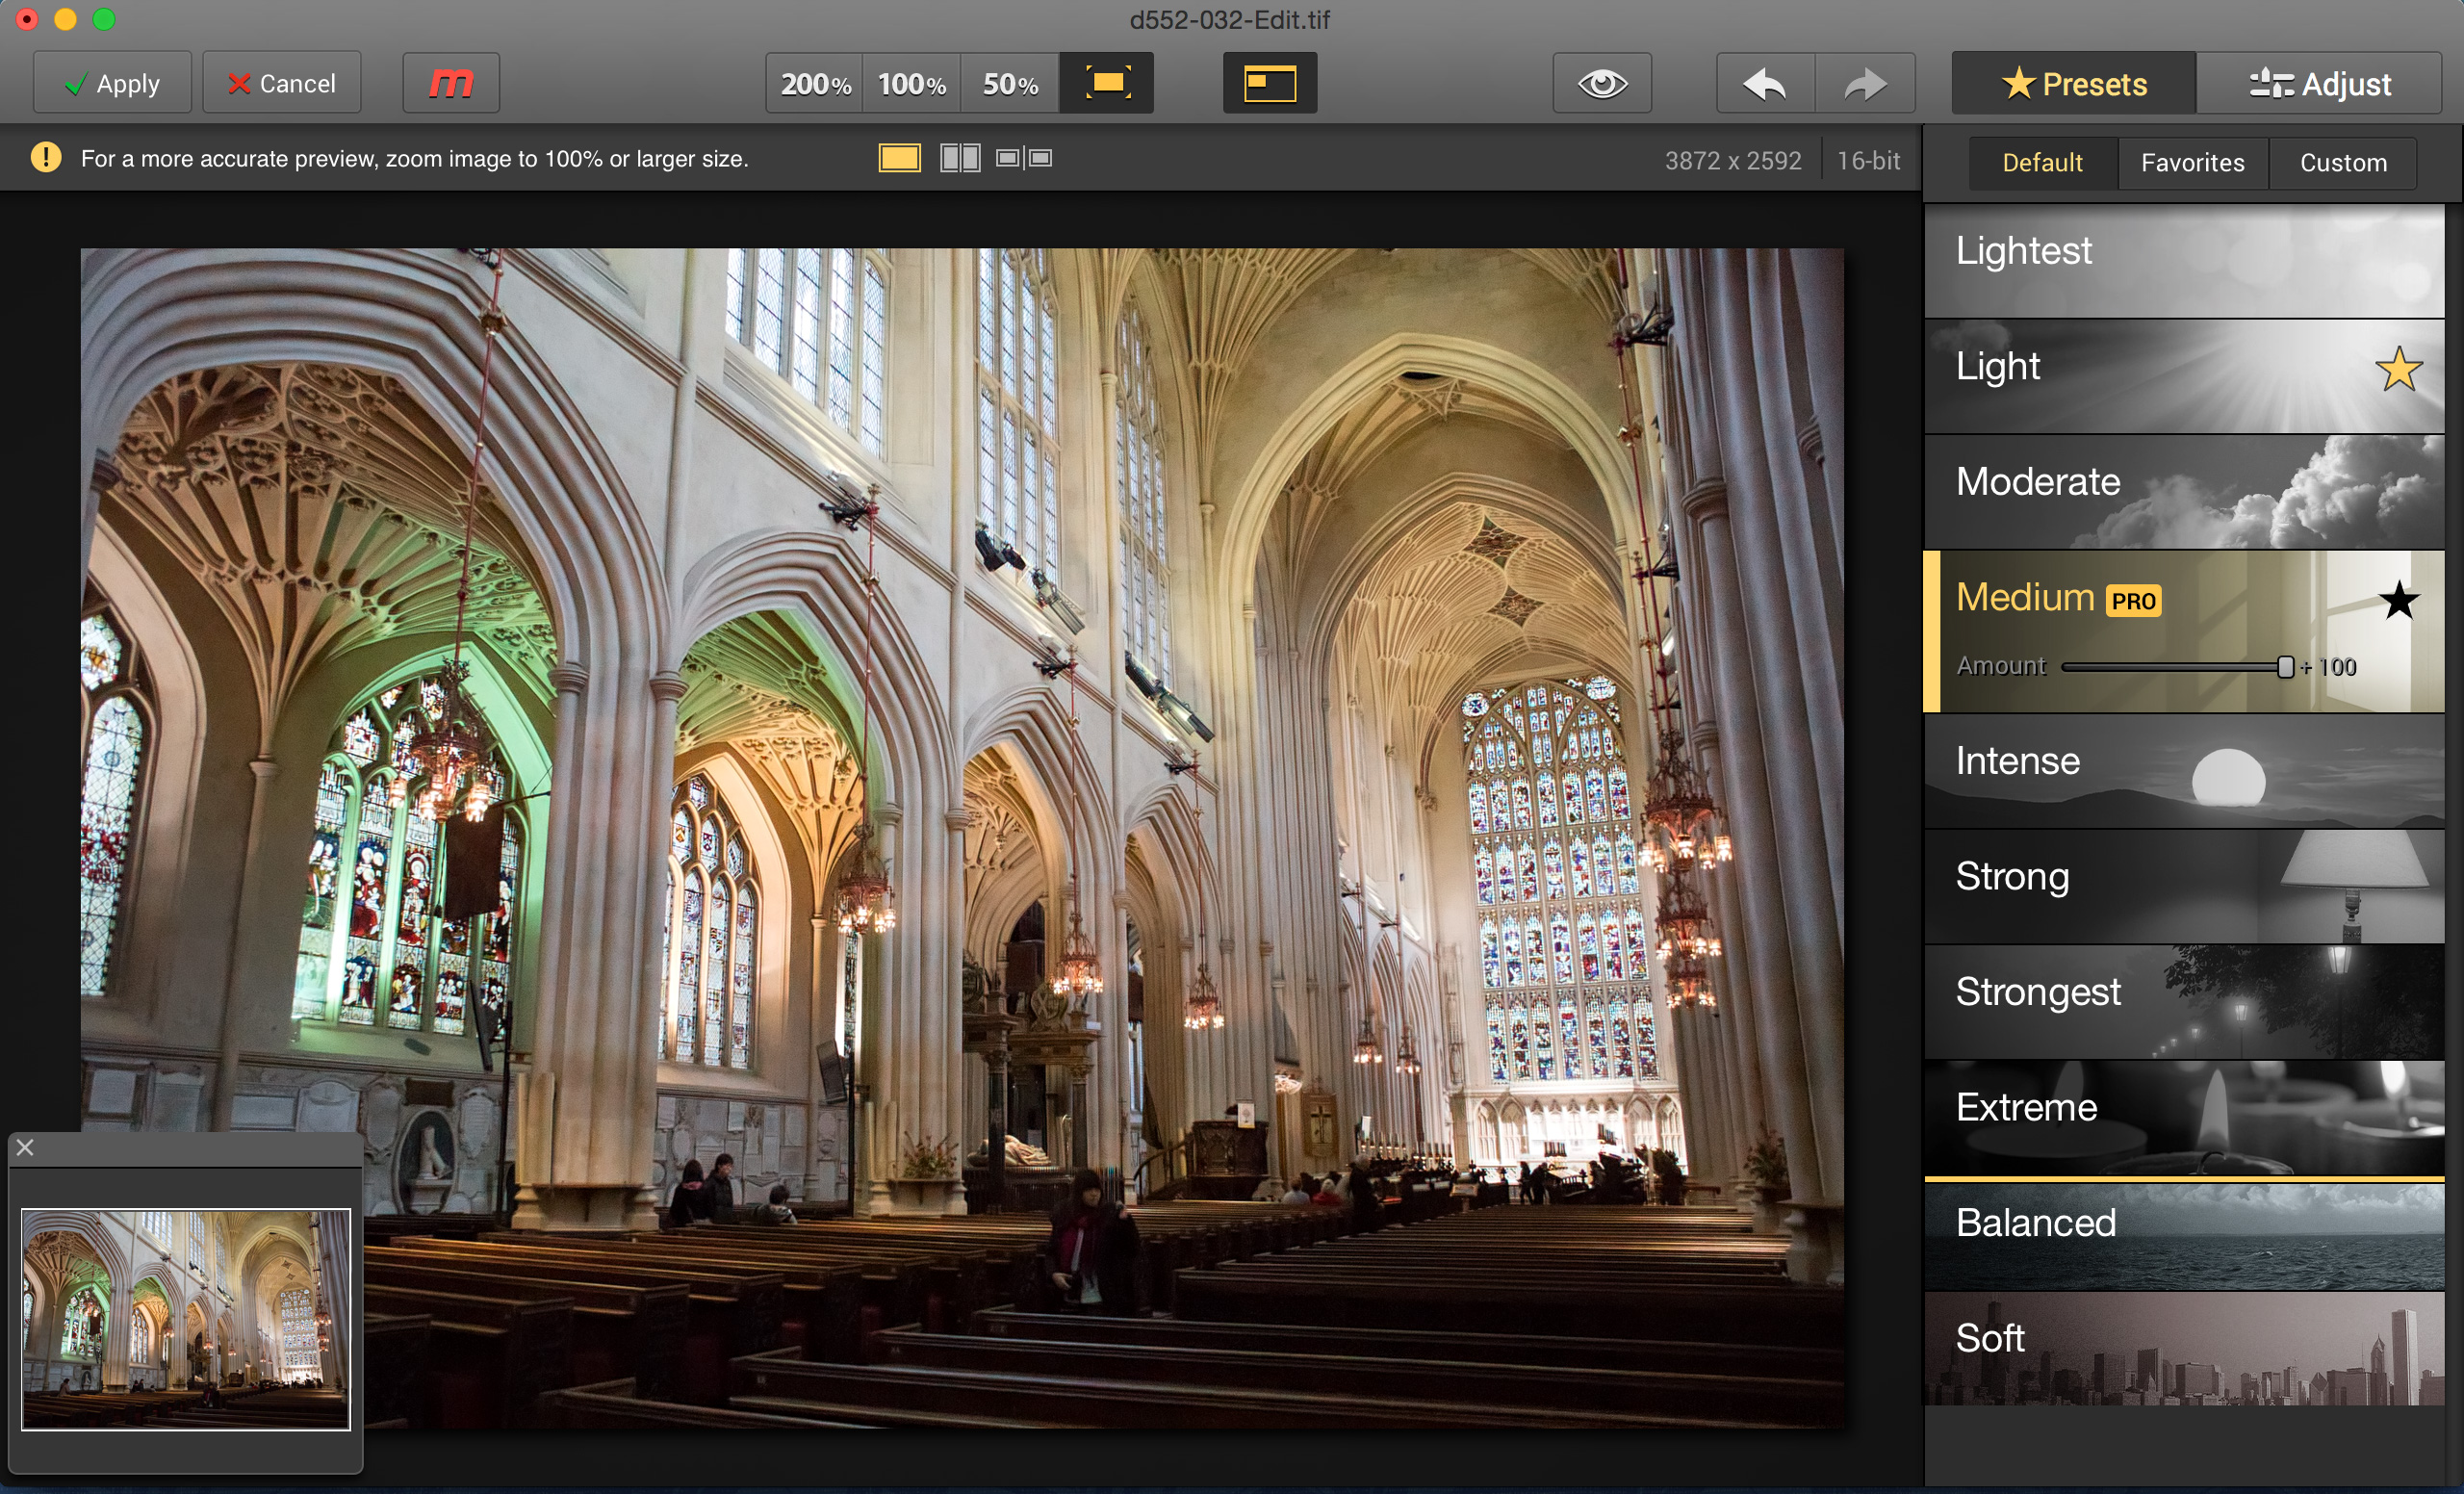
Noiseless takes a simpler approach. It offers a select of preset noise reduction settings, from 'Lightest' to 'Extreme'. You can start from the Lightest setting and work up until you see the level of noise reduction you want – the lower settings can still leave some 'swirly' patterns behind, while the higher settings can produce an artificially smoothed-over look. You just need to find the 'sweet spot'.
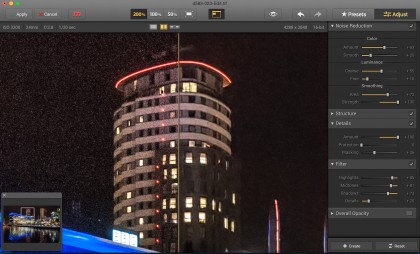
You can see the results previewed in the main window. This offers different magnifications, from fit-to-screen through 50%, 100% and 200% – the 100% and 200% views are best for assessing the effect.
There's a choice of viewing modes too. You can view the corrected image alone, but the real secret to noise reduction is to compare the adjusted image with the original to make sure you've got a useful reduction in noise without any loss of definition. For this you can use a side-by side view or a split-screen view with a 'wipe' bar you can drag across from left to right. It takes the software a couple of seconds to render the reduced-noise image, but once that's done the 'wipe' bar works instantly in real time.

If you've found the best preset strength but the image still looks a little too smooth, you can reduce the strength of the effect using the 'Amount' slider on the preset button. Generally, high ISO images will look more realistic with just a faint noise pattern. This is because high ISOs tend to bring slightly softened image detail too, and a faint noise pattern helps to make them look just a little bit sharper.
If you find yourself using the same presets again and again, you can click the Favorites 'star' icon on the right – this adds them to the Favorites panel accessed at the top of the sidebar. Here, you'll also see a Custom panel, and this is where Noiseless gets a whole lot more advanced.
For many users, the Presets will be enough, but if you want to take full control you can swap to the Adjust mode and change all the noise reduction parameters manually. When you're happy with the results you can click the 'Create' button at the bottom of the Adjust panel to create a Custom noise reduction setting.
Standalone vs plug-in versions
Noiseless Pro can be used as a standalone program or as a plug-in for Photoshop, Elements, Lightroom and Aperture. If you use it in standalone mode it can open both JPEGs and raw files. The problem with JPEGs is that the camera will already have applied one lot of noise reduction, so you're applying another on top of this using image data that may already have been degraded to some degree. Raw files take a little longer to render but you're working with all the data captured by the sensor and the results will be better.
If you're using Noiseless as a plug-in, your image-editing program will be carrying out the raw conversion, so you should check the settings to make sure that it's not applying any noise reduction of its own during the conversion process.

Rod is an independent photographer and photography journalist with more than 30 years' experience. He's previously worked as Head of Testing for Future’s photography magazines, including Digital Camera, N-Photo, PhotoPlus, Professional Photography, Photography Week and Practical Photoshop, and as Reviews Editor on Digital Camera World.
