Why you can trust TechRadar
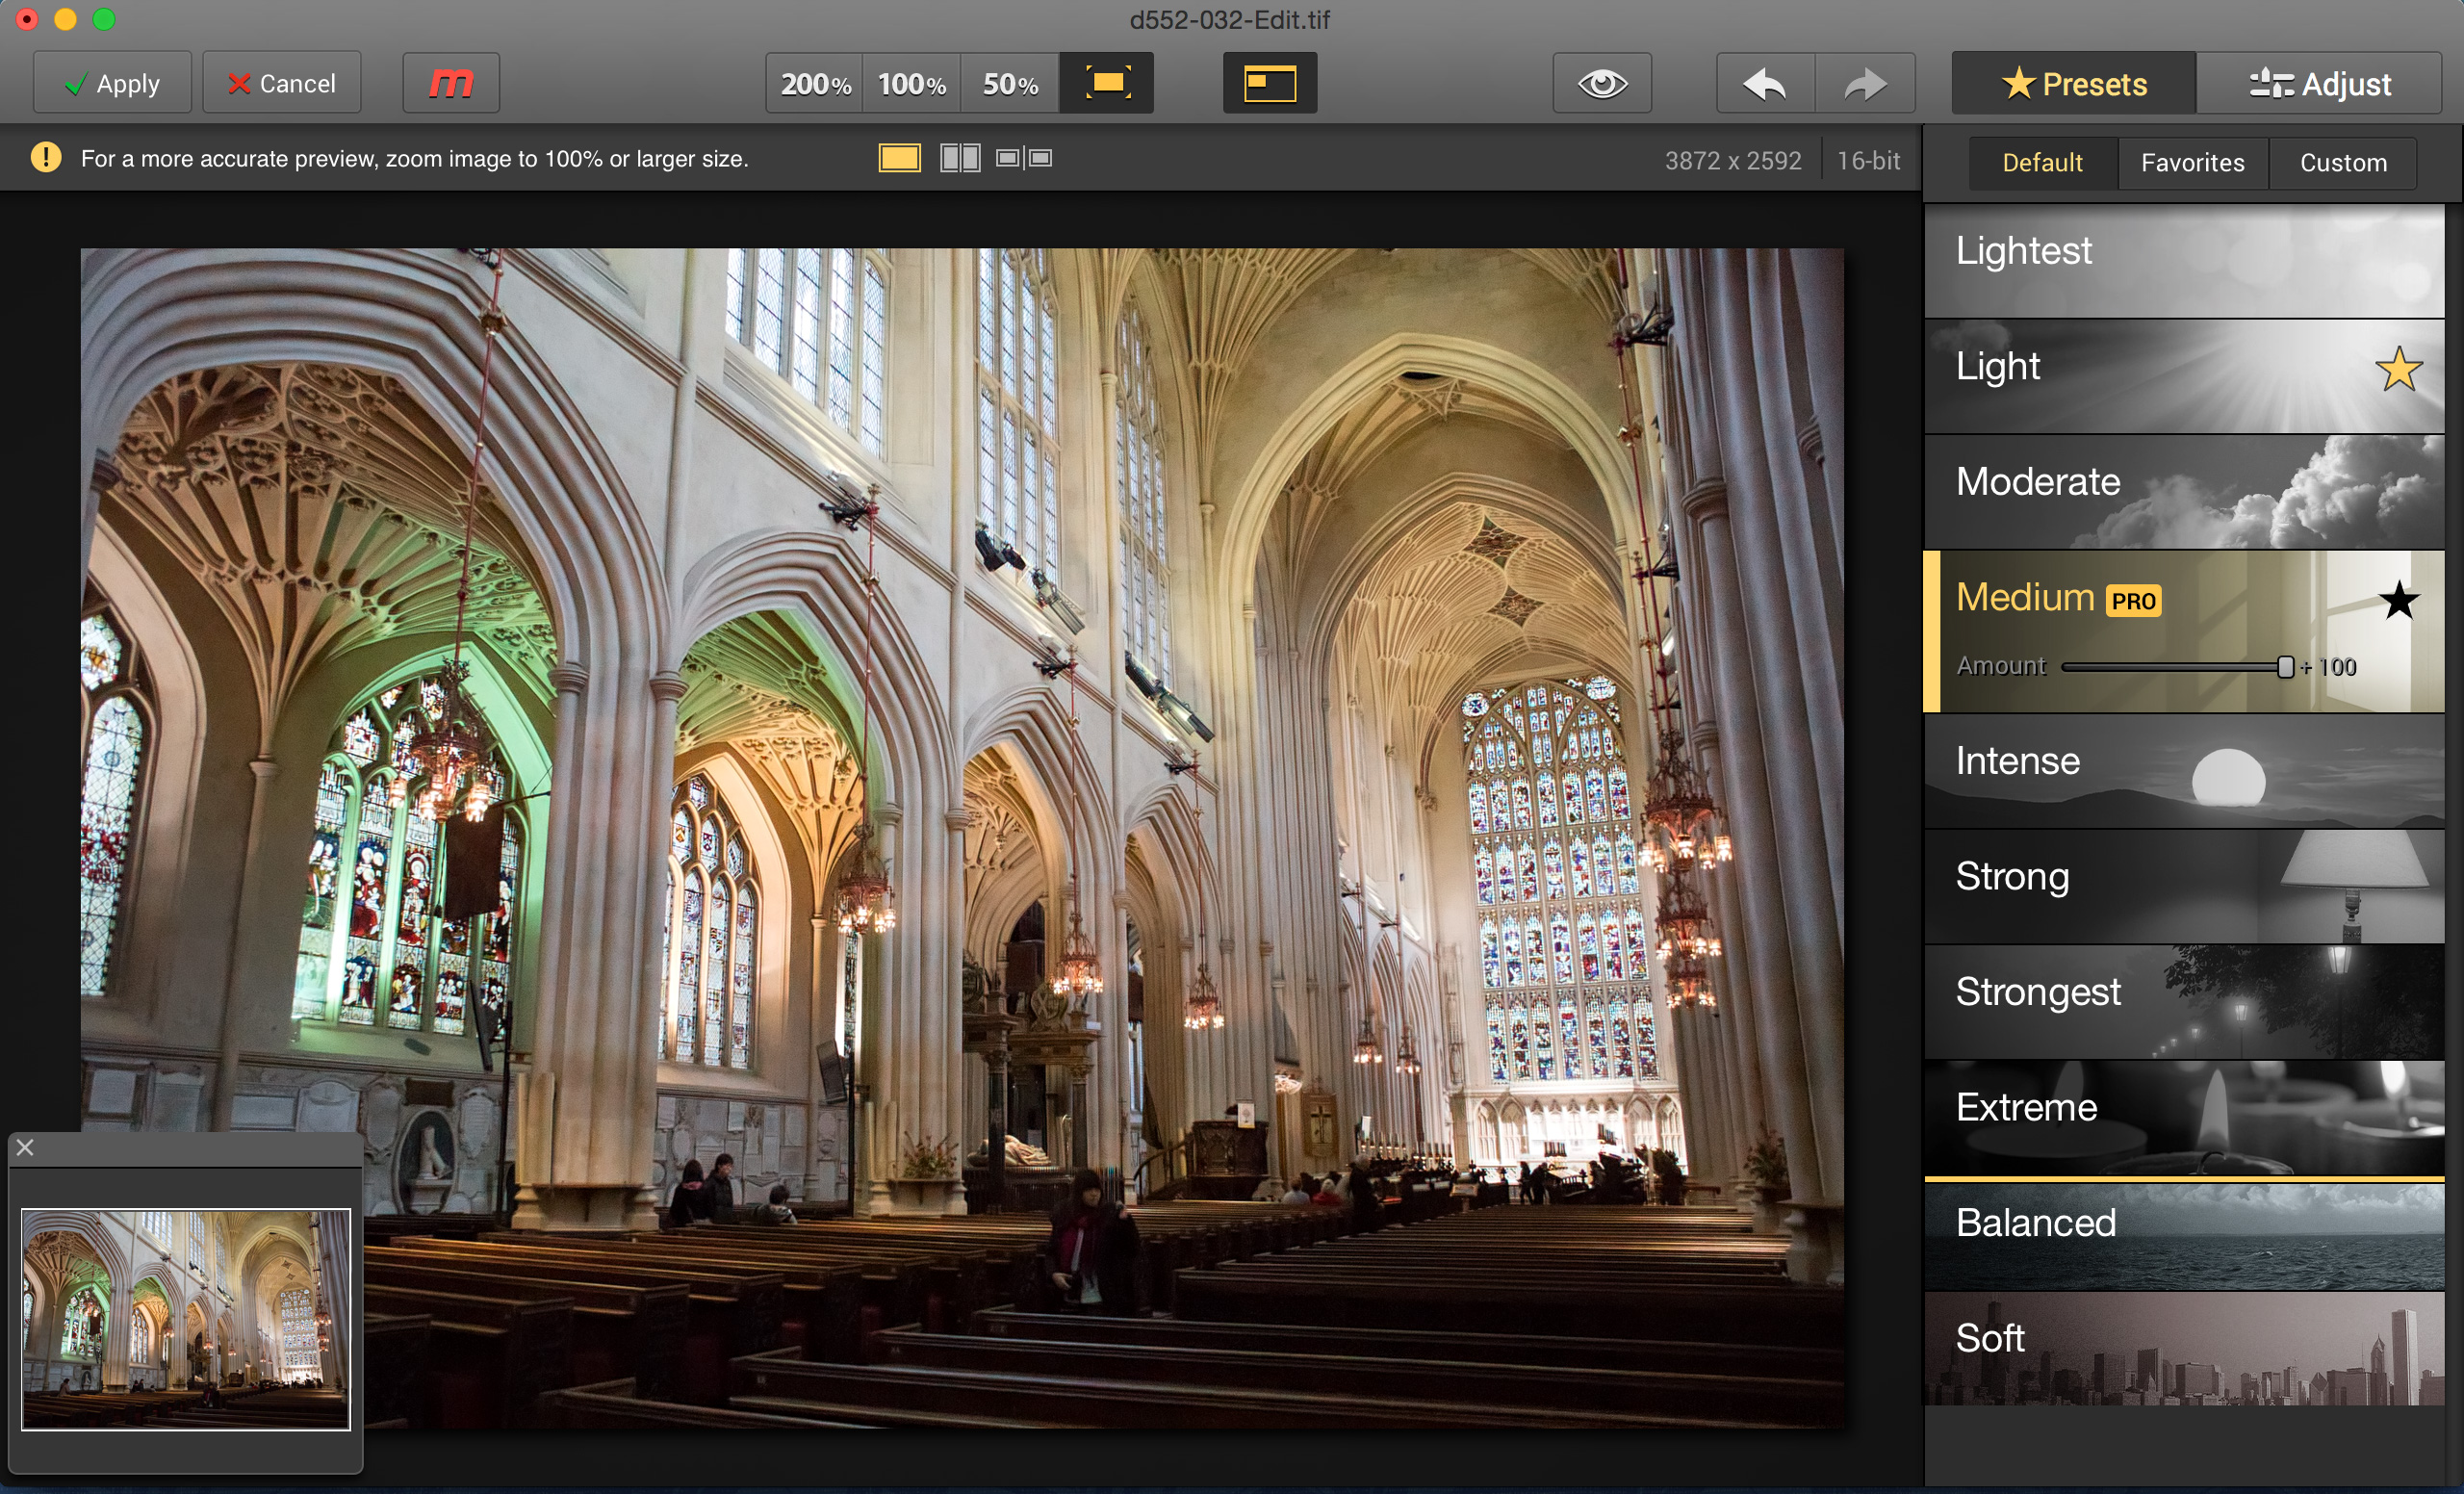
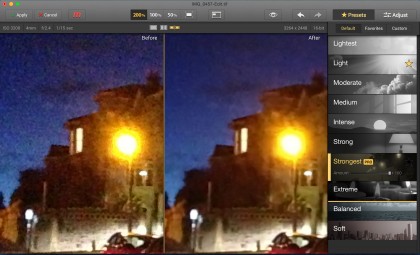
Noiseless does deliver good results quickly, though as with any noise reduction application you need to test out different settings to find the one that gives the best results – there is no single fix for image noise, since the noise characteristics of images can vary widely. Some noise reduction tools carry out a noise analysis first, but Noiseless skips that step and goes straight to its Preset adjustments. To purists, that might sound like an oversimplified approach, but the results are good and, more to the point, easily controllable.
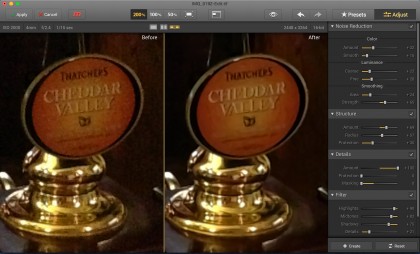
The lack of any obvious noise profiling is not necessarily an omission, but there's also no way to apply selective noise adjustments to specific areas of the image – though you can adjust the strength separately for Highlights, Midtones, Shadows and Details. Noiseless is not designed for in-depth tinkerers, we suspect, but for users who simply want good results fast.
We ran some quick tests with Noiseless against Lightroom's inbuilt noise reduction tools, DxO Optics Pro's default noise reduction process, which is one of the best there is right now, and Dfine 2 (Google Nik Collection). DxO Optics Pro does offer an even more effective PRIME denoising option, but this takes a couple of minutes to run for each image, whereas Noiseless is designed primarily for quick and simple fixes.
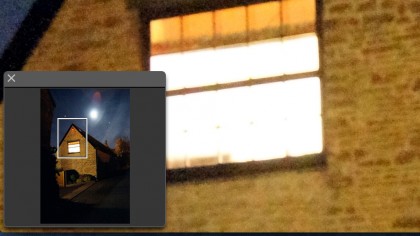
All three yielded much better results than the original JPEG but, to be honest, once some sensible trade-offs had been made with noise reduction versus detail loss in each program, the results were virtually indistinguishable, not least because high ISO shots don't just bring extra noise – more on this in a moment. It really comes down to user preference, and Noiseless is certainly quick to use and very user-friendly, while the others take a more technical approach.
Keep it simple
Not everyone has high-end software tools like DxO Optics Pro, Lightroom or the Google Nik Collection, of course. If you don't, then Noiseless could be a very good buy. It's perfect for users who want to take away image noise without having to learn how it's done or get sucked into a vortex of sliders and checkboxes.
It's important to make another point here. Simply reducing noise in a high-ISO shot won't make it look as sharp and as crisp as a low ISO one. Why? Because (a) sensors resolve less detail at high ISOs, (b) you're generally shooting at or near the lens's maximum aperture where its performance is reduced and depth of field is shallow (many objects in the scene may be slightly out of focus) and (c) you're often shooting at marginal shutter speeds too, so many high-ISO shots will show signs of camera shake.
That's the reality. Macphun Noiseless can produce quite remarkable transformations on images where noise is the only issue and the underlying detail is good – but that's often not the case with high ISO shots. For many high-ISO shots, while they have noise they can look sharp, sort of, but if you take the noise away completely you quickly see that they're not very sharp at all. The trick then is knowing how much noise to leave in.
Verdict
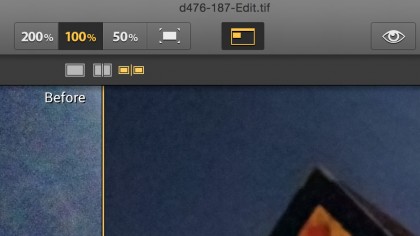
Noiseless didn't prove conclusively better than other noise reduction tools in our tests, but ease of use and simplicity are important too, and this is where it shines. As with any noise reduction tool, you have to tread a tightrope between noise reduction and detail preservation, but here it's as simple as clicking a preset, dragging a slider and checking the before-and-after preview.

Rod is an independent photographer and photography journalist with more than 30 years' experience. He's previously worked as Head of Testing for Future’s photography magazines, including Digital Camera, N-Photo, PhotoPlus, Professional Photography, Photography Week and Practical Photoshop, and as Reviews Editor on Digital Camera World.
