Why you can trust TechRadar
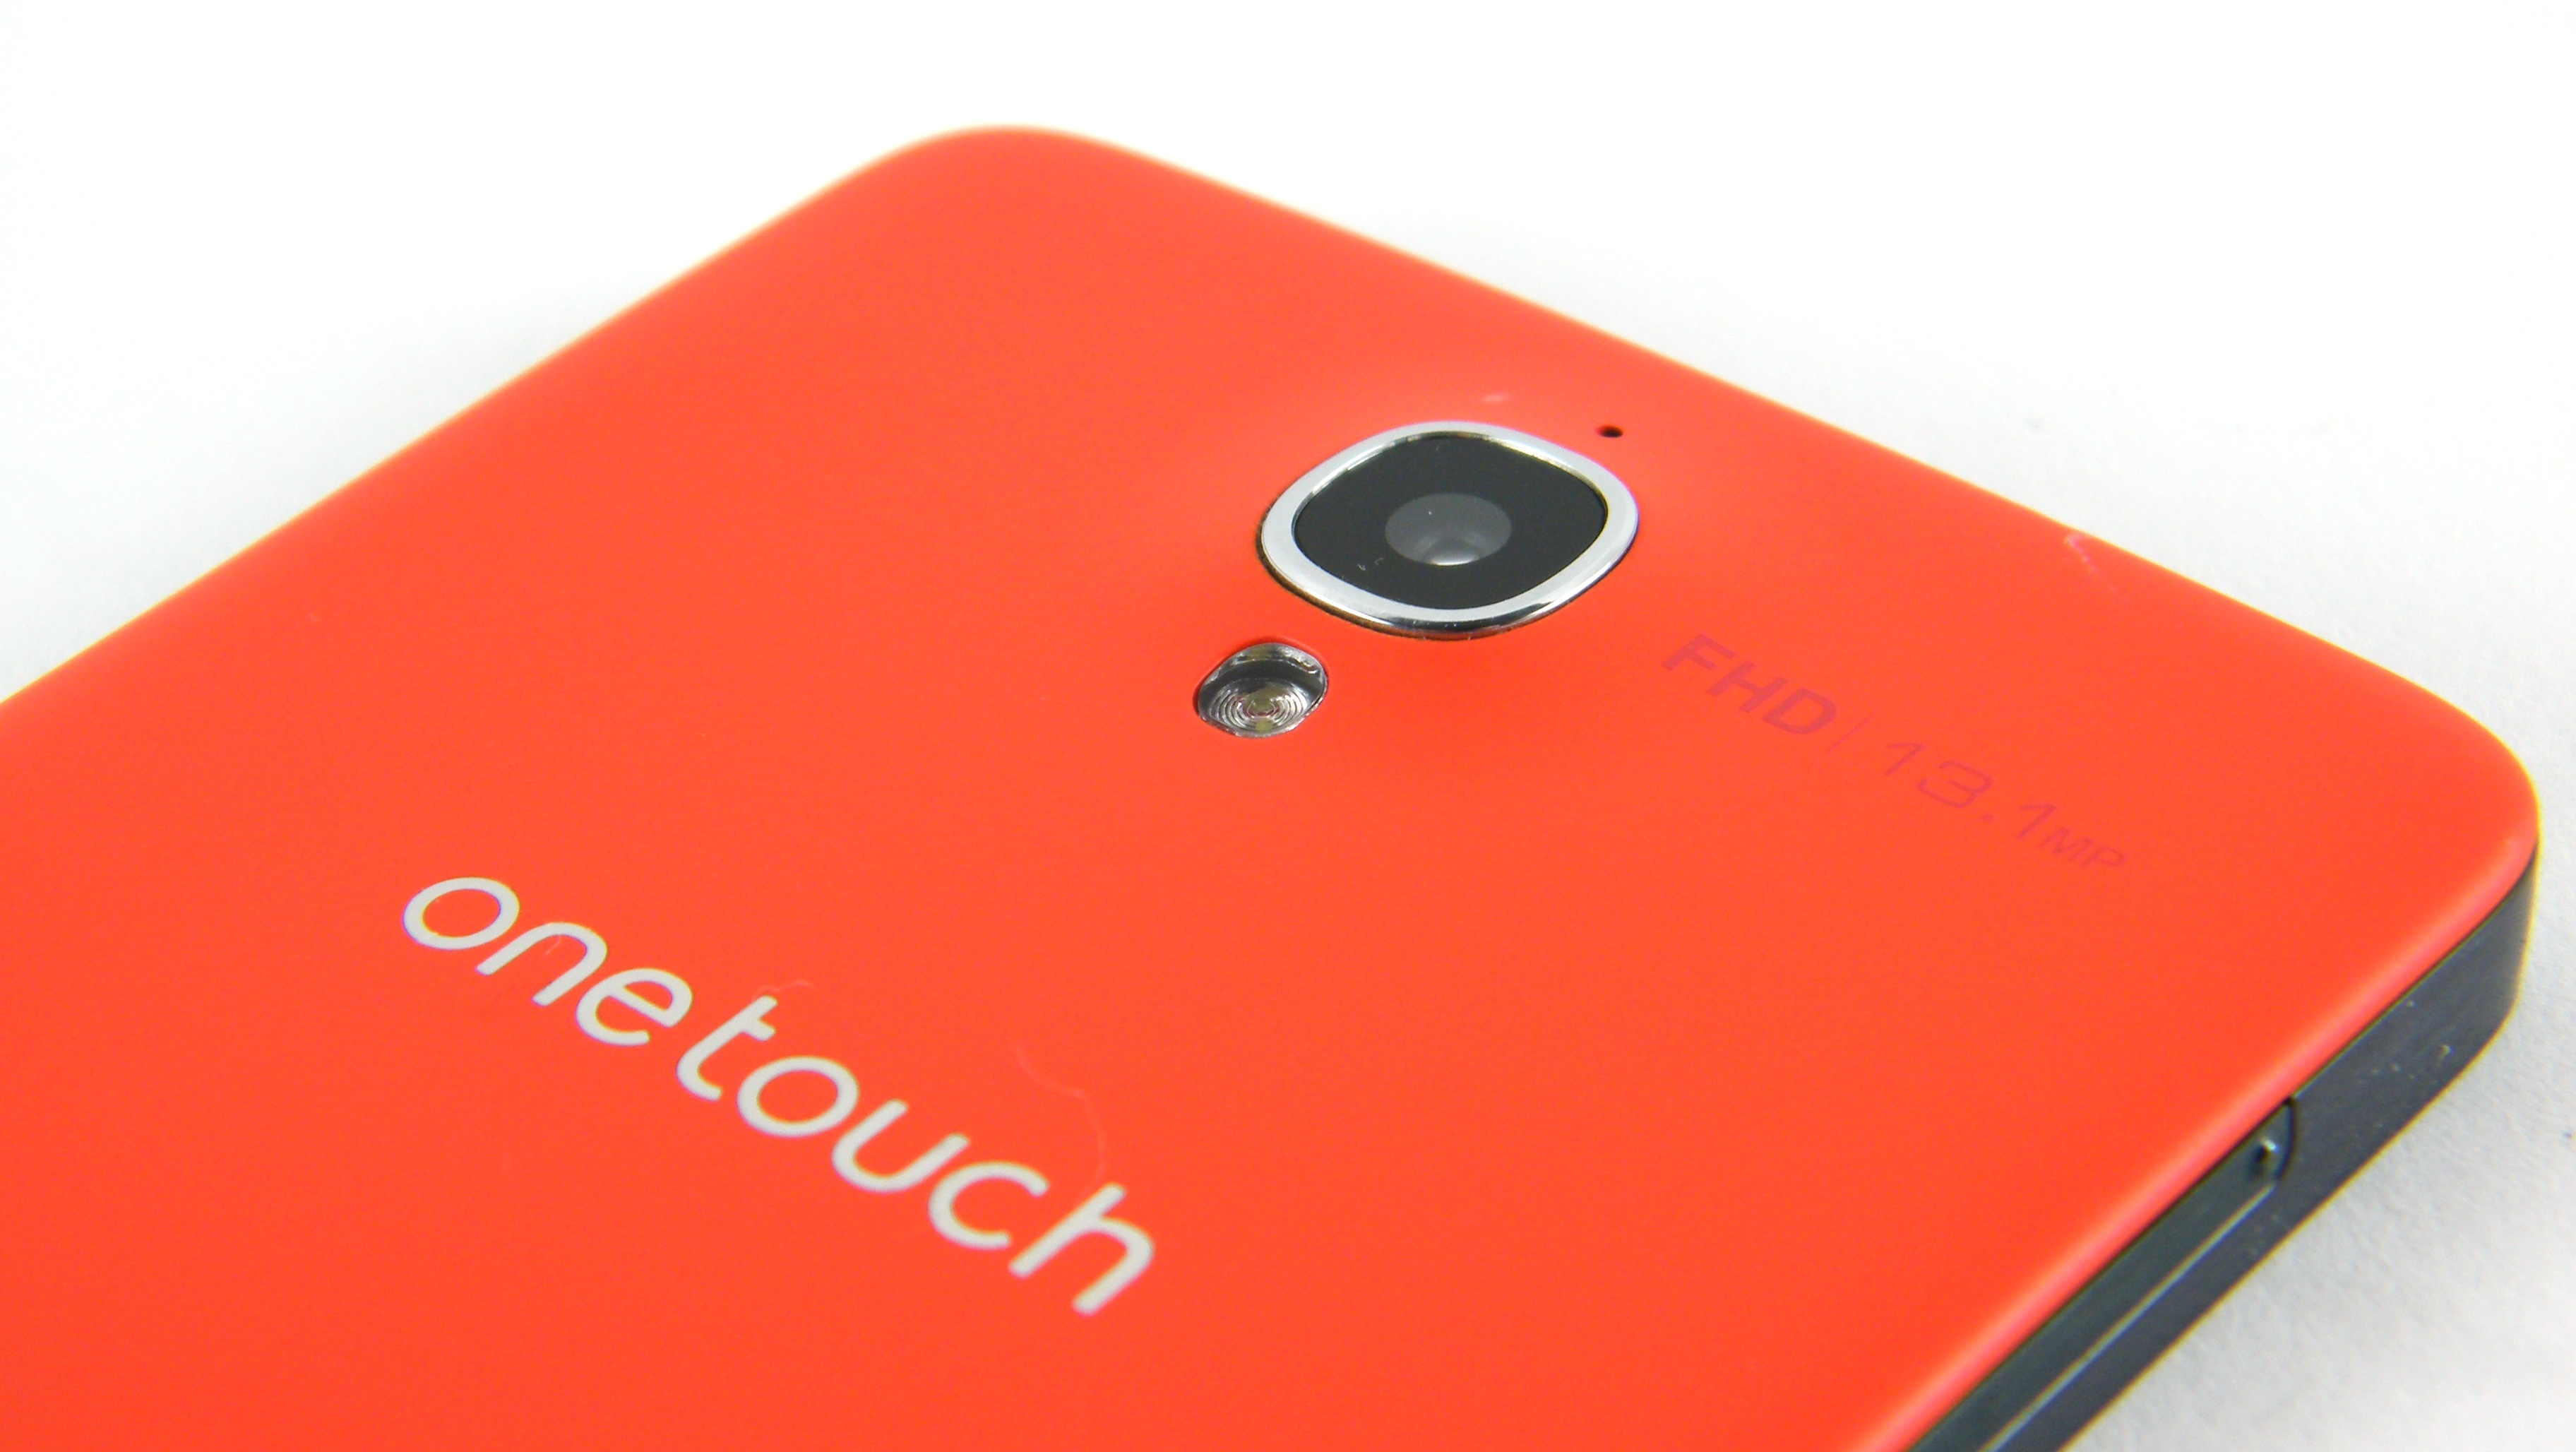
The camera on the rear of the Alcatel One Touch Idol X looks amazing on paper. An impressive 13MP framed into the slender body of the Idol X is certainly an impressive feat, and it managed to impress us during the review.
We have to say we started off excited when we got our hands on the device to see what the camera was capable off, and in certain conditions this camera is amazing, in others it can leave you with under exposed with a few blurry shots.
If you can manage to keep the camera completely still and point at a subject with a lot of evenly distributed light you can get some fantastic photos. Although, in low light or moving object situations this camera failed to excite us and pictures came out with little definition.
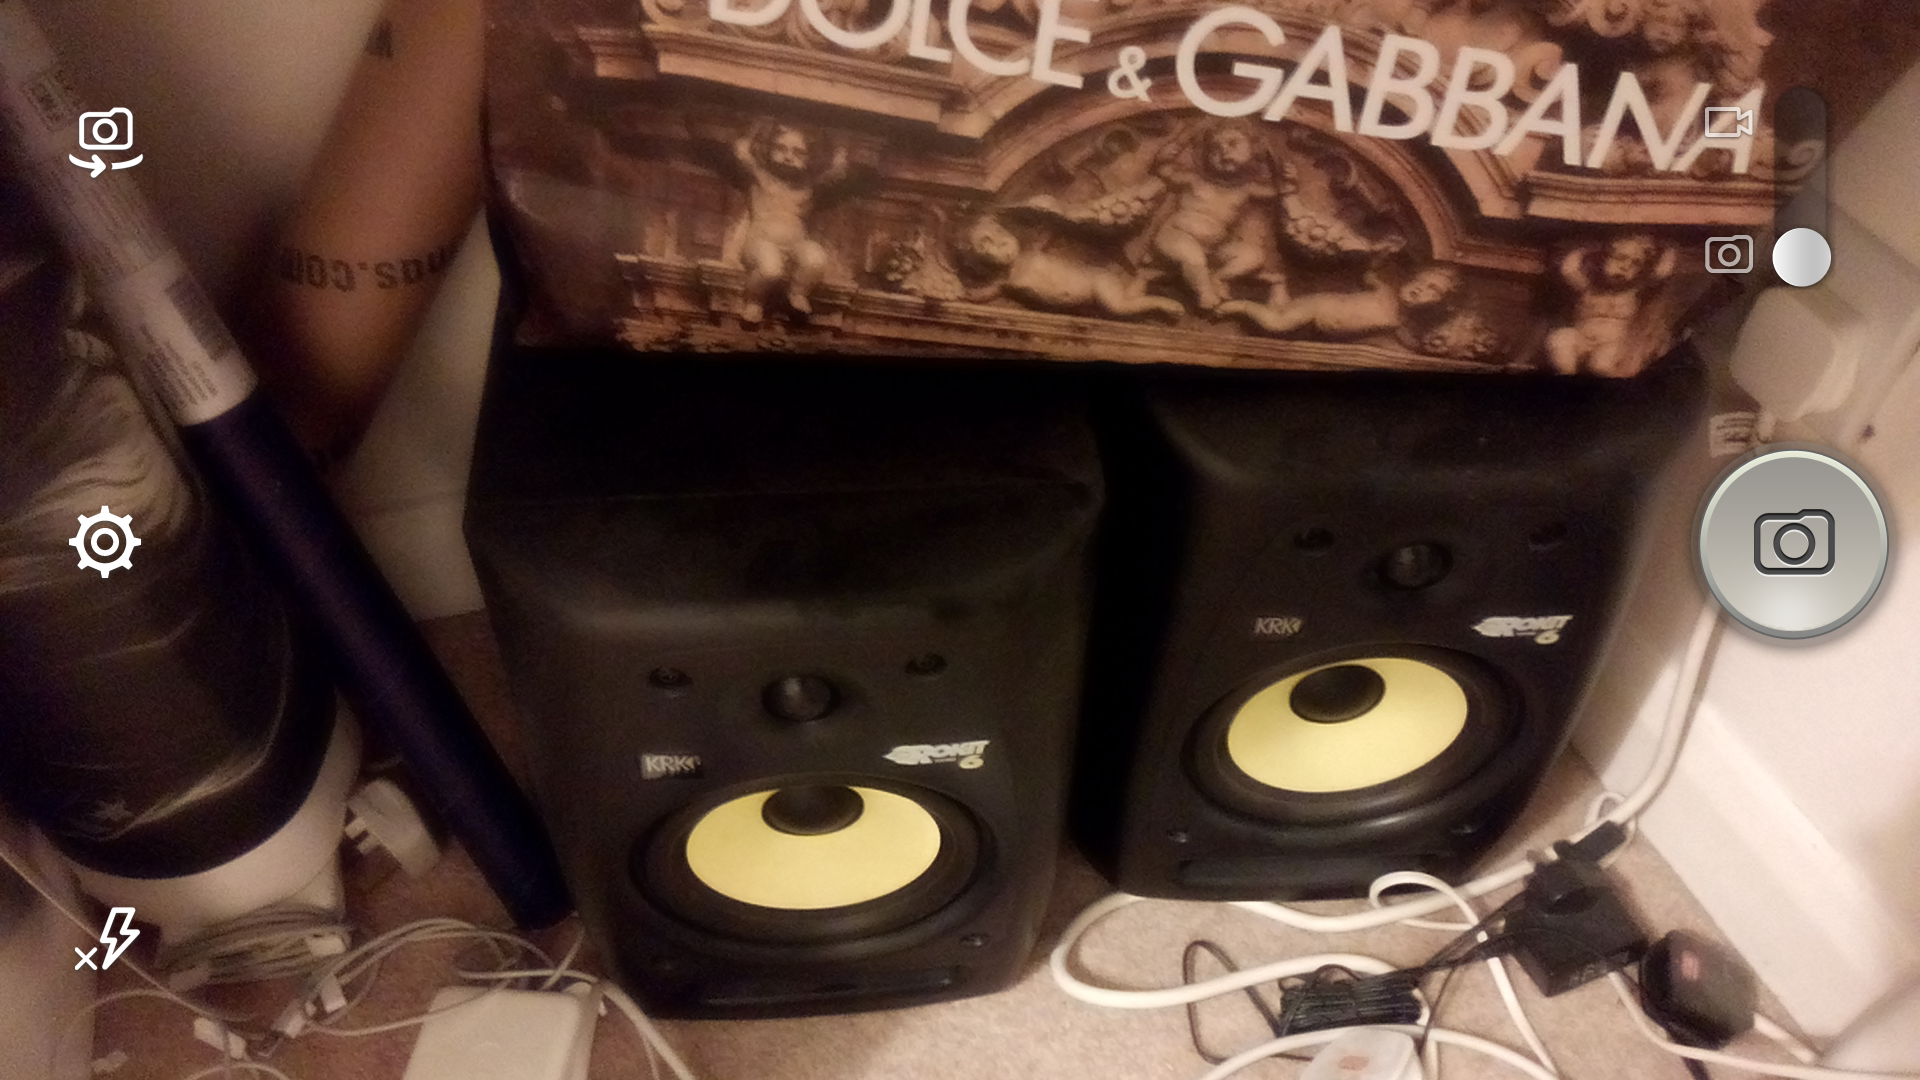
Open up the built in camera app and everything is pretty self-explanatory, the circular camera icon takes the photos when tapped and Alcatel has also added the volume buttons as additional shutter options. Next to this is the switch to flip between camera and video mode.
A quick look to the other side of the screen to find three icons with the option to flip between the cameras, turn the flash on/off/auto and open up settings. The flash is extremely bright and can over expose objects at close range, but generally does a good job of illuminating a scene.
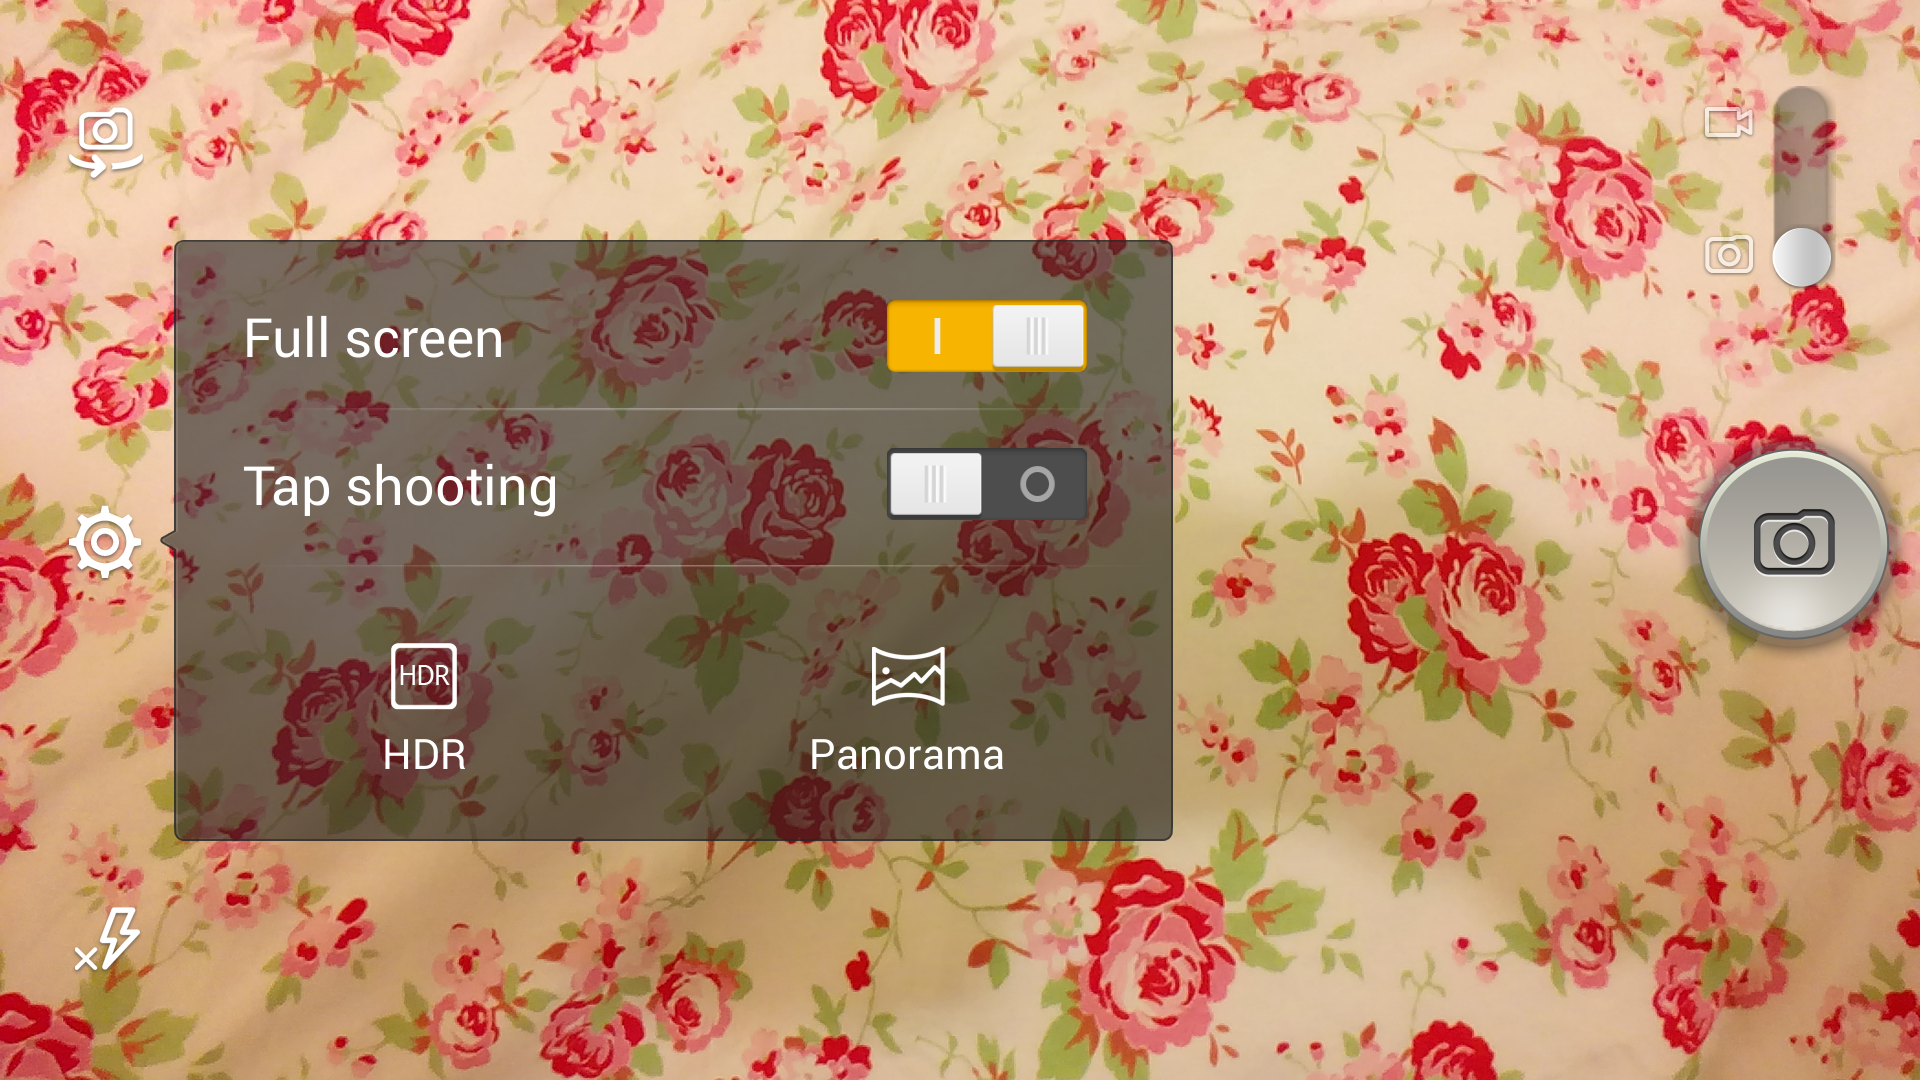
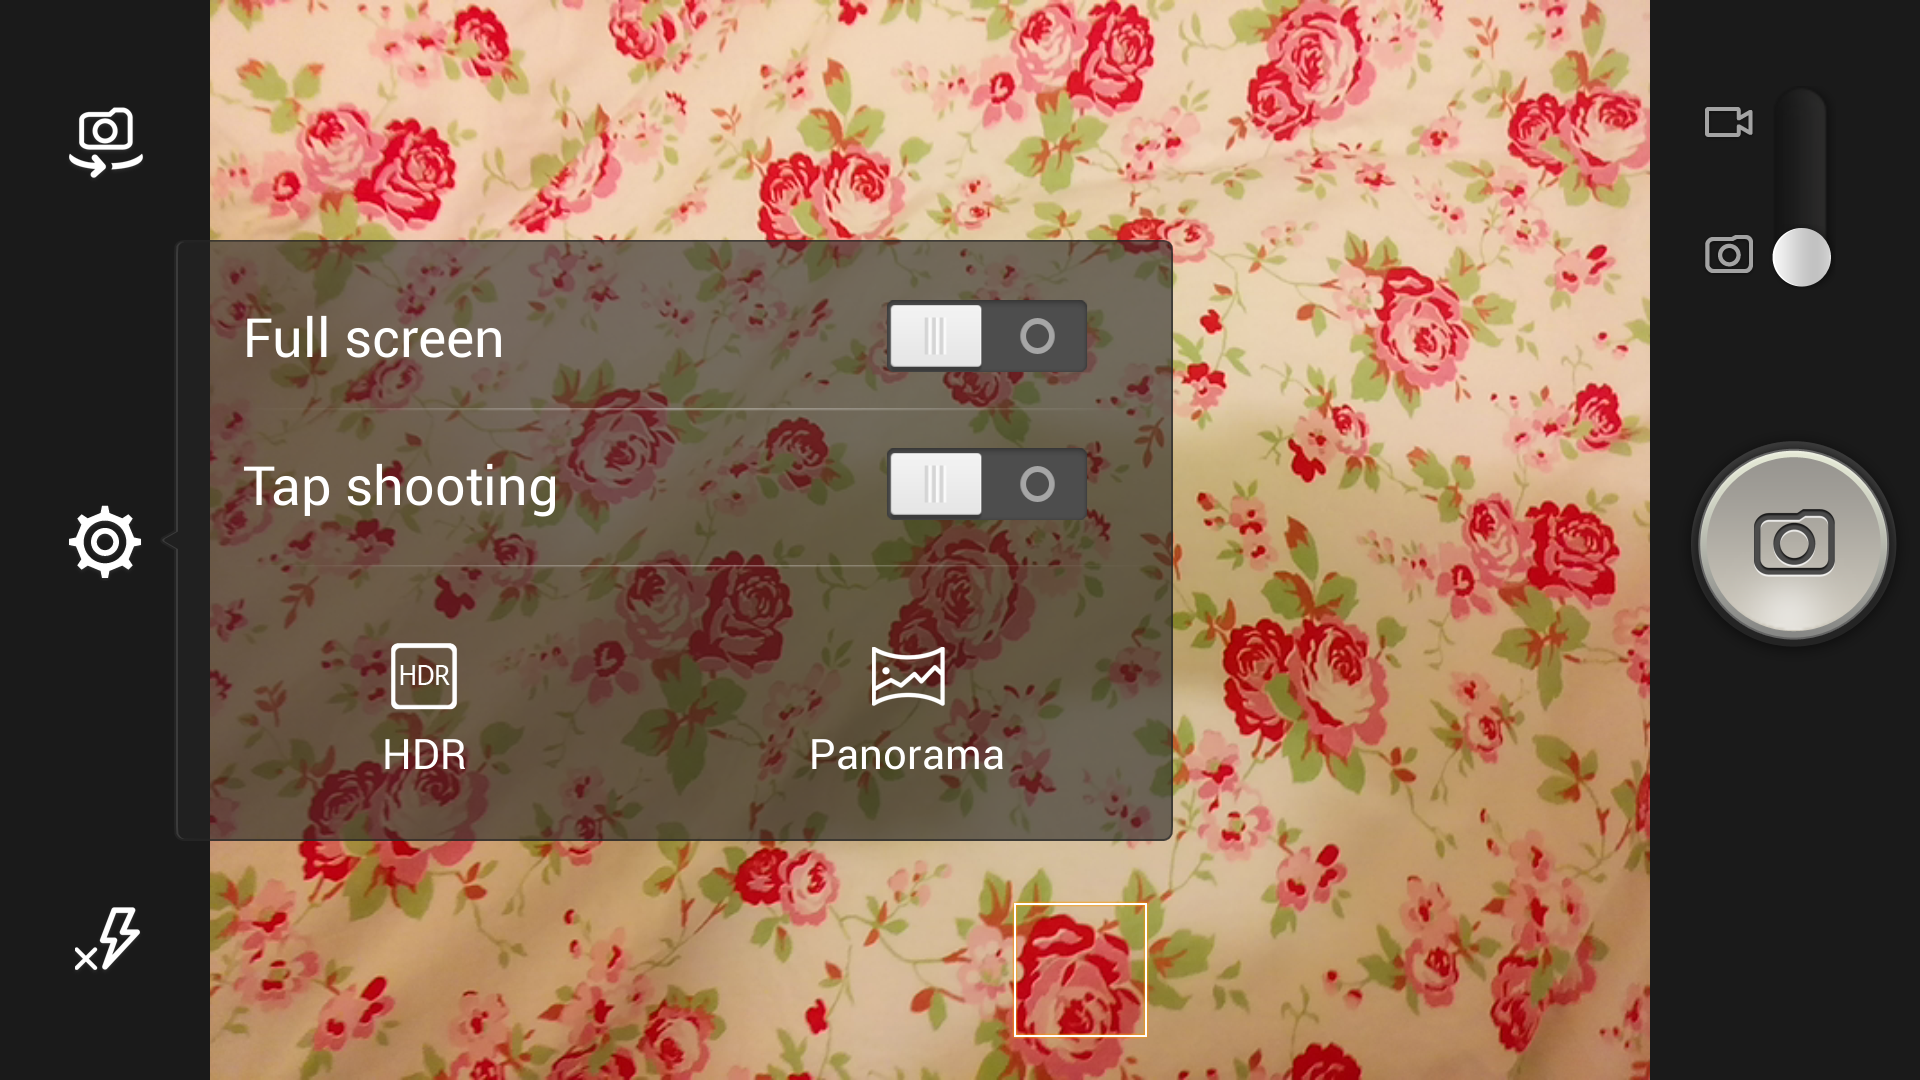
In the settings mode you can select the size of the viewfinder with the 'Full Screen' toggle. Turn it off to add letterboxing to the top and bottom of the screen.
Choosing the 'Tap Shooting' option allows you to tap the view finder to focus, and take a photo immediately afterwards, which can be handy because as mentioned before, to get the best images out of the Idol X you have to keep it really still.
The other two modes; HDR and Panorama are also activated in the setting window. The HDR function takes several different images with several different exposures, combining them at the end to produce an image, which should show a lot of definition in the light and dark parts of the photo.
Again the catch is that you have to keep the Idol X really still to get an image without any blurring, as the smallest of movements can ruin a beautiful picture. The panorama feature is less likely to be used as often, but the fact that it is included out of the box is a massive plus.
The likes of Apple's iOS 7 and Samsung Galaxy S4 both include a panorama feature so we expected it to be included. Once you activate the panorama mode a cross appears on the screen prompting you to pick a direction in which to start the panorama feature.
You can choose to pan either left, right, up or down. Do not expect to be that proud of the finished product, as again the pictures turn out either over or under focused, the separate images the panorama is made from do not match up, and the image is generally overall poor and of poor quality.
The color reproduction in the photos we took were extremely vibrant which enhanced the majority of subjects we shot. The digital zoom worked well, but again there was noise all over the picture from the software-produced image.
The Idol X keeps it simple, there are not tons of different settings that you might find on other Android devices. The Idol X will not provided you with different Scene modes, let you adjust the ISO or the exposure. There is not even a grid to help you line up those all important shots, but there is something nice about the simplicity of the overall process, and will not leave many users scratching their heads about how to use the features.
There are not any filters provided in the Idol X's default camera app either, but a quick look in the Gallery app will enable you to add or edit the picture with filters. Alternatively, the Google play store will reveal a shed load of apps to customize and edit your photos, including popular apps such was Instagram.
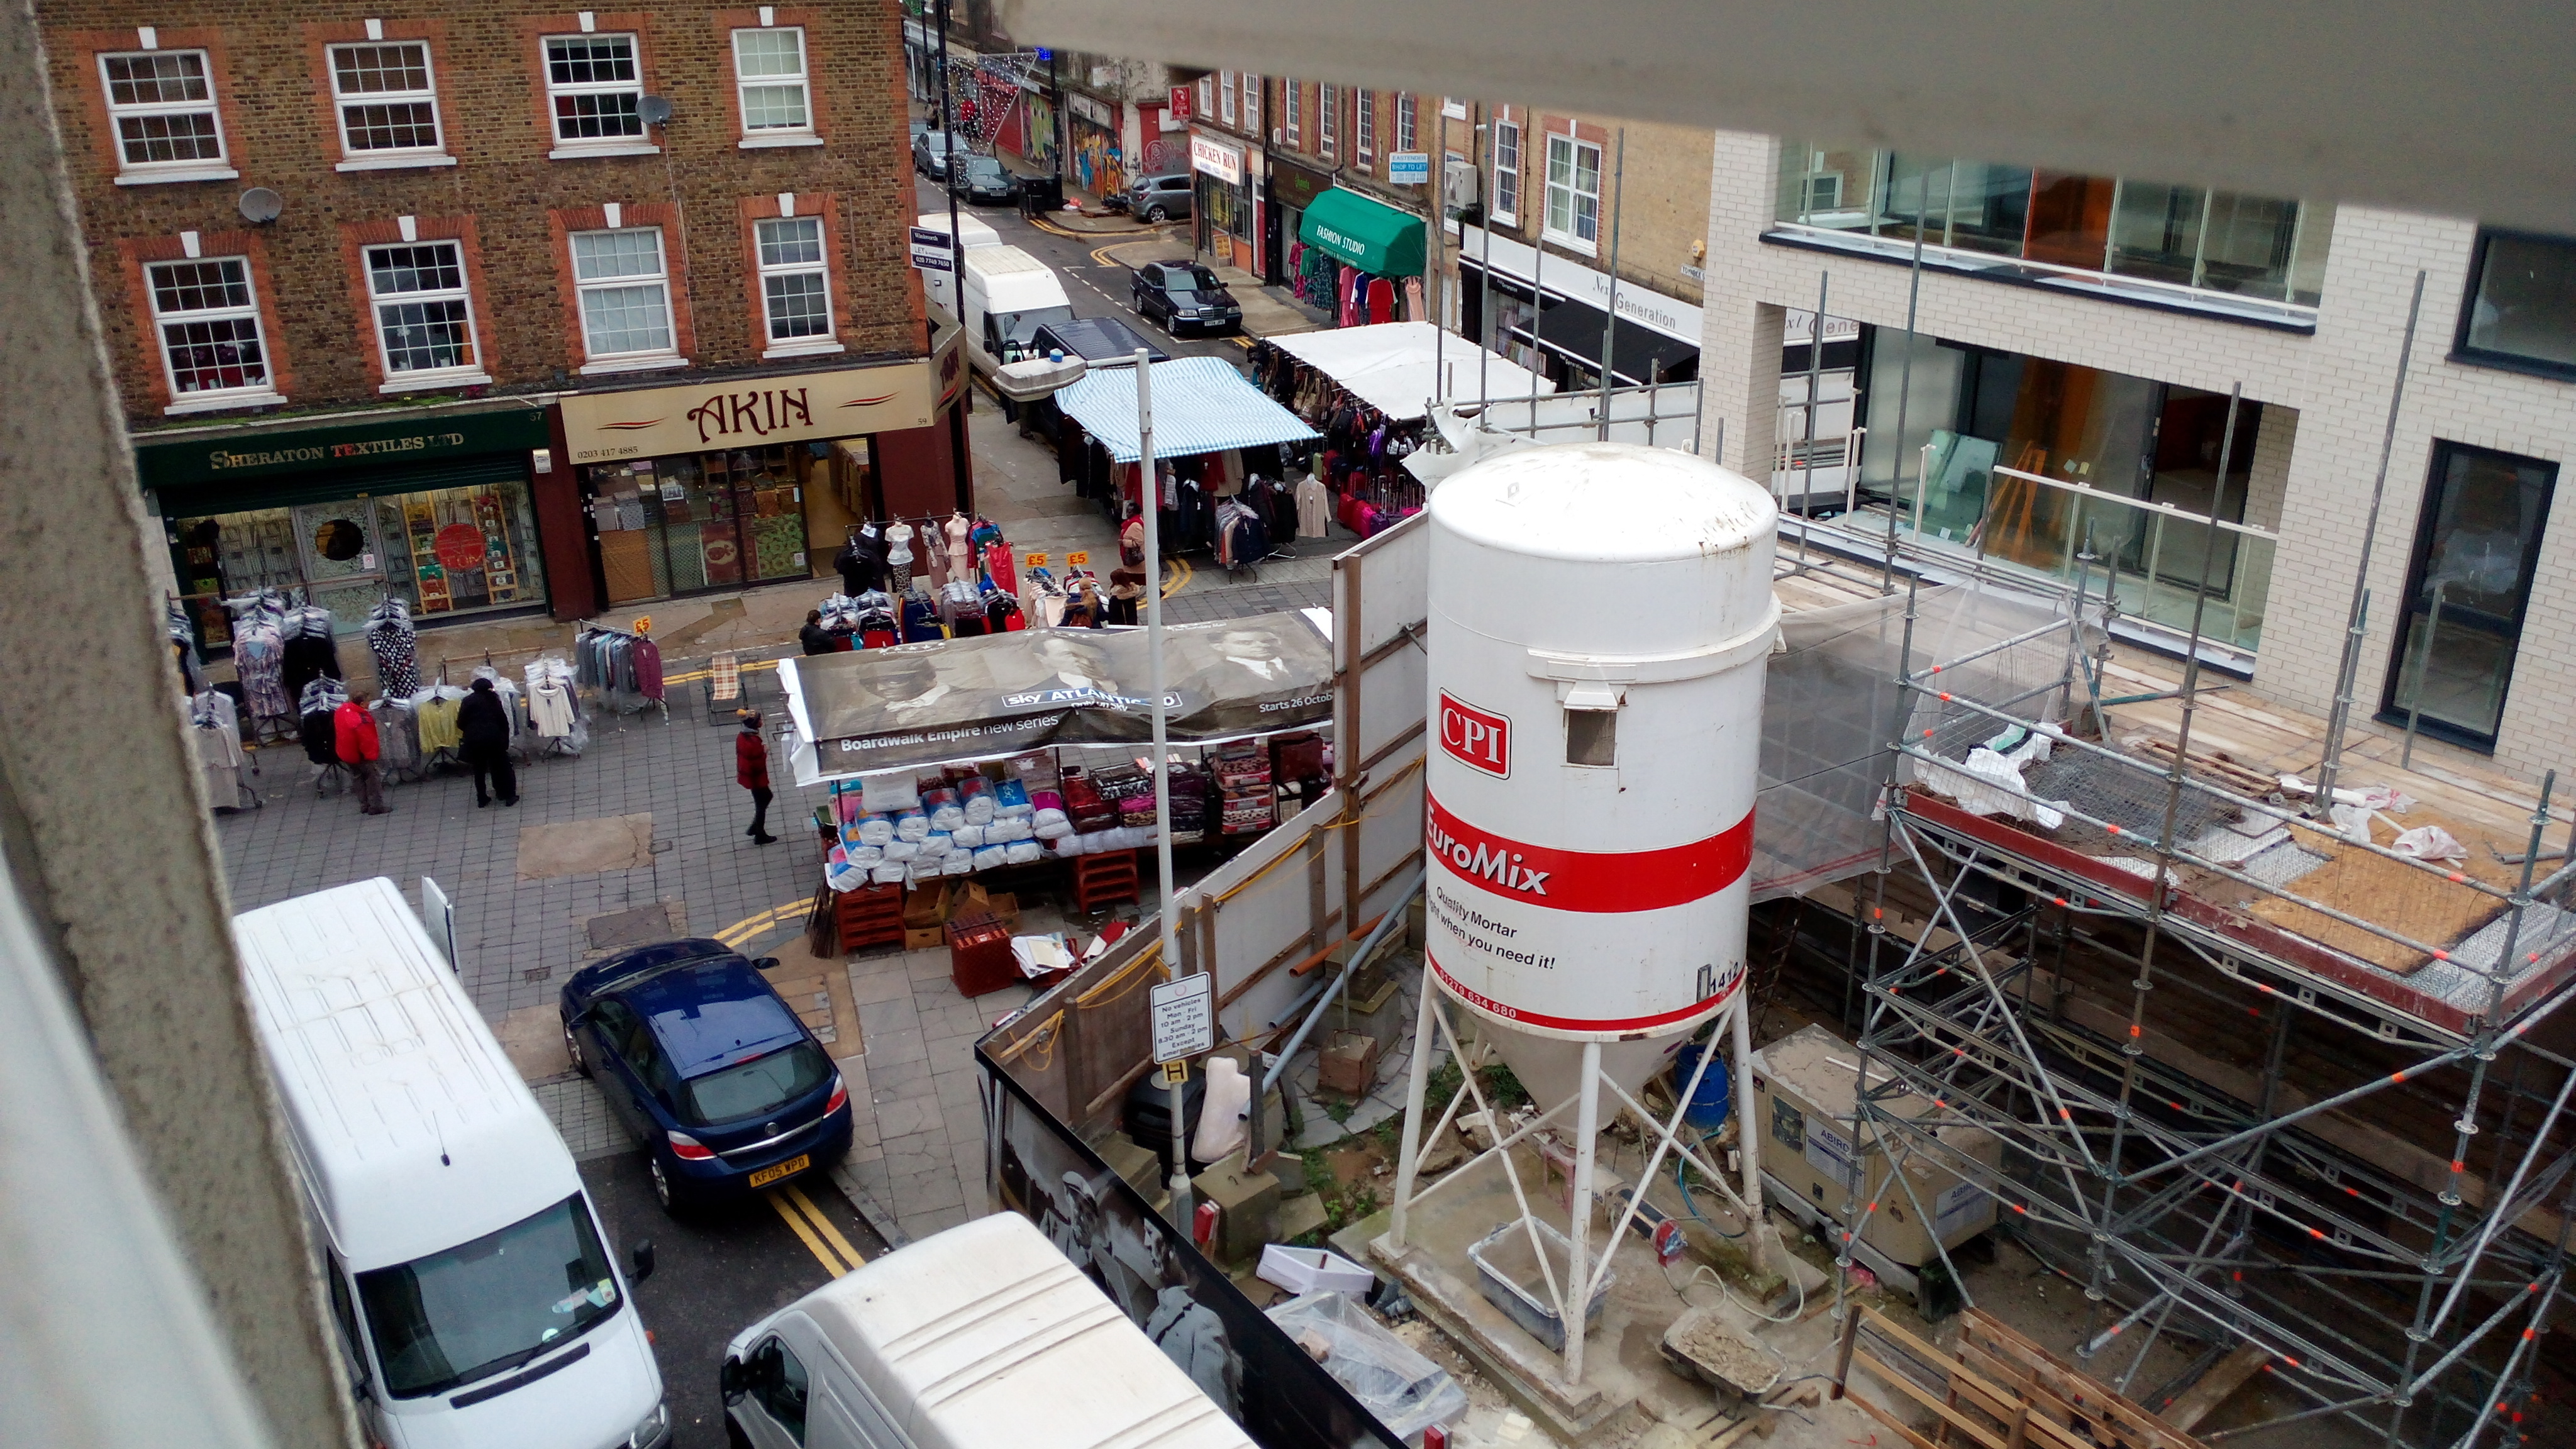
Click here to see the full res image

Click here to see the full res image

Click here to see the full res image

Click here to see the full res image

Click here to see the full res image

