TechRadar Verdict
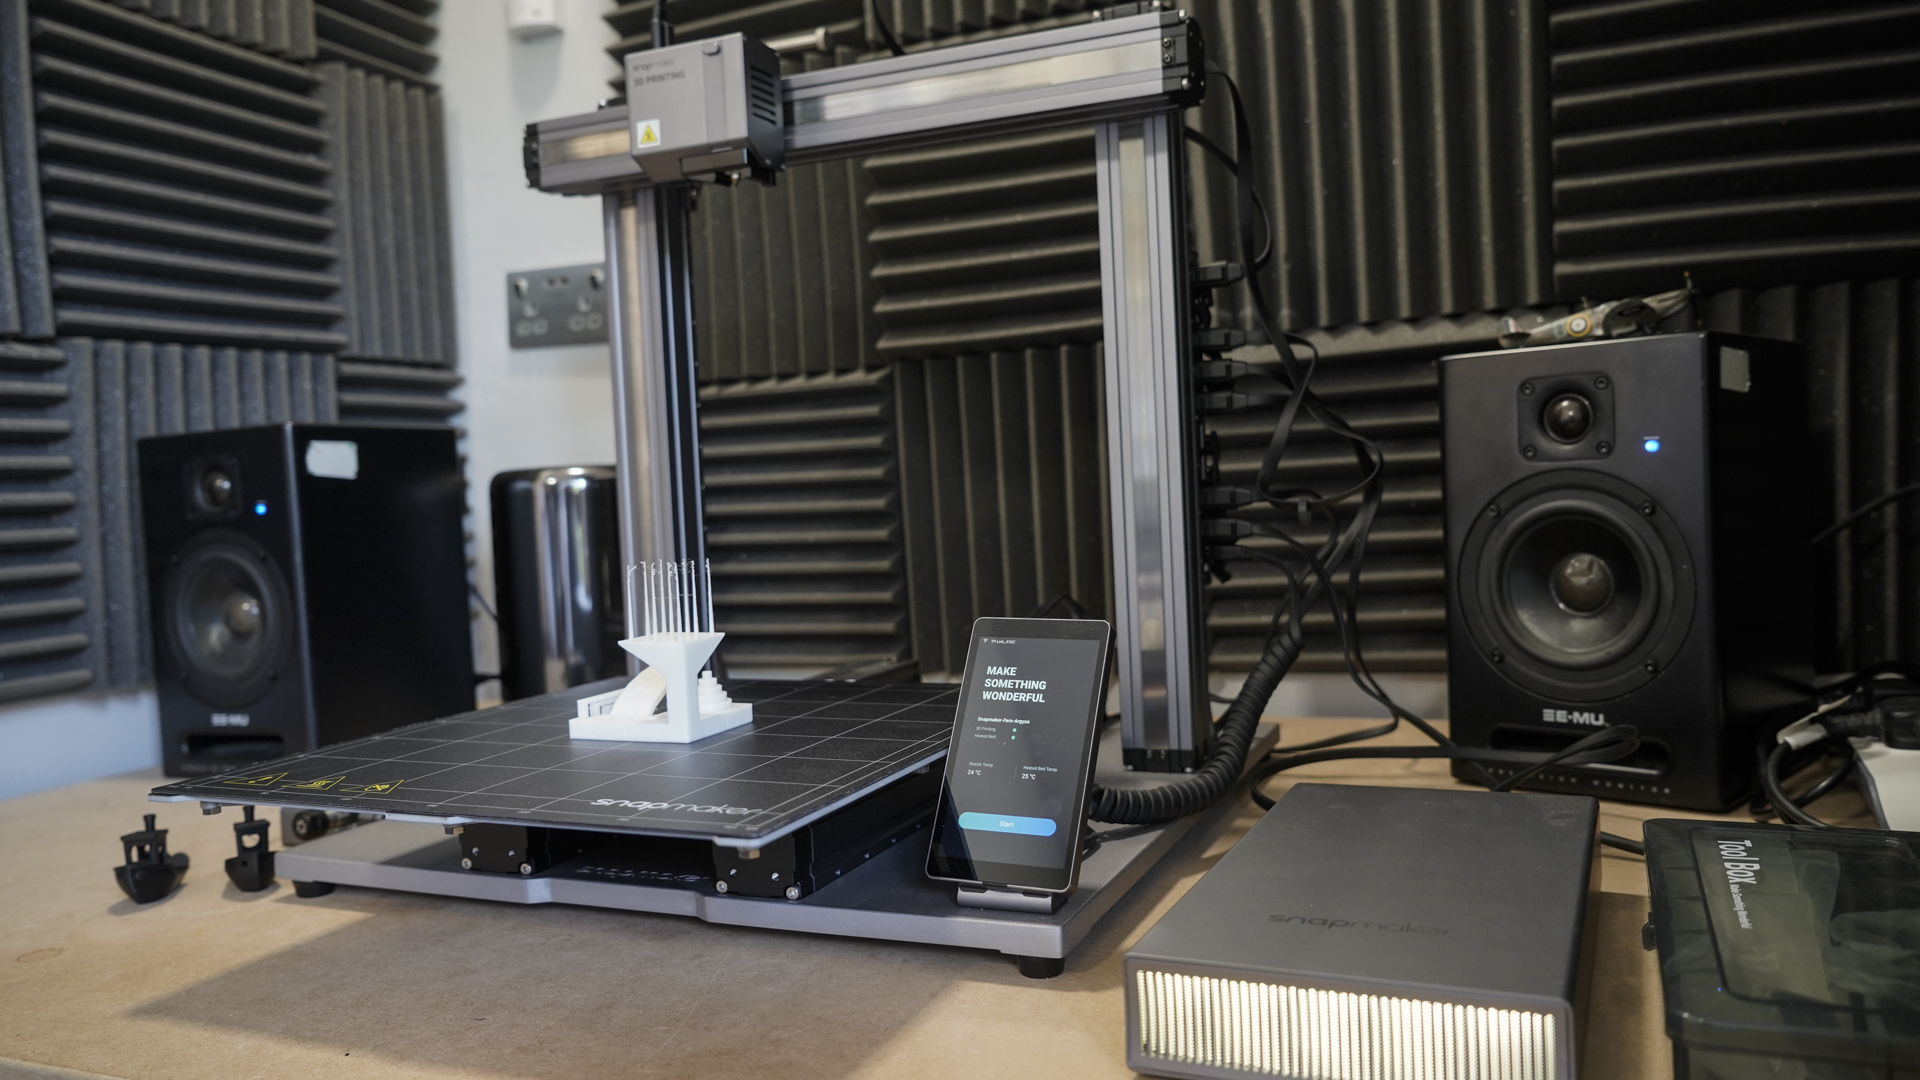
The SnapMaker 2.0. is a machine that has gained a huge following of excited makers since its announcement. Arriving flatpack the modular design is quick to build. Using the 3D print tool head to get started, you can get up and running in less than an hour. Switching from 3D printer to laser Cutter to CNC does take time, due to the tool head and platform change, but the result is a flexible machine that offers precision and high-quality results across all three disciplines.
Pros
- +
3-in-1 machine
- +
Excellent quality
- +
Easy to understand software
Cons
- -
Retooling and calibration take time.
- -
Noisy
- -
Enclosure available separately
Why you can trust TechRadar
It makes sense having a machine that can switch from 3D printer to a laser cutter and then to a desktop CNC.
The original SnapMaker did just this, and the first machine was met with a huge audience of dedicated follows. Now version 2.0 aims to enhance the experience with three different models and an improved feature set.
This should thrill many in the maker community as you'll commonly see one if not all three machines in many maker shops, and of course they all use very similar technology. So the new SnapMaker 2.0 could be a real space saver.
The new models are the A150 which is similar in size and format to the original SnapMaker, the medium A250 and the large A350; all three use the same tool heads, it's just the size that's different. In this review, I'm looking at the SnapMaker A350.
Design
It's common for 3D printers, laser cutters and CNC machines to arrive in bits with a sheet of instructions telling you how it should all go together.
The SnapMaker is no different in that respect. However, when it comes to quality, this machine is well above that of the usual flatpack printer. Assembly is required, but it is minimal and only takes around 20 minutes with incredibly clear instructions.
The machine is designed around a solid H frame. Each metal column contains all the electronics and movable parts internally, which makes the machine look very smart as it takes shape.
As it's being constructed the design and manufacture of the SnapMaker stands out, it's a level above anything else I've seen, 3D printer wise at least. Everything is machined metal, and no expense has been spared on the finish and anodising.
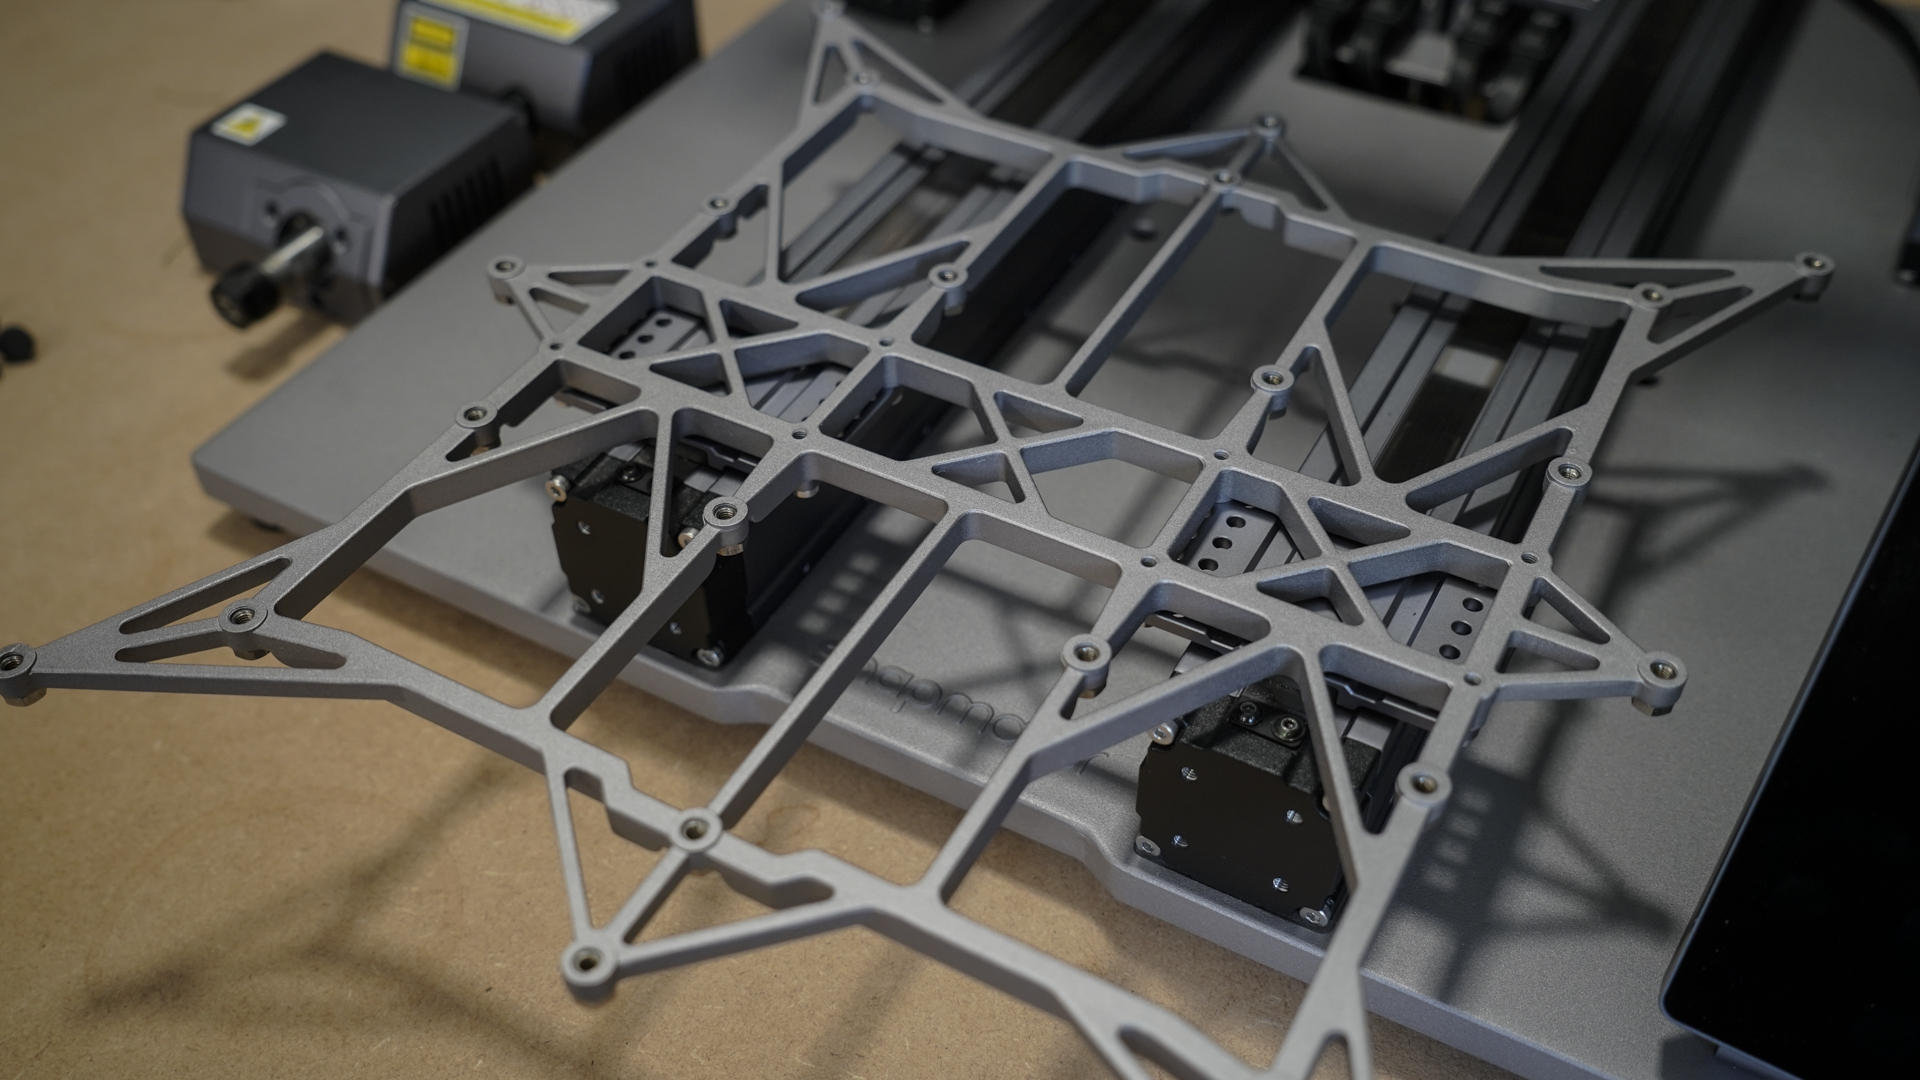
The entire machine sits on a sturdy metal base, and everything is bolted in. The H frame is large and solid with the tool head on the cross beam and build platform beneath.
To change from 3D printer to one of the other mediums you unbolt the tool head and build platform and then replace with the tool head and corresponding plate that you wish to use next.
As everything goes through a control box, any swap of the head and platform is instantly picked up by the machine when switched on. The touch screen interface and SnapMaker Luban software immediately switch as well once connected ready for calibration and use dependent on the tool head.
The swap from one tool head to the other is not instant, the tool and build platform change does take around five-ten minutes, and then there's the calibration process, but all is relatively easy and straight forward if a little time consuming for the laser and CNC.
Features
Being a three-in-one machine, there are three sets of features, although some of those features are consistent across all configurations.
Firstly once constructed the machine has a full metal build and feels more reliable and robust than other 3D printers or laser cutters that I've looked at.
Once you've swapped tools once or twice and run through the calibration a few times, you'll find the process pretty easy. SnapMaker has provided some outstanding videos showing how each of the different modes is set-up and calibrated.
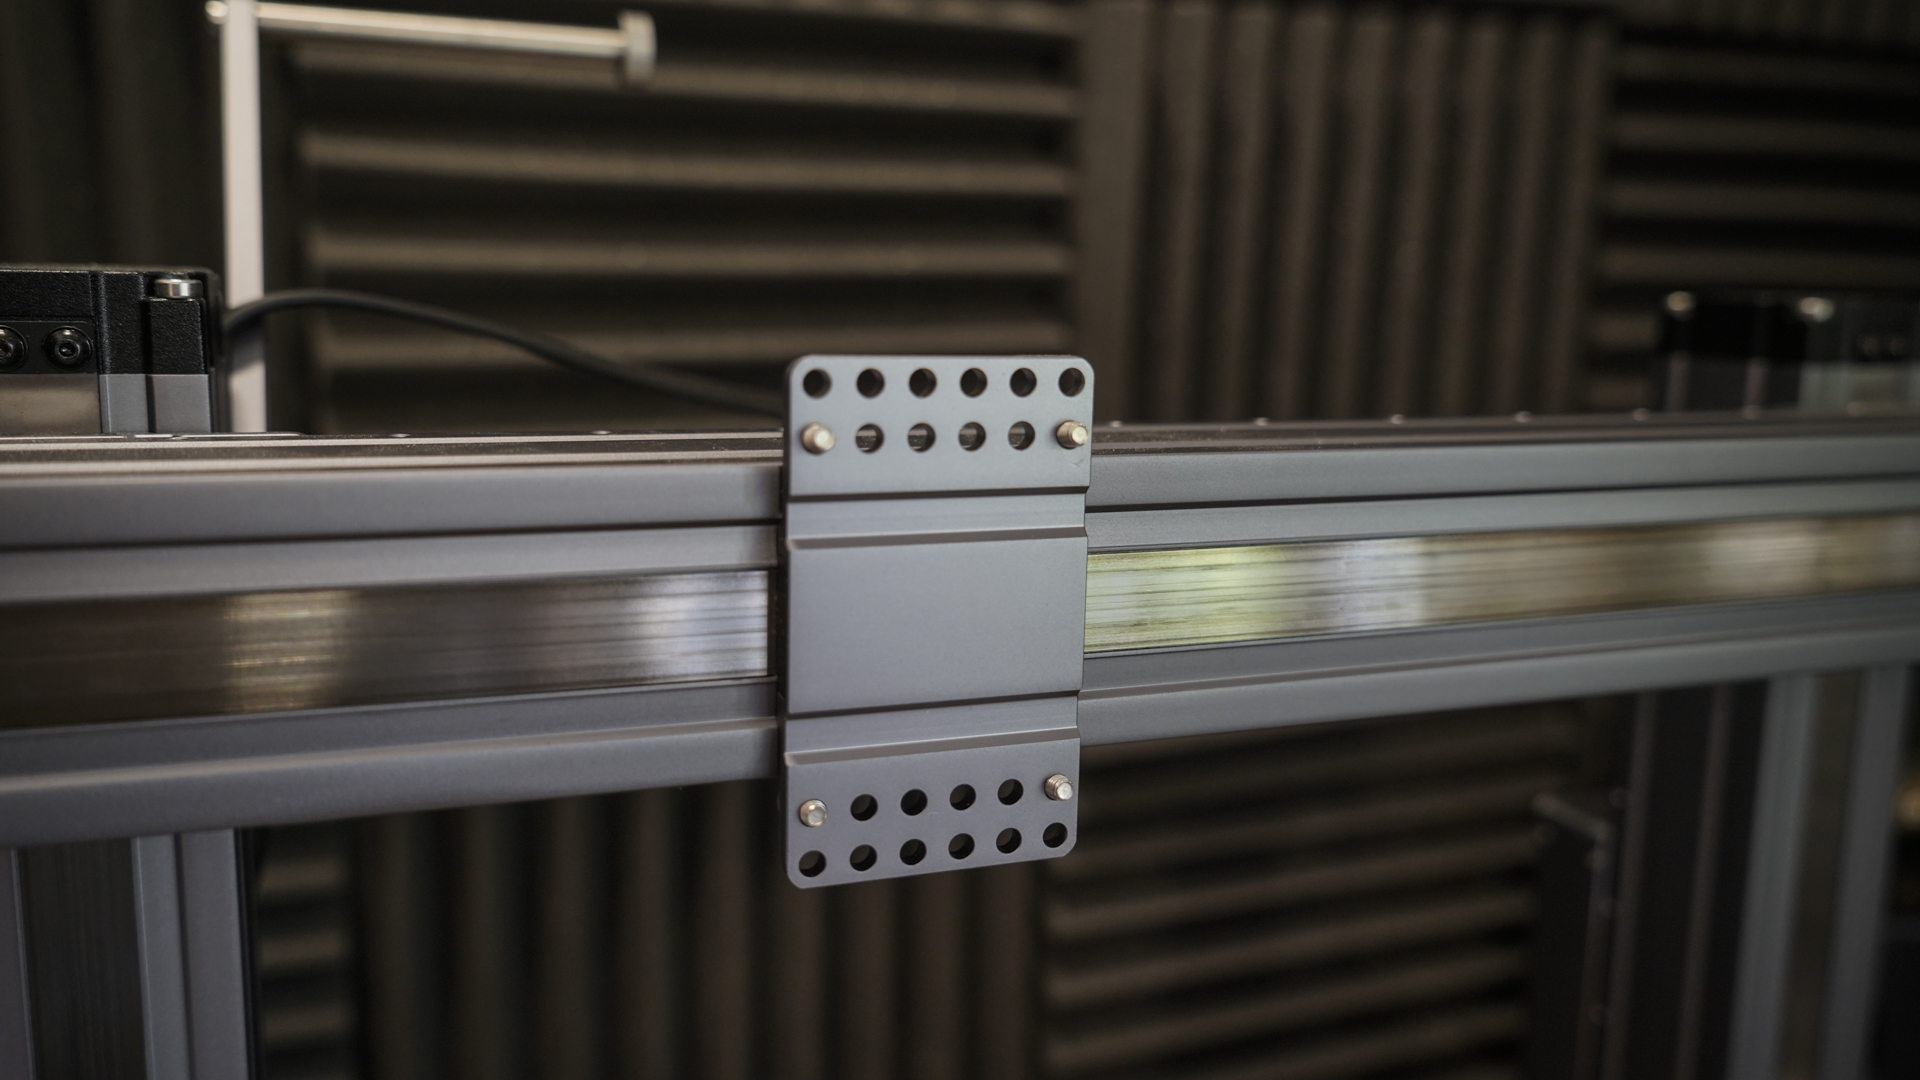
The SnapMaker Luban software, available for Mac, PC and Linux also comes in to ensure that everything is connected and running smoothly, it is incredibly well thought out.
Luban and the interface are consistent across the three different tooling options.
Other features are consistent across the modular design.
Connection to the machine can be made through USB or WiFi, and the wireless connection is solid and integrates seamlessly with the Luban software.
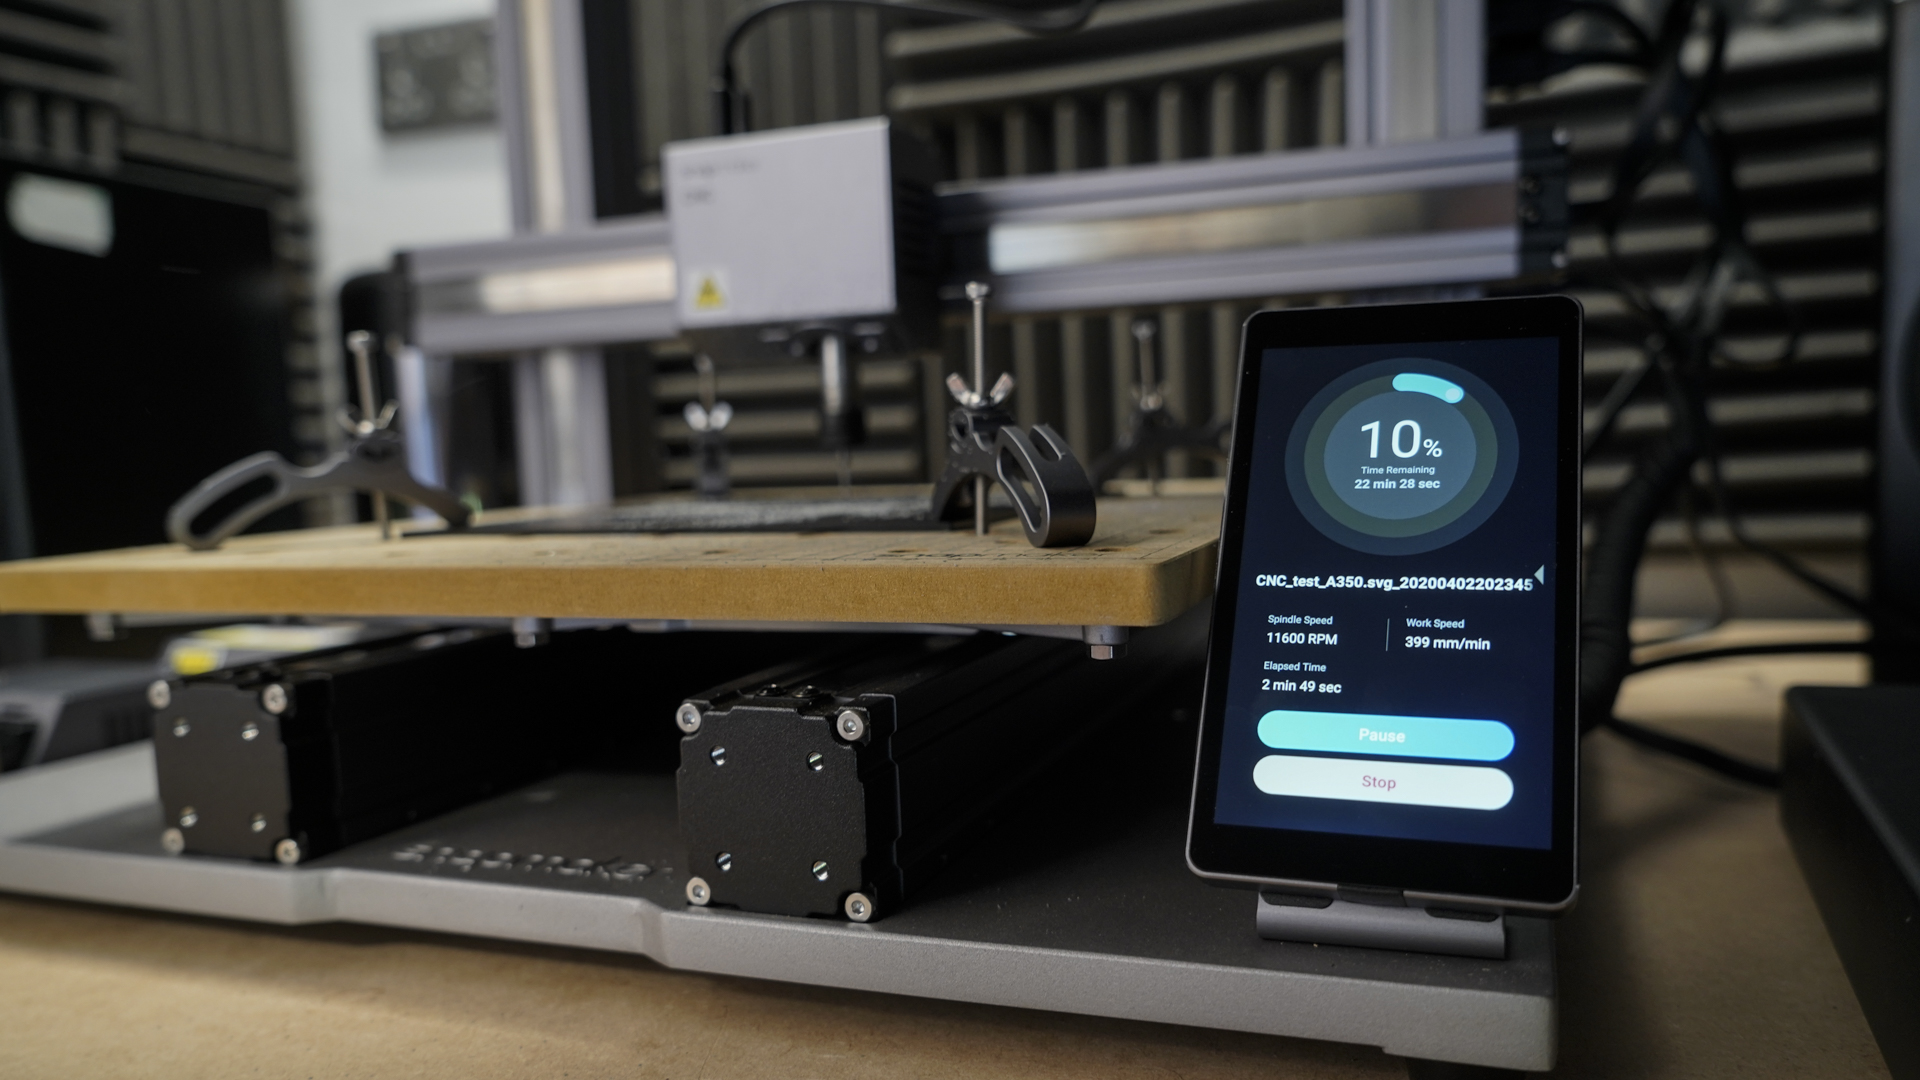
On the machine itself is a 5-inch (720x1280px) touch screen, this can be used to select options, preview models, calibrate and open stored files. The touch screen is a powerful addition to the usability of the machine.
This touch screen runs on Android OS and features a Quad-Core A7 CPU @1.1GHz.
In all modes, a useful feature is the power loss recovery which enables the SnapMaker to restart a job if there's a power cut.
3D printer features
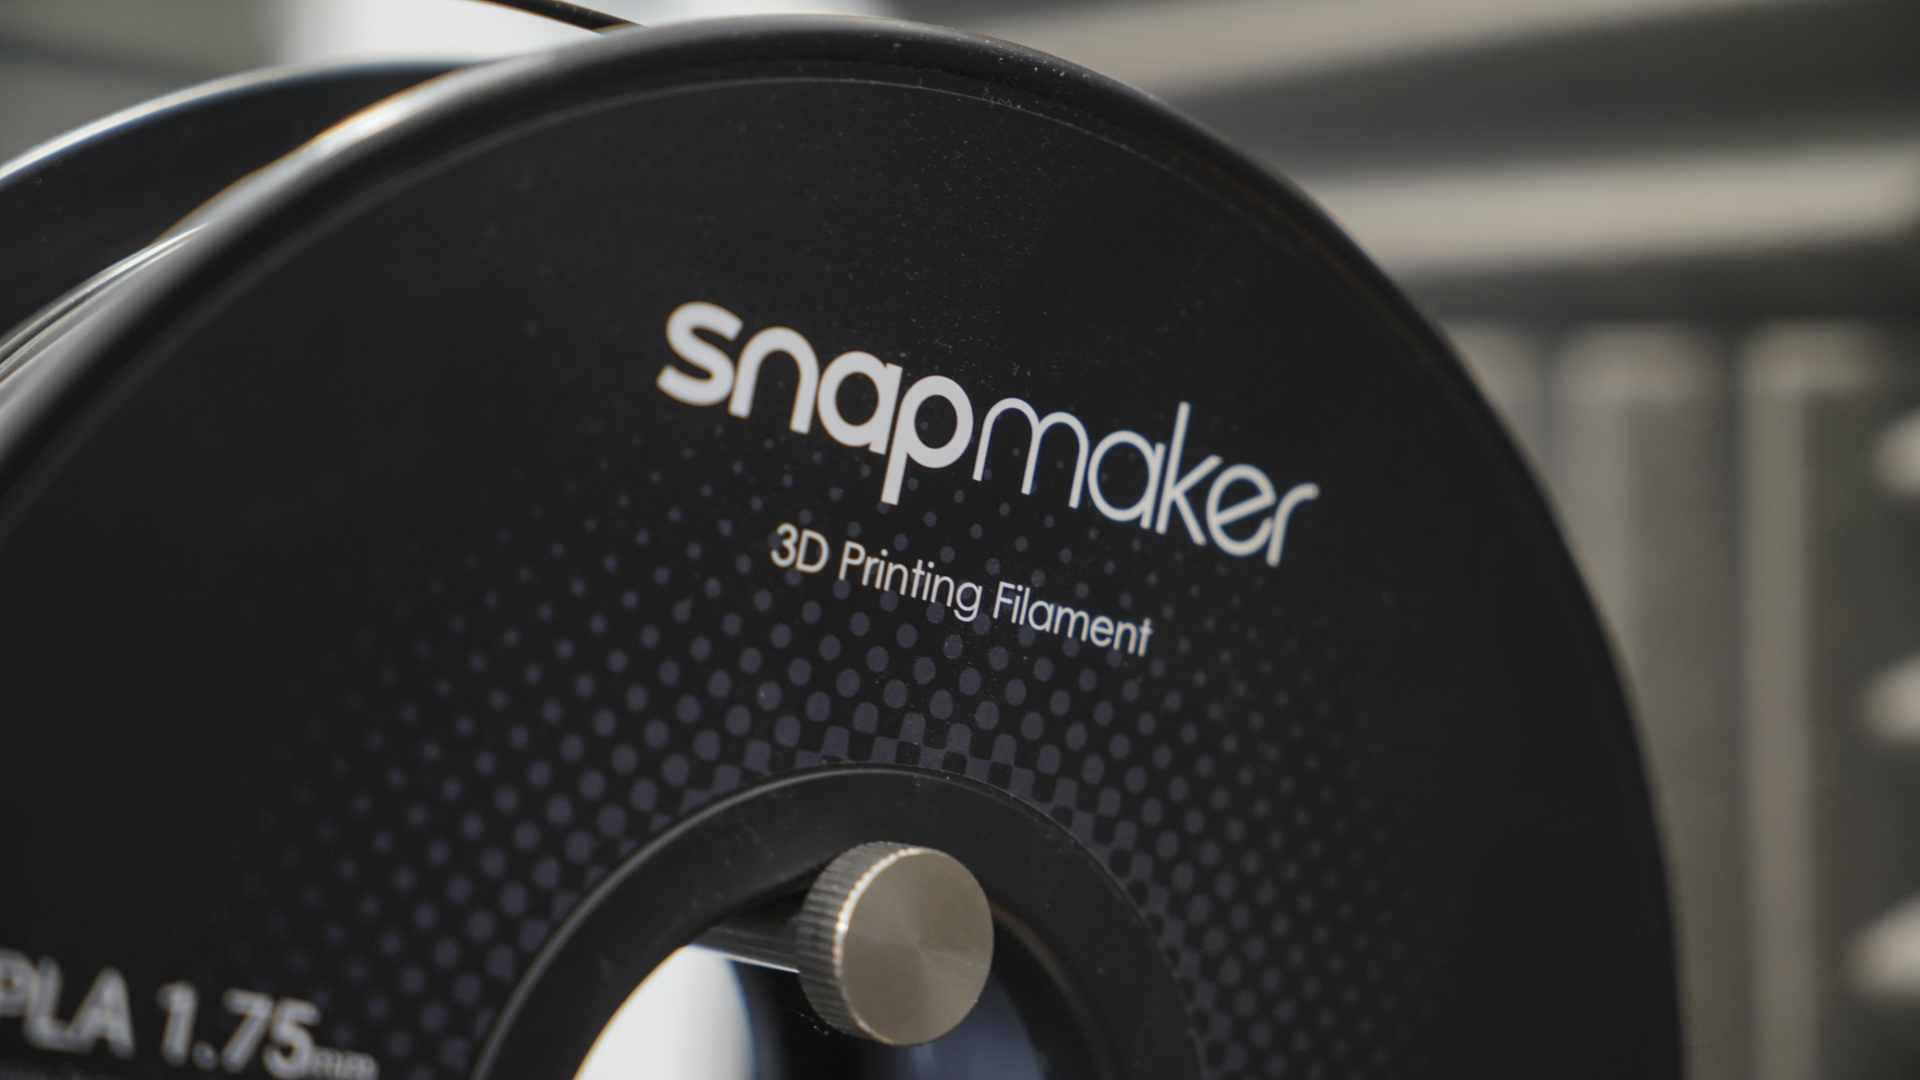
The 3D printing tool head is the first to try and with a build area of 320 x 350 x 330mm the SnapMaker provides plenty of space and puts this alongside many of the larger more expensive 3D printers.
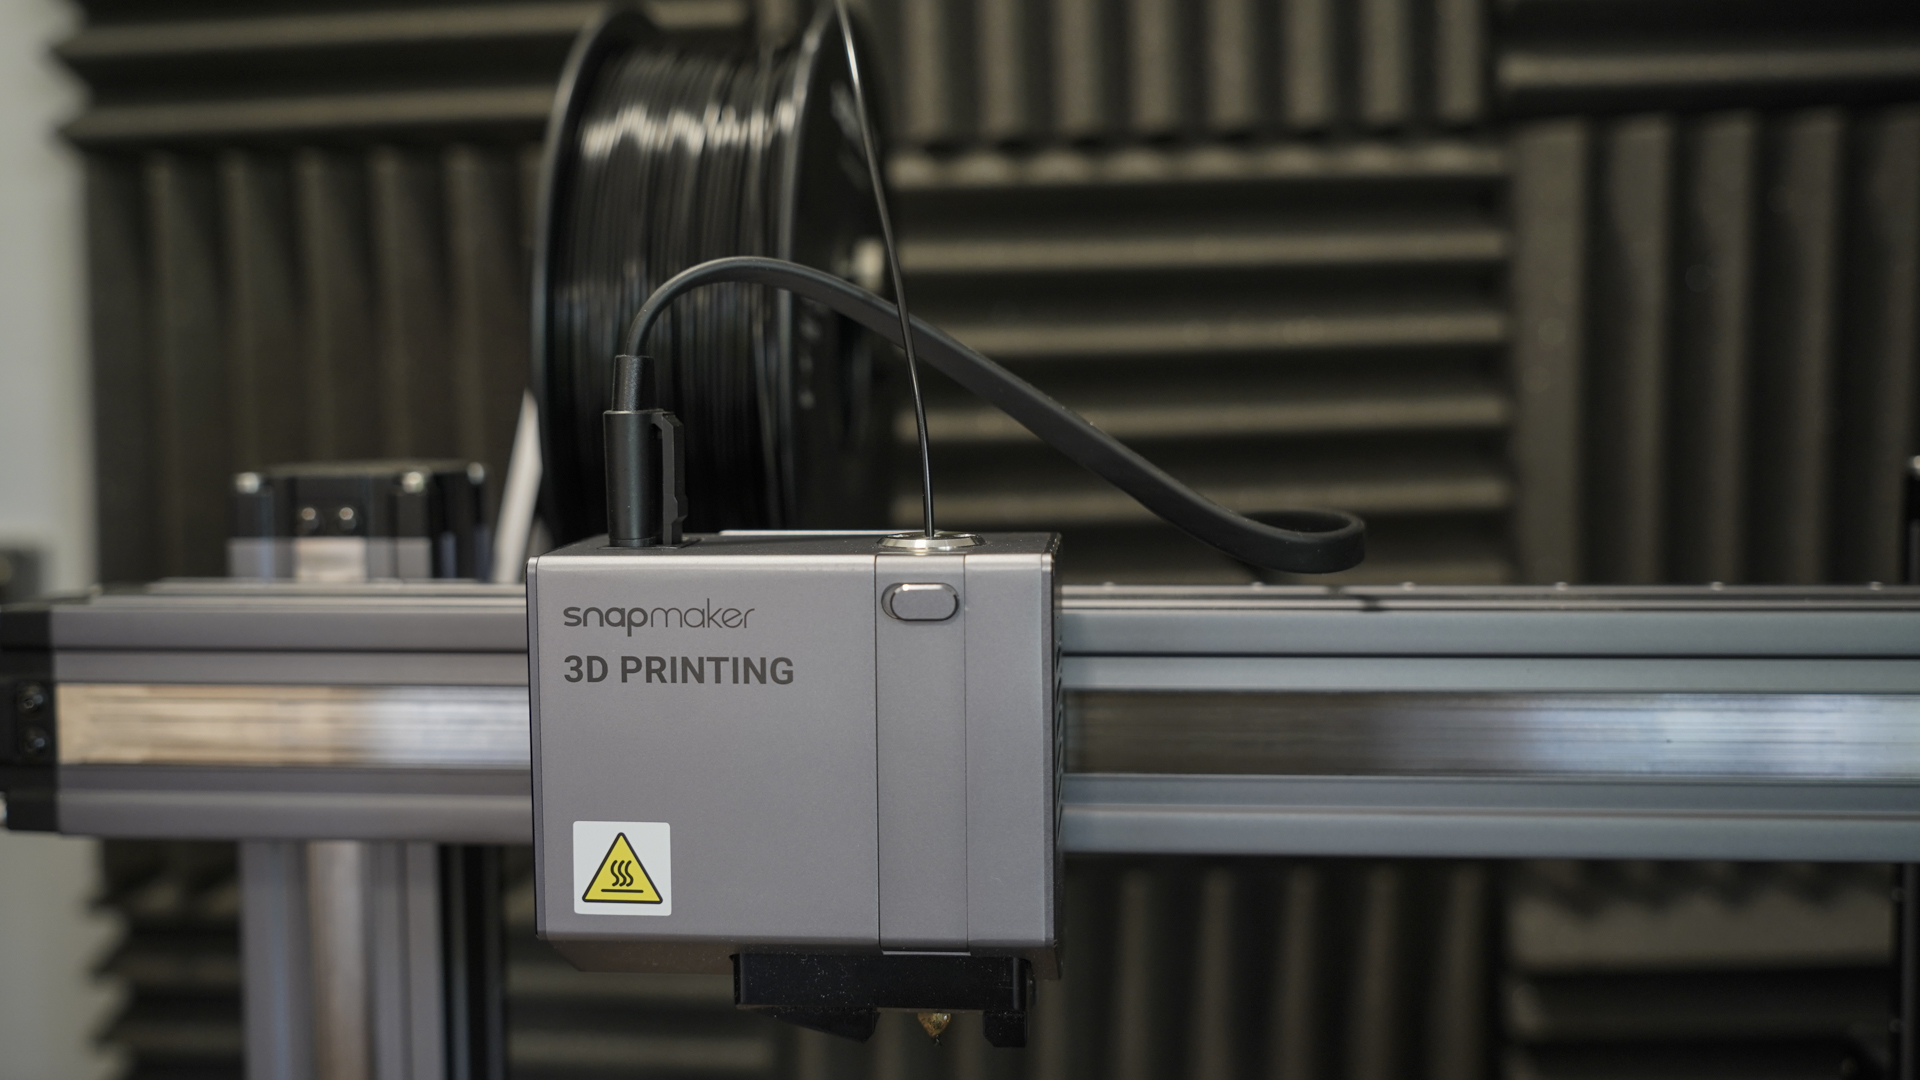
Layer resolution is good but not exceptional at between 50-300 microns, but it can reach temperatures of up to 275ºC, which gives excellent flexibility when it comes to material choice.
It's good to see SnapMaker has opted for a standard 0.4mm nozzle which is suitable for all standard materials such as PLA, ABS, TPU, Wooded PLA and more.
The Luban software can accept the STL and OBJ model formats which give plenty of flexibility.
Laser cutter features
Like the 3D print tool head, the laser cutter is well specified for the size of the machine with a 1600mW 450nm laser Diode which falls into the Class 4 safety class.
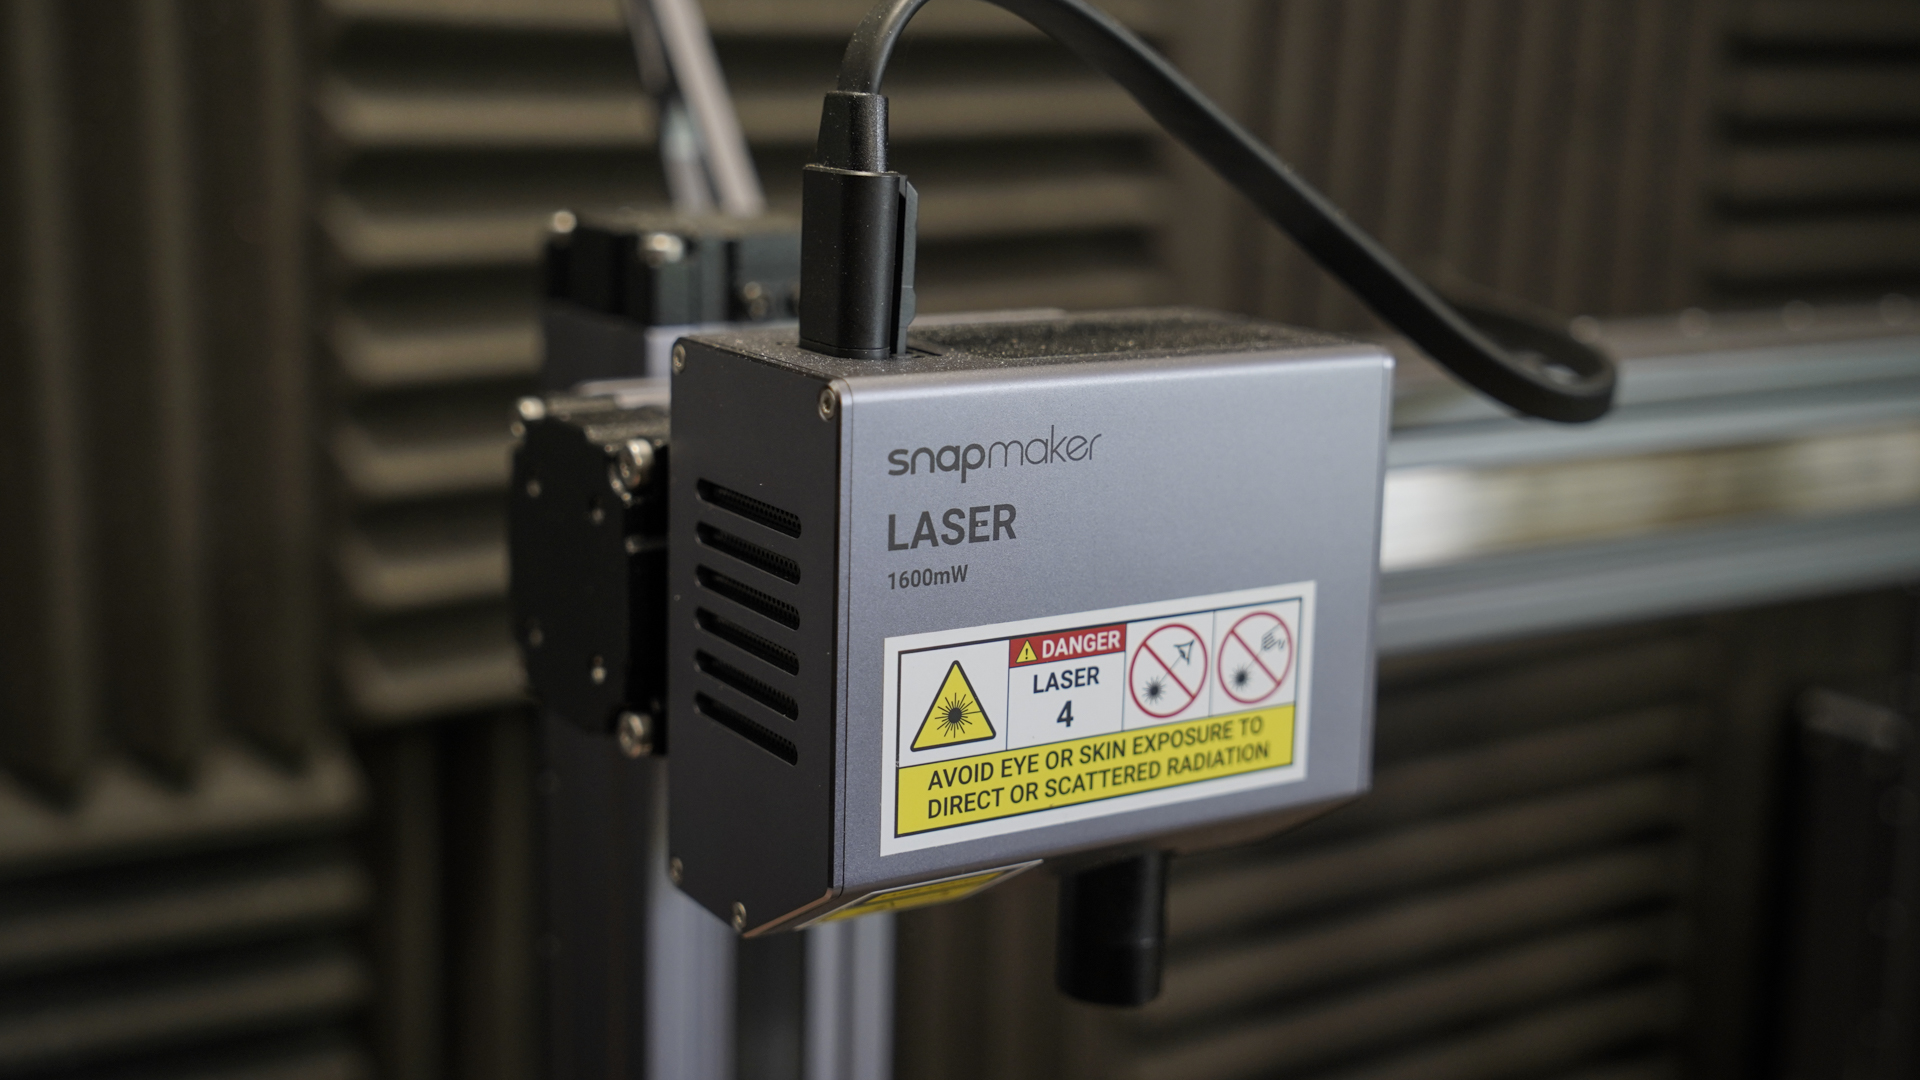
This power of the laser is more than enough to cut or etch into materials such as wood, leather, plastic, fabric, paper and non-transparent acrylic.
Files are all handled through the SnapMaker Luban software which will support SVG, JOEG, PNG, JPG, BMP and DXF files.
A nice feature of the laser cutter tool head is the camera that enables you to see the size of the material you're using against the design before you start making the cuts.
CNC features
The final tool head is the CNC; this is essentially similar to a drill head which takes the CNC drill bits.
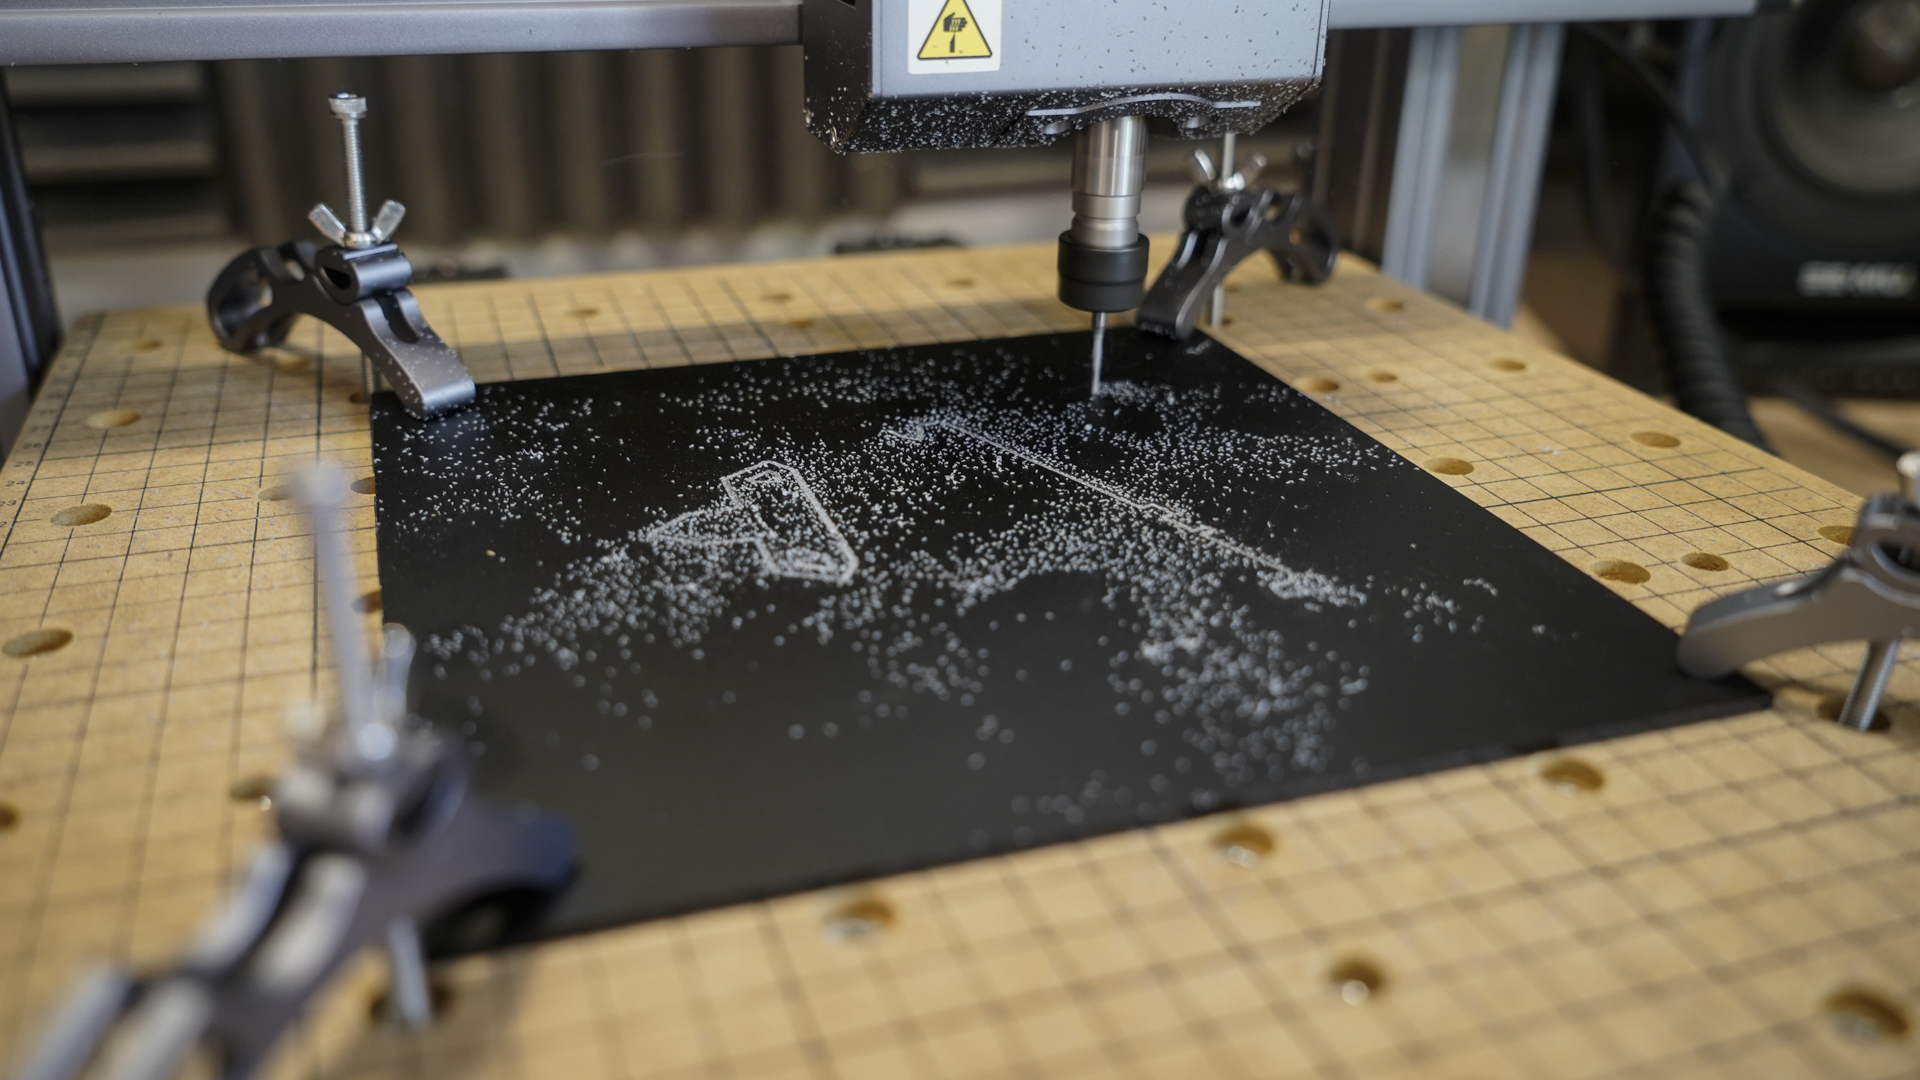
The CNC drill bits fit into a 0.5-6.35mm shank which offers 6000-12,000 rpm. Like the rest of the machine, this is exceptionally well spec'd for this size.
A good variety of materials can be used including wood, acrylic, carbon fibre sheet, jade and more.
File compatibility includes .cnc and .nc, there are plenty of applications that will enable you to convert image formats into the required file type, or we found that you can also load in other file formats and adjust the parameters within Luban.
Set-up overview
The initial set-upset-up process takes around half an hour to an hour and involves unpacking and assembling all the components.
Construction is straight forward, and the instructions and online video tutorials make the entire process completely trouble-free.
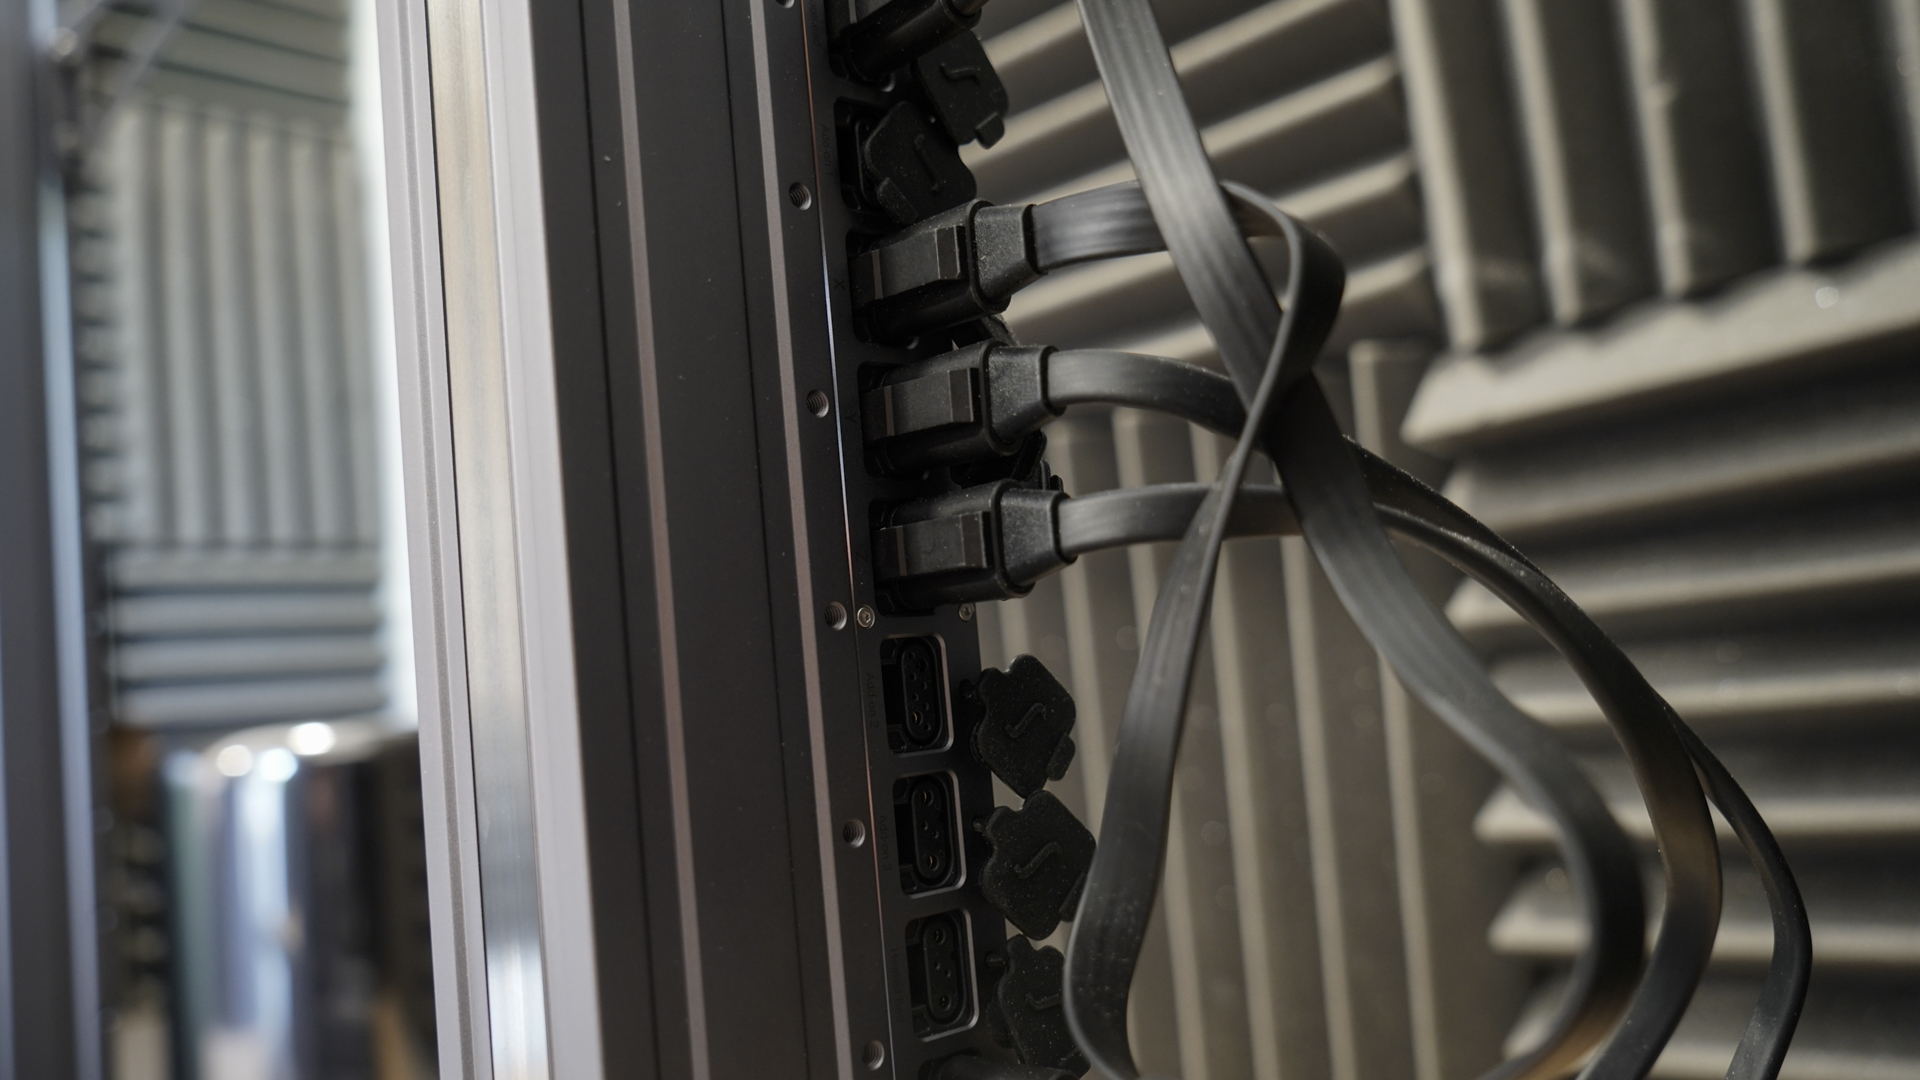
The design and quality of the parts mean that there is very little if anything that can go wrong during the process, and once you switch on the machine with the 3D print tool head and heated bed installed you're almost ready to go.
The SnapMaker 2.0 connects to the SnapMaker Luban software through either USB or WiFi, and throughout this test, I used the WiFi connection. Setting this up using the machines touchscreen interface was fast and easy, and once done, that's it connected on your home wireless network.
Calibration
The tool head calibration takes a few minutes, but once again, you're guided through the process which is much like any other 3D printer. This takes around 10 minutes, and when complete, you're ready to go.
These are the full specs of the SnapMaker 2.0 A350:
Build Volume: 350 x 320 x 330mm
Memory: N / A
Nozzle size: 0.4mm
Layer Height: 50 - 300 microns
Bed: Heated up to 80ºC
Print Surface: Flexible magnetic
Software: SnapMaker Luban
Materials: PLA, ABS, TPU, Woodfill
Included Material: PLA
Swapping to the laser cutter and CNC tool heads took a little more time, swapping over the hardware is simple enough, just unbolt and unplug where relevant and then calibrate.
Calibration for the Laser and CNC tool heads took a while especially the CNC as there are a few more processes to work through due to the differences in material densities, heights and sizes. Still, again the calibration steps are similar to other machines.
Overall, setting up and switching between tooling was a straight forward process, but you do need to give yourself a good 20-30 minutes to get each swap properly set-upset-up and calibrated.
Ali Jennings is the imaging lab manager for Future Publishing's Photography portfolio. Using Imatest Master and DxO Analyser he produces the image quality tests for all new cameras and lenses review in TechRadar's cameras channel. Ali has been shooting digital since the early nineties and joined Future's Photography portfolio back in 2003.
