Why you can trust TechRadar
3D Performance
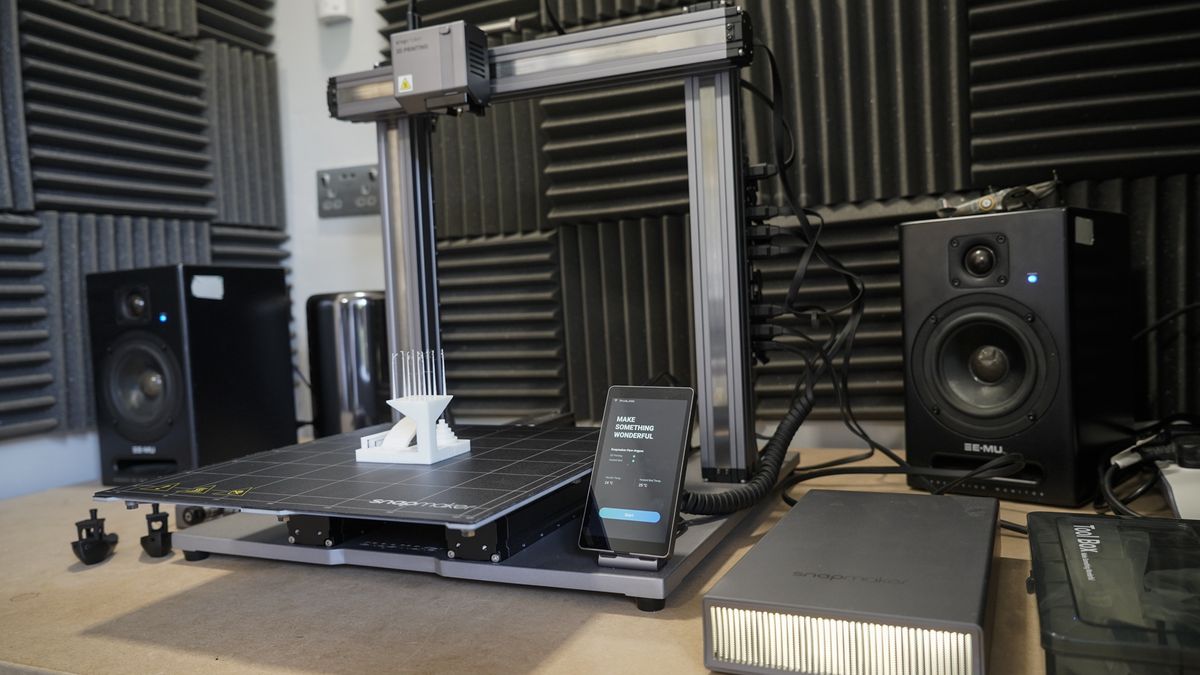
The SnapMaker 2.0 features robust construction with thick towers making up the H frame design. There's no give or movement, and for the size, it's relatively heavy. These factors all contribute to the surprisingly good accuracy and print quality.
Once the models are loaded to the SnapMaker Luban software, all the usual parameters can be adjusted and previewed before the file being sent across.
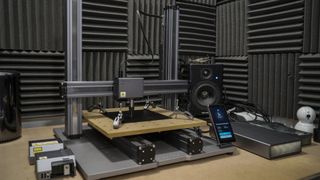
The Luban software handles the process smoothly, and there's little if anything to fault with the process.
Print times are relative to other mid to high-end 3D printers and watching the process you can see that SnapMaker has focused on the precision of the modelling.
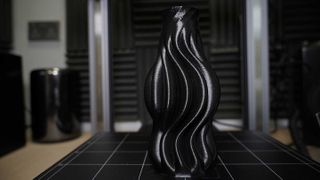
While the layer height may not be the finest on the market, the quality of the prints at all quality settings are accurate and precise with little if any error other than some stringing appearing on finer points.
The only real issue with the 3D printing is the noise; the SnapMaker 2.0 is not a quiet machine.
3D Print quality
Dimensional accuracy - score of 5
- Target 25 = X: 24.92mm / 0.08mm Error | Y: 24.91mm / 0.09mm Error
- Target 20 = X: 20mm / 0mm Error | Y: 19.82mm / 0.18mm Error
- Target 15 = X: 14.95mm / 0.05mm Error | Y: 14.83mm / 0.17mm Error
- Target 10 = X: 10mm / 0mm Error | Y: 9.92mm / 0.08mm Error
- Target 5 = X: 5.08mm / 0.08mm Error | Y: 4.98mm / 0.02mm Error
- X Error Average = 0.04
- Y Error Average = 0.11
- X&Y Error Average = 0.08
Fine Flow Control - score of 5
Fine Negative Features - score of 5
Overhangs - score of 3
Bridging - score of 5
XY resonance - score of 2.5
Z-axis alignment - score of 2.5
Adding up the totals gives a final score of 28 out of 30.
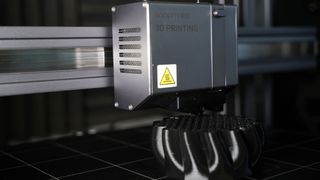
Running the FDM assessment shows a high score for the SnapMaker with the dimensional accuracy highlighting the quality of the final print.
In addition to the test, the only quality issue to look for is a small amount of stringing during the fine flow control. A slight tweak of the retraction setting should eliminate this entirely and will vary depending on the material used.
Laser performance
Next up is the laser tool head and after the metal bed is screwed down, and laser head is in place the calibration starts. This process is pretty quick and involves setting the laser focus height.
Once done, the material can be loaded, and the small camera next to the laser enables the accurate positioning of the material in relation to the work area.
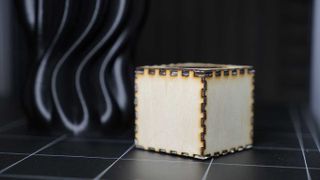
There's also a run boundary option which runs the tool head over the working area. You can use this to visually check that the laser will fall withing the material area and is an excellent feature.
Once all is prepared, and making sure you're wearing the provided safety glasses you can hit go. Cutting and engraving times are good, and the final result is awe-inspiring.
When it came to the laser, I would like an enclosed area, and SnapMaker has released an encloser which I would definitely consider if laser cutting regularly.
CNC permanence
Compared with 3D printing and laser cutting I'm less familiar with the home CNC, and therefore the set-upset-up process did take considerably longer, more through countless checks and rechecks.
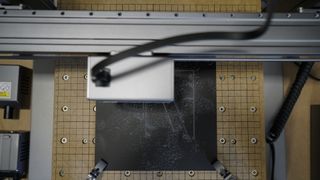
However, once again, the documentation, online videos and software all came together to provide clear and easy directions to get started.
Unlike 3D print and laser where you can quite quickly load your model and material and get going the CNC requires a little more input.
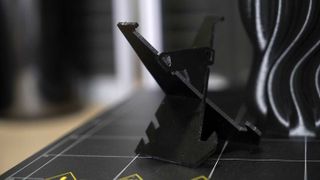
Materials type and size all need to be input, and then the design needs tweaks to set depth and tabs.
The tabs are essential to stop cut out parts from becoming separated from the rest of the material during machining and essentially hold things in place during the cutting process.
Again SnapMaker Luban provides all the tools that you need, and while it is a little time consuming when starting, you do feel that you're learning and developing a skill that will over time become second nature.
In this test, I only felt confident to create cutouts with the CNC, but with the different tools, you can machine reliefs and all sorts.
Of the three tool heads, the CNC is the one that shows the power of this 3-in-in machine.
Final verdict
When the SnapMaker 2.0 arrived, it was instantly impressive and not just for the weight of the box. Unpacking and everything inside is beautifully laid out, and then the construction and initial set-upset-up straight forward.
It does take time to swap between the different tool heads and platforms and then calibrate, but then the amount of space that you save by taking this approach is enormous, and there's no doubting the quality of the machine.
3D print, laser and CNC quality are superb; this is a machine that masters all three disciplines even if the user is slightly lagging on some skills. The key as ever is preparation and calibration; you need to take the time to set-upset-up the machine correctly.
If buying the SnapMaker 2.0, I would also go for the enclosure. For 3D printing, this would help to cut down on the noise and would help to contain fumes from materials such as ABS.
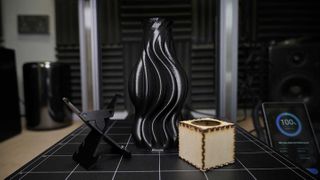
When laser cutting the machine does need to be in a well-ventilated room as the fumes from wood and plastic are intense, this is not a machine to sit in your office, rather it should be in a workshop.
Of the three features, I was most impressed with the CNC, seeing the potential of the tool head and what it could do. This may be because it's the area I'm least familiar with, but the quality was consistent across all disciplines.
The SnapMaker is a 3-in-1 machine, and while it does take time to swap tool heads and calibrate, it manages all three tasks with incredible accuracy and quality.
If you're a maker, modeller or crafter then the SnapMaker 2.0 is the ideal machine for you, it is so full of potential it inspires you to get creative.
- We've also highlighted the best 3D printer
Ali Jennings is the imaging lab manager for Future Publishing's Photography portfolio. Using Imatest Master and DxO Analyser he produces the image quality tests for all new cameras and lenses review in TechRadar's cameras channel. Ali has been shooting digital since the early nineties and joined Future's Photography portfolio back in 2003.
I usually hate cleaning, but the Roborock F25 Ace wet-dry vacuum made it kind of satisfying
Testing Samsung's new AI-powered vacuum taught me that I don't really need my vac to be know the difference between every single surface
I’ve used a lot of power banks, but the Baseus Blade Pro is the only one slim enough for my laptop sleeve
