Why you can trust TechRadar
Performance
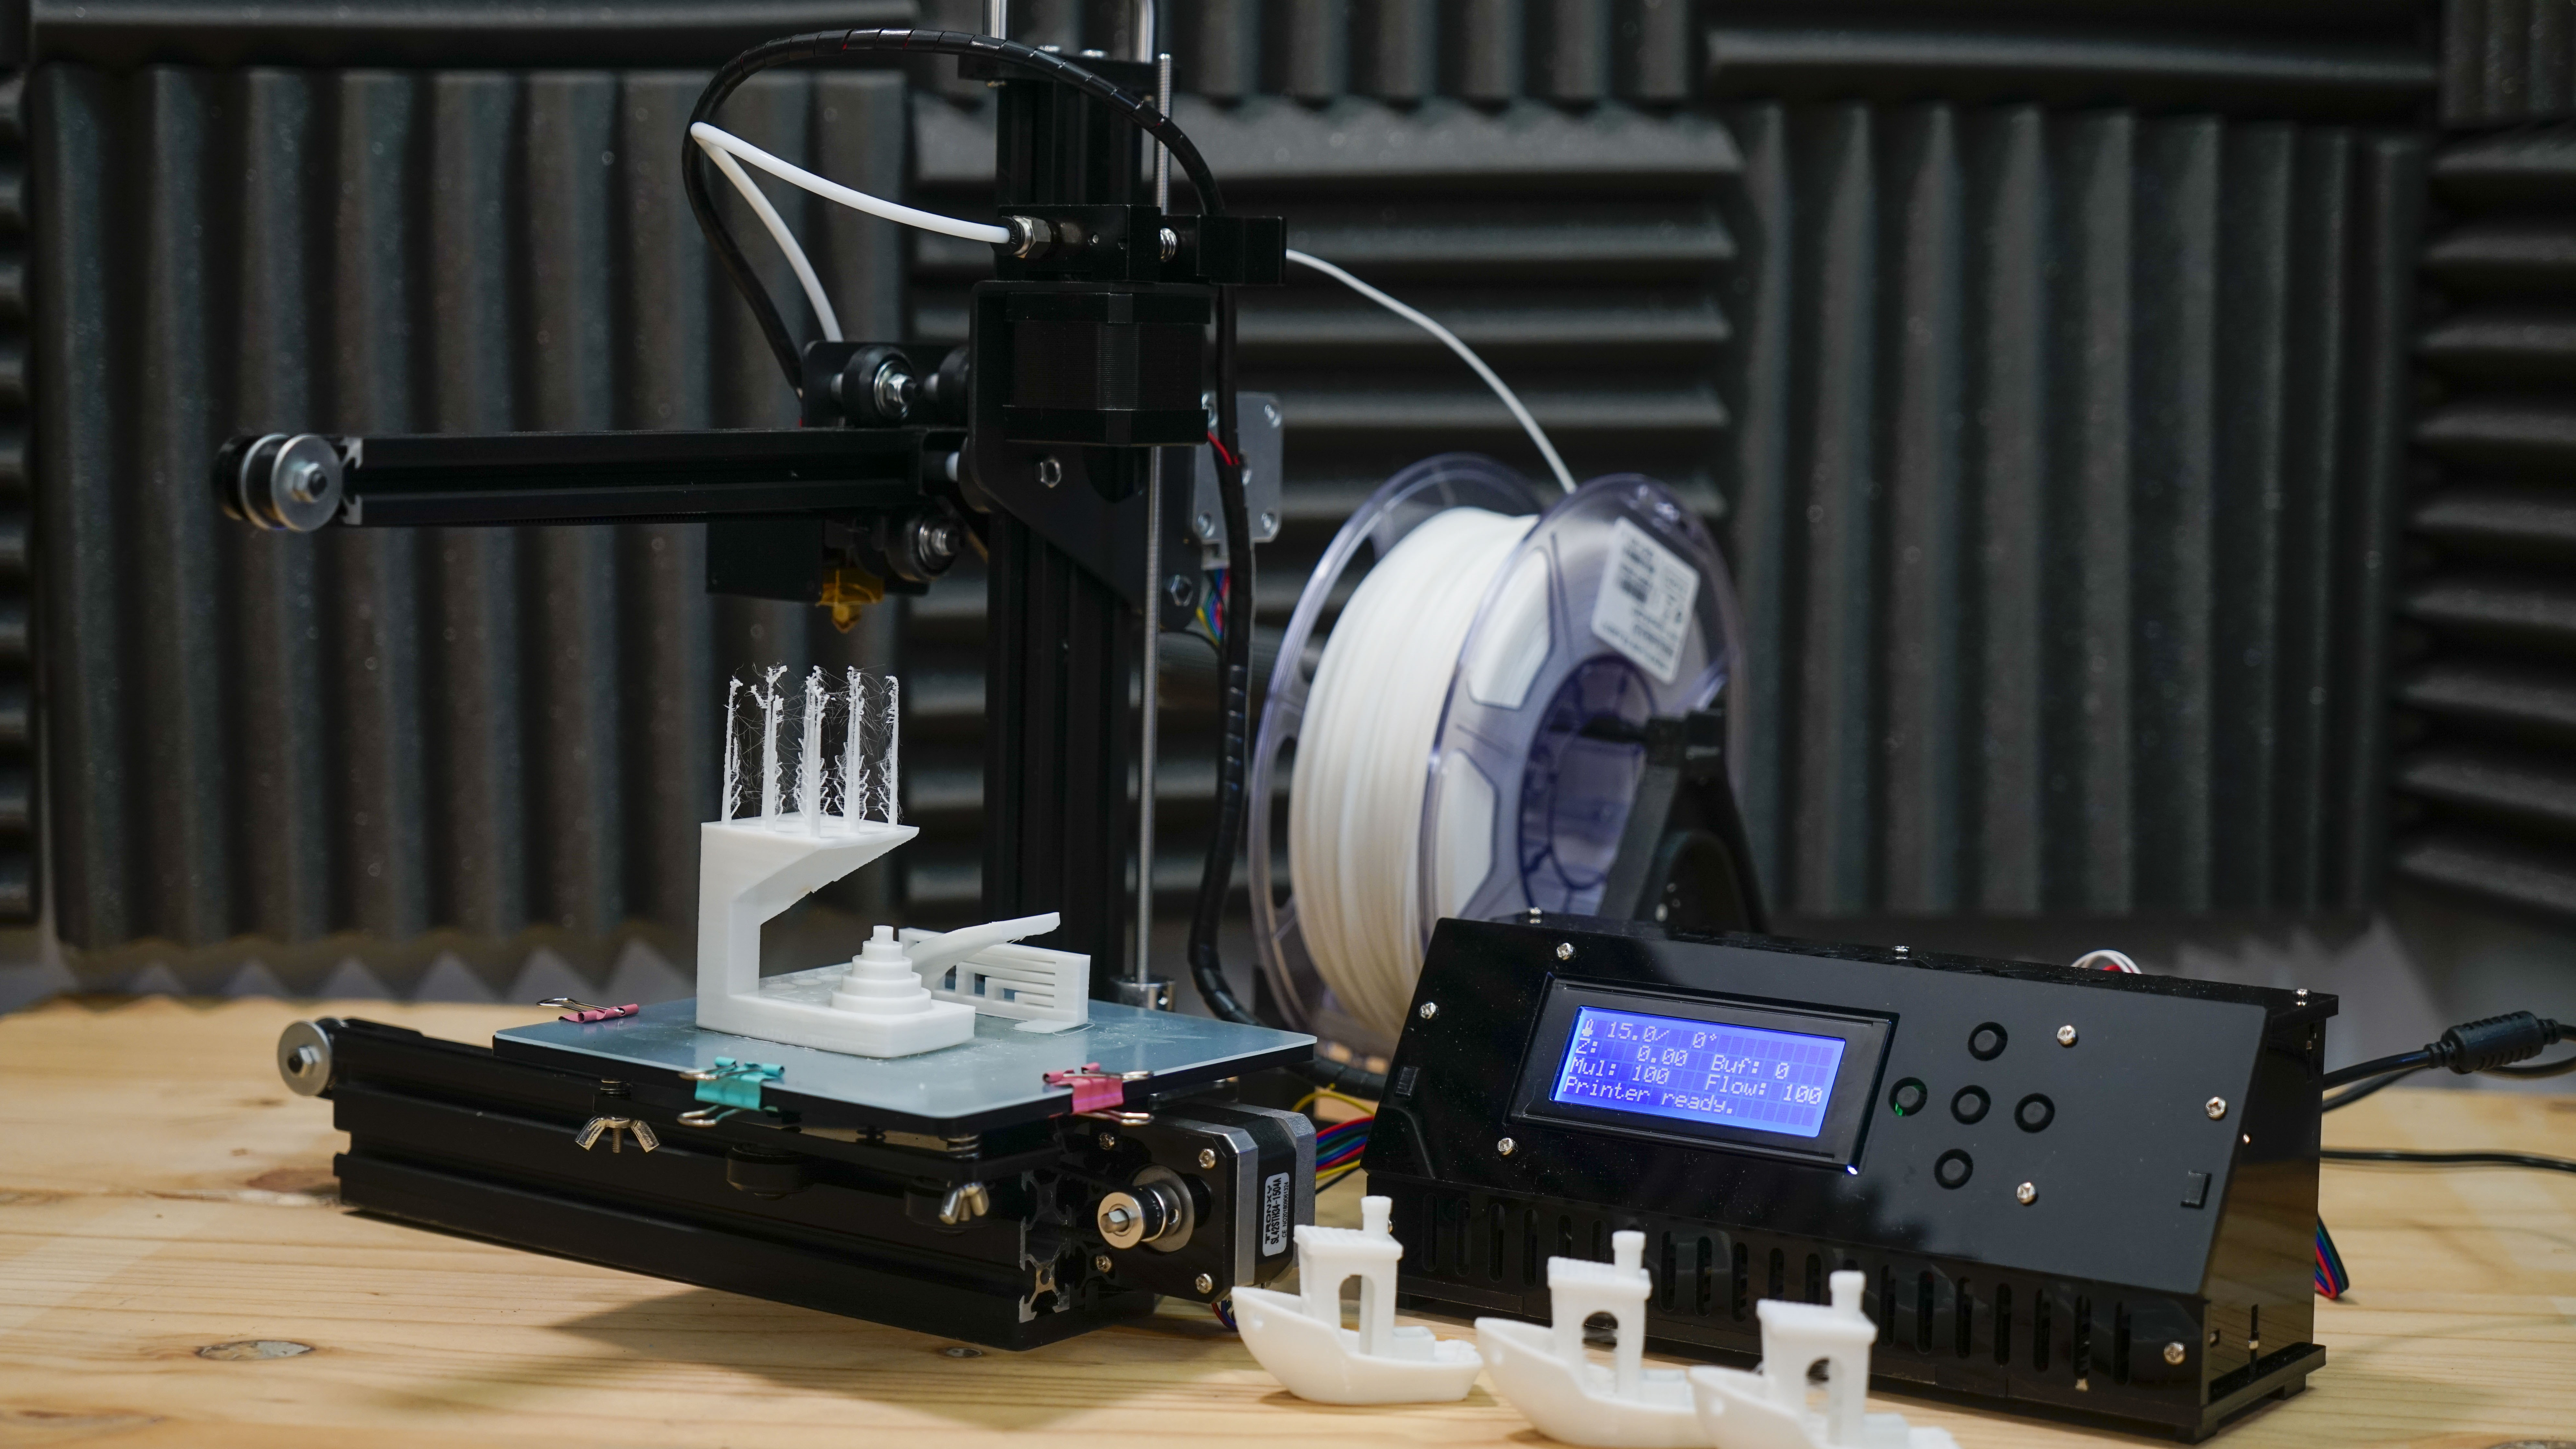
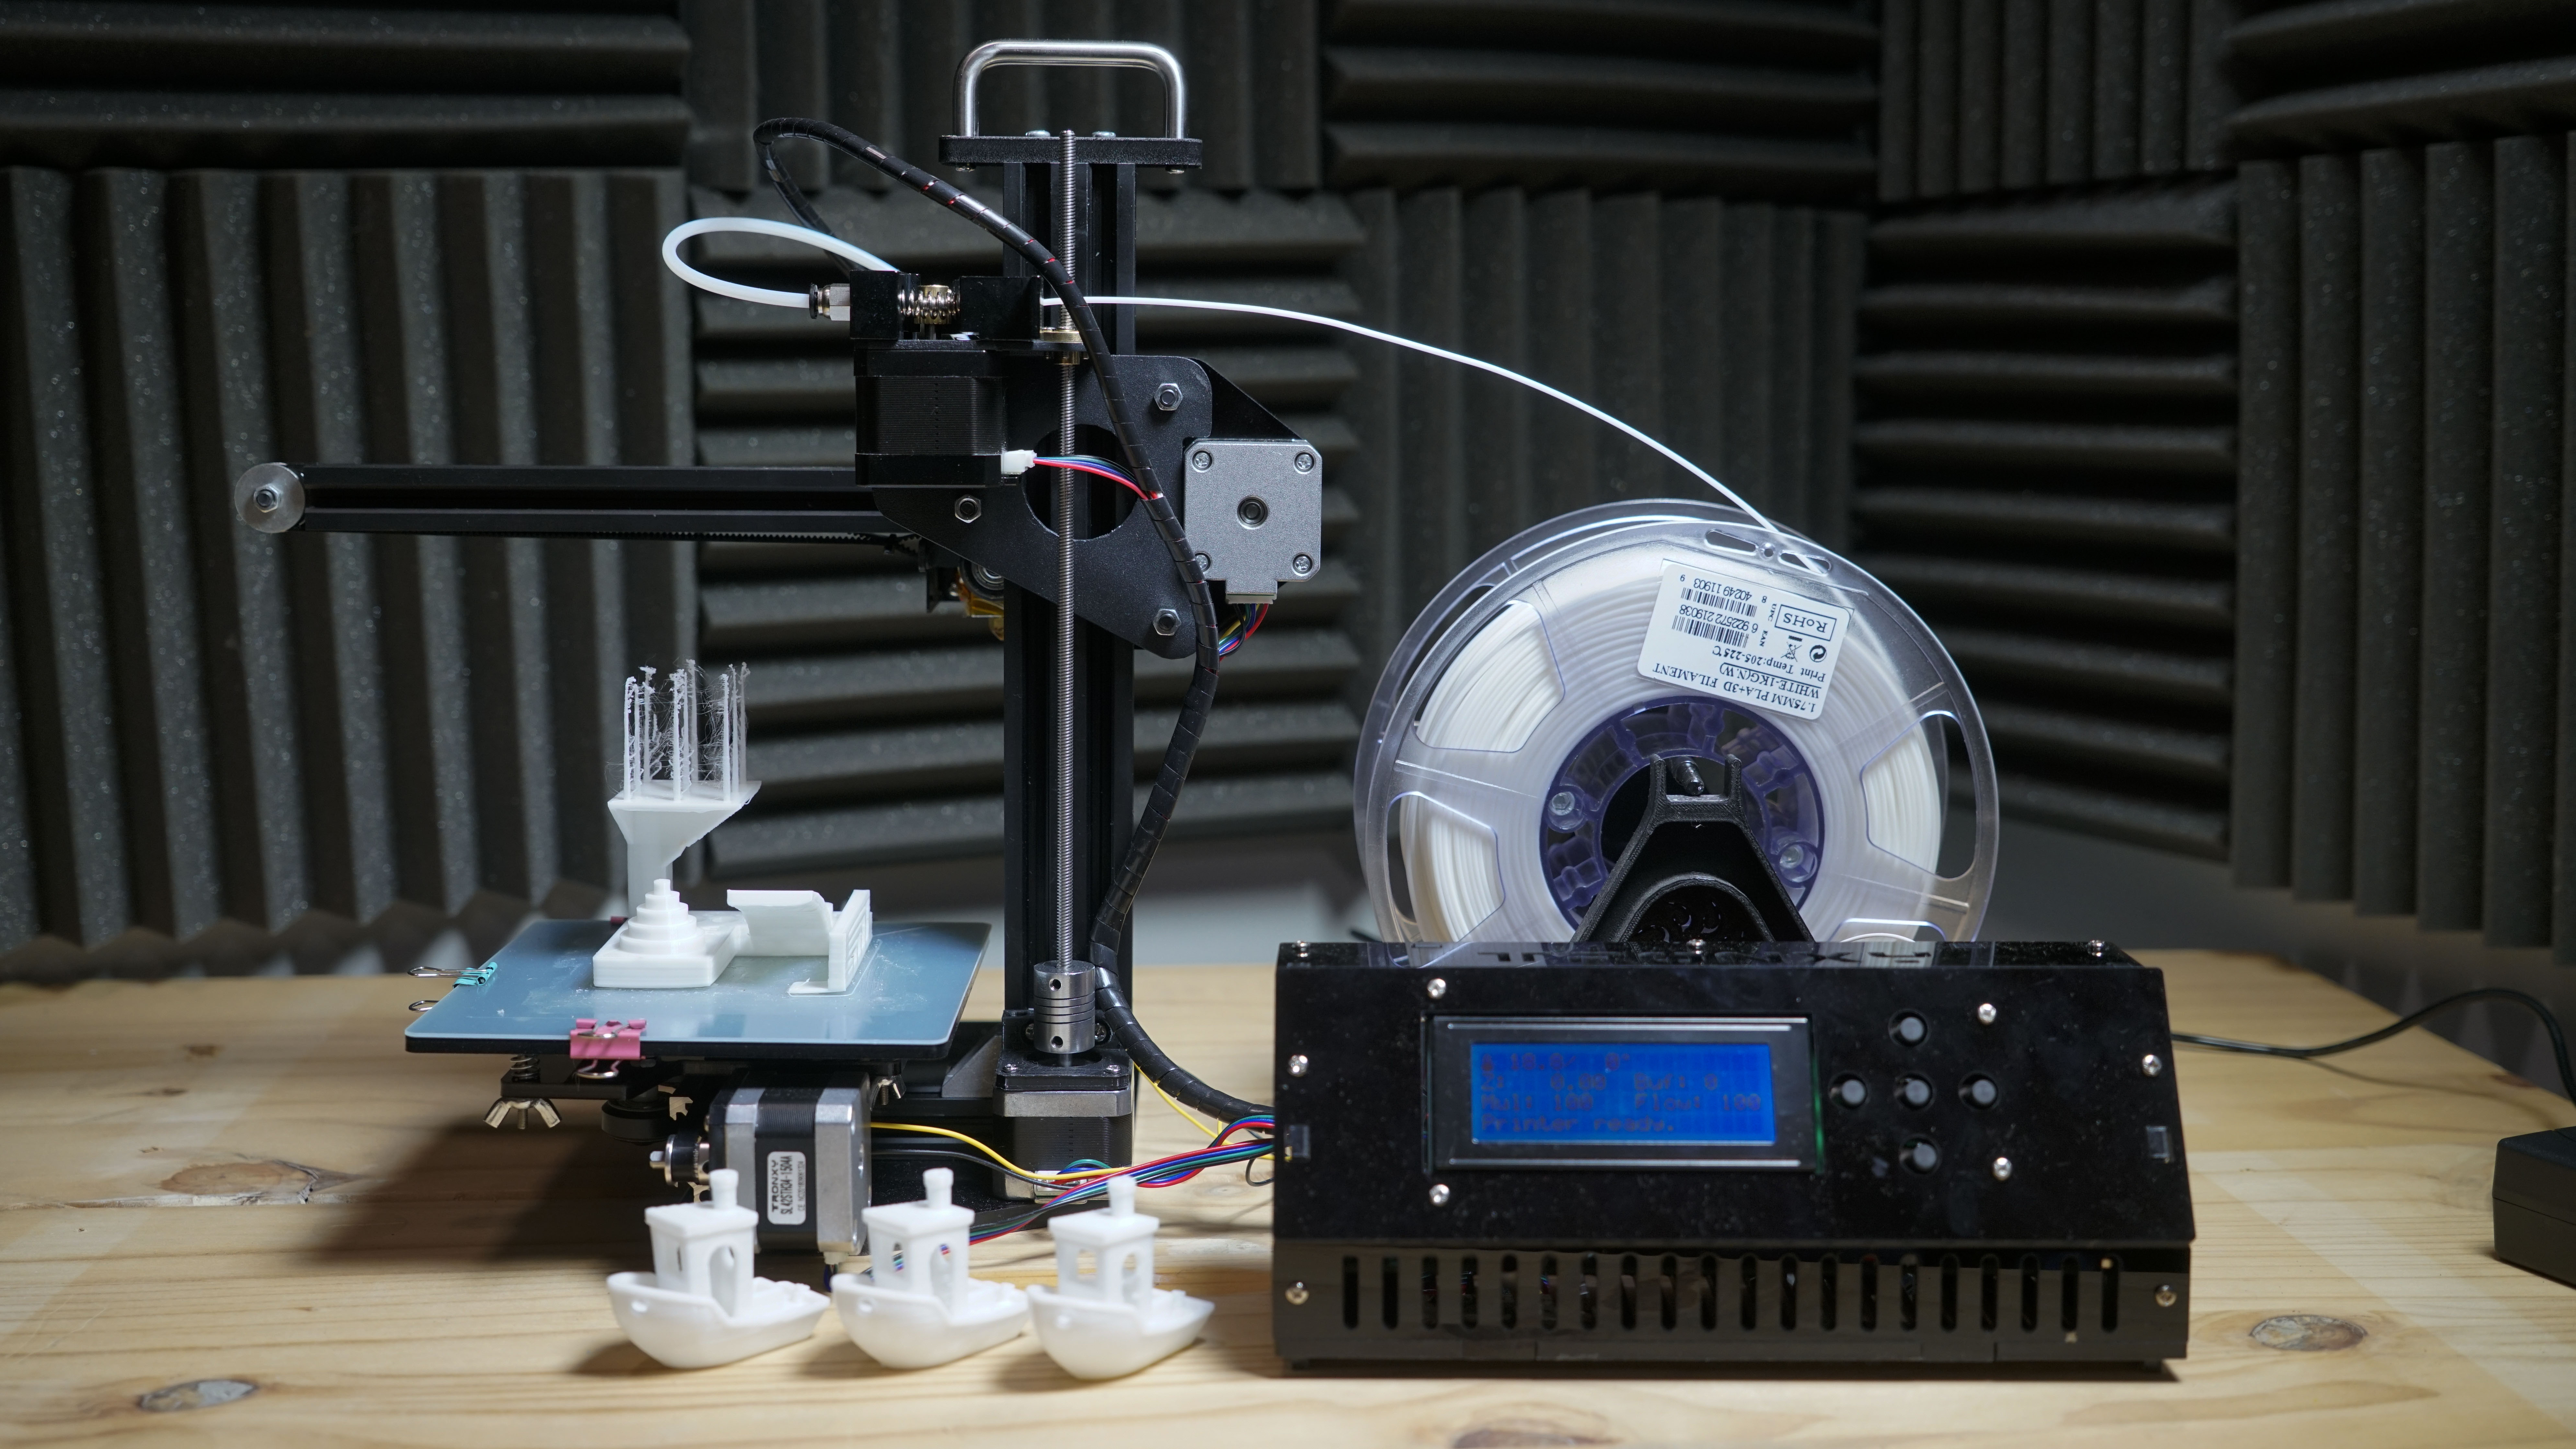
As the Tronxy X1 doesn't come with a spool holder, I used one from an Original Prusa i3, which as ever did the job.
Locating the file to print was easy enough, although the menu system is relatively slow to respond, there can be a good second or two between clicking and that command being executed.
Once the file for print is selected the machine then gets to work, or at least it does once it's processed the file, warmed up and had a think.
After about 5 minutes, the printer sprung into life, and the print process started. The initial layer was laid down with impressive precision, and as layer after layer build, I was pleasantly surprised by the quality of the print that was slowly emerging.
Being so cheap, I was also expecting a loud and squeaky printer. However, the stepper motors and drivers we're surprisingly quiet, as was the axis movement once greased, not too far behind the noise levels of the Original Prusa i3 MK3s.
Once the first print finished, I can only say I was impressed, printed at standard quality, and the result was better than many printers many times the price of the home built Tronxy X1.
After a week of printing, the holes in the Tronxy did start to show, Loctite was used to make sure that those bolts that should have been locking bolts but weren't stayed put, and other bolts and screws tightened and adjusted as needed.
The printer takes a good week to settle in, but once you've spotted the issues and resolved them, the result is a good solid printer.

Print quality
As the print quality test started, it was already obvious where this printer excelled and where it failed. It's also possible to see how some of the print issues could be quickly resolved.
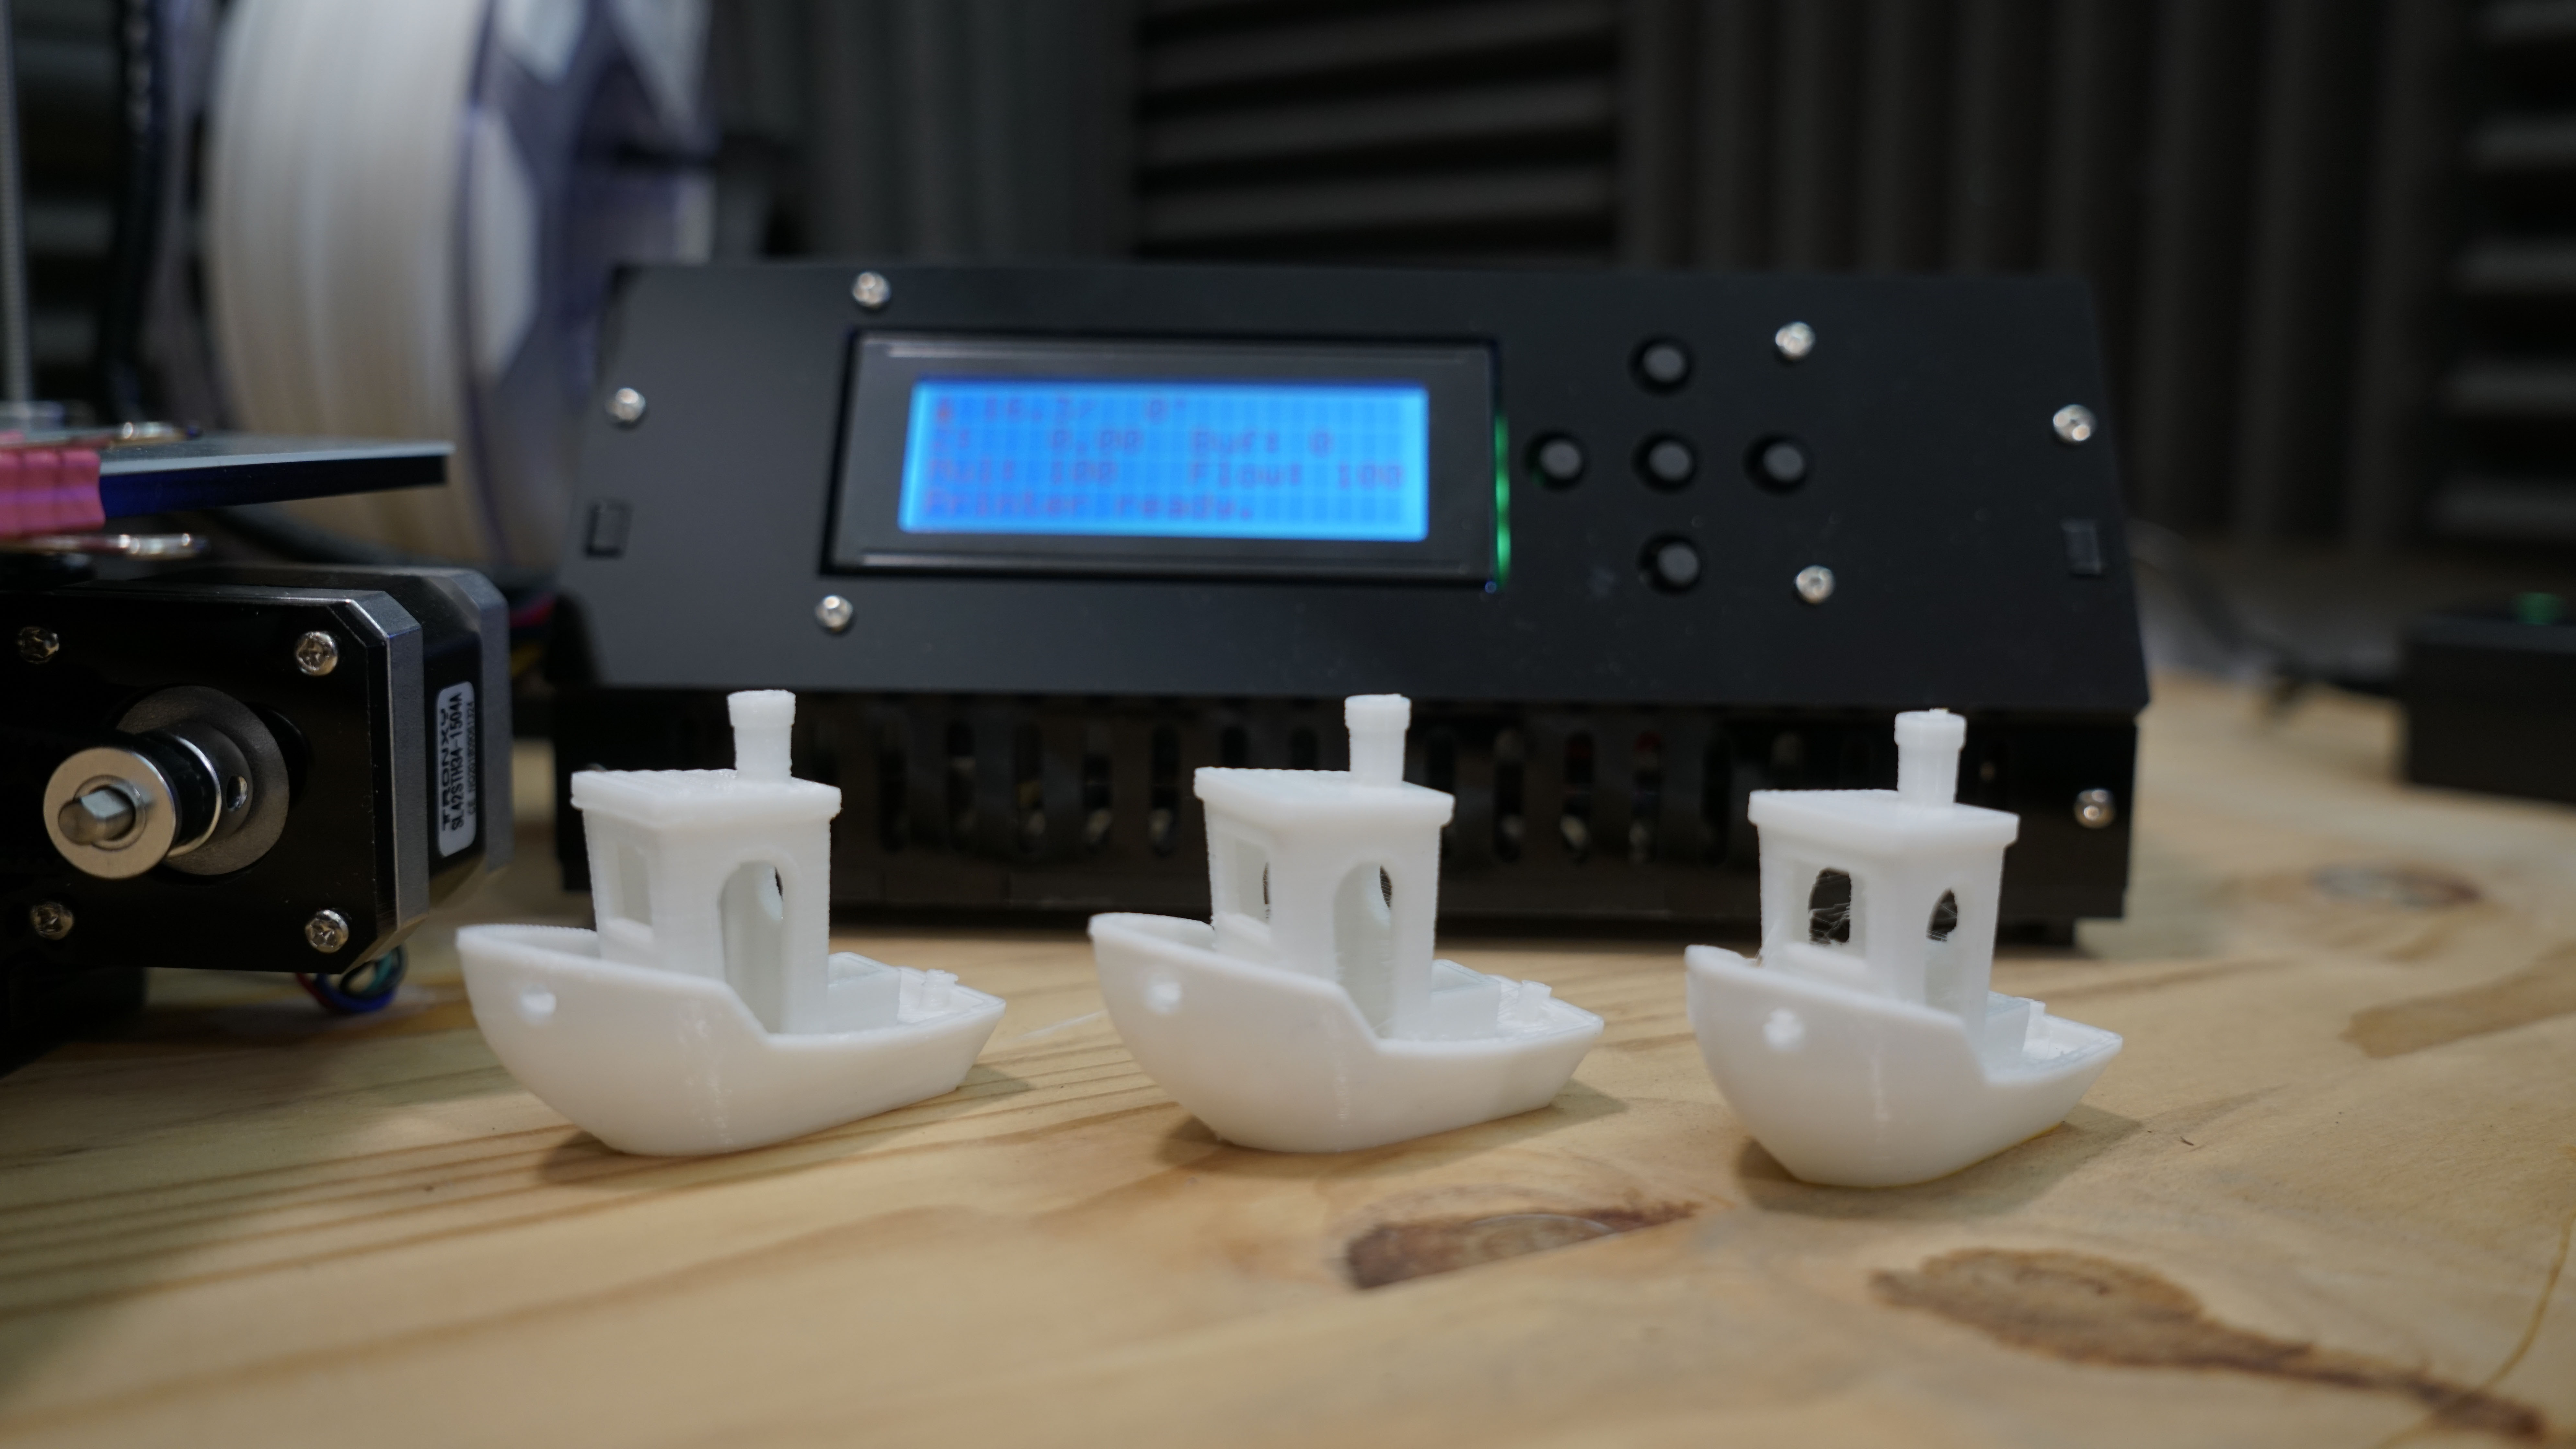
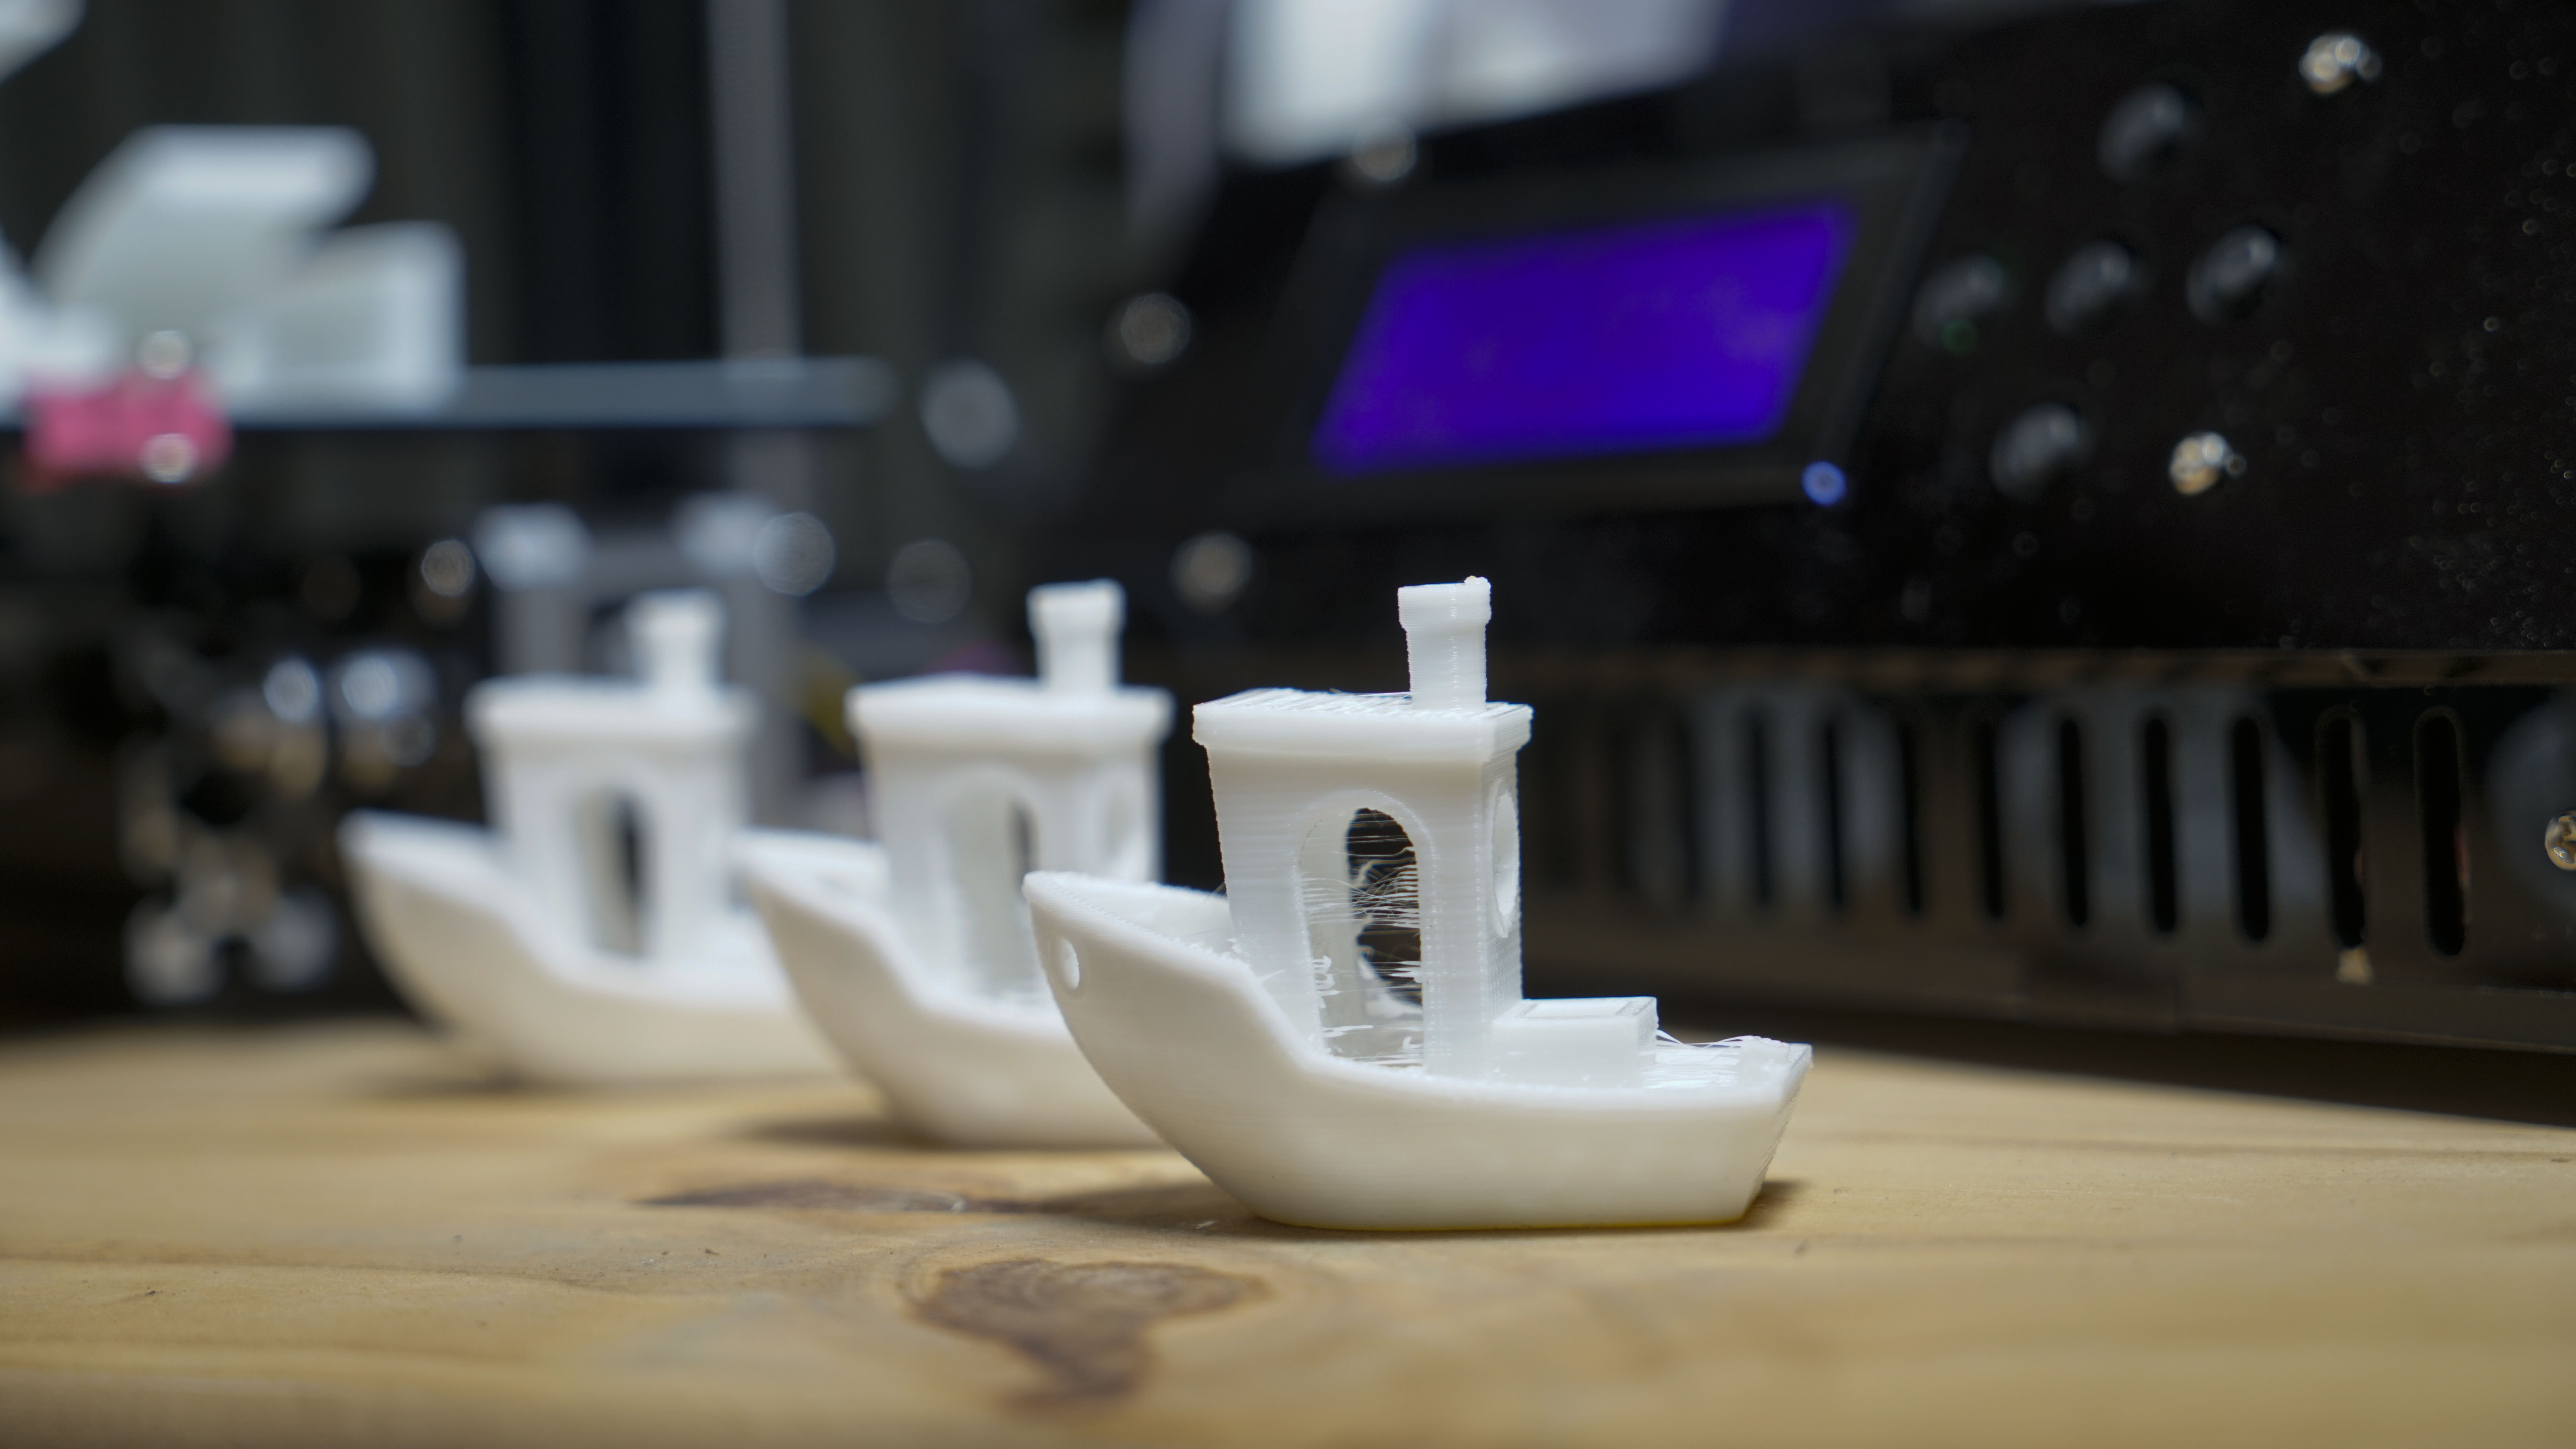
Basic prints, models without the need for super fine detail were no problem for the printer. Anywhere where there was fine detail, the nozzle would leave an impressive trail of string.
This issue could be overcome by placing a fan across the print bed to help cool the extruded filament, but that would be an addition and give the printer an unfair helping hand.

The first test was to print 3DBenchy, and the results were impressive. The normal quality model looked great with structure printing cleanly, as the quality increased the small nozzle and lack of cooling fan led to some stringing and a few very minor issues with the extrusion flow, but not so much that you'd be bothered.
Fast prints were fast and generally trouble-free, and while the print platform was small, for the majority of objects, it was more than adequate.
Moving on to the significant and tricky print quality test, and this really started to show where the printer struggled with some quality aspects.
Dimensional accuracy - score of X
- Target 25 = X: 24.55mm / 0.45mm Error | Y: 29.62mm / 0.38mm Error
- Target 20 = X: 19.58mm / 0.42mm Error | Y: 19.62mm / 0.38mm Error
- Target 15 = X: 14.63mm / 0.37mm Error | Y: 14.75mm / 0.25mm Error
- Target 10 = X: 9.86mm / 0.14mm Error | Y: 9.88mm / 0.12mm Error
- Target 5 = X: 5mm / 0mm Error | Y: 4.9mm / 0.1mm Error
- X Error Average = 0.276
- Y Error Average = 0.23
- X&Y Error Average = 0.253
Score of 3
Fine Flow Control - score of 2.5
Fine Negative Features - score of 4
Overhangs - score of 2
Bridging - score of 2
XY resonance - score of 0
Z-axis alignment - score of 2.5
Adding up the totals gives a final score of 16 out of 30.
The print test showed promise for this small printer. 16 out of 30 is nothing remarkable until you consider the price tag and the fact that it's a self-build.
I have little doubt that with a few additions such as a fan to cool the filament and a little more tweaking, this printer could rise to the low 20's.
Although the score shows good dimensional accuracy, a close look at the print shows where it has struggled with the smooth cylinders that make up the test.

You can see a slight squaring rather than perfect rounds and flipping the test over and looking at the overhangs; you can see some filament dropping. This is related to the relatively low bridging test score and again can be attributed to the lack of fan pointing in this direction.
Through the test, I used a high-quality filament that usually doesn't suffer from warping, however here at the corners, there was a slight lift from the edges.
The key to quality from the small printer is ensuring that everything is level, tightened and correct before each print. It's a little like stepping back several generations of 3D printer.
That being said, this printer gives you an access point to 3D printing technology, and for the money, it gives you something that few other printers at sub £150 can provide.
Final verdict
At less than £150 the Tronxy X1 looks like a great deal, and it is. Arriving as a kit, it's fun to put together and will show you the inner workings of a 3D printer in a way that buying one prebuilt won't.
It will also give you a good idea of how the printer works and ultimately how to fix it if it all goes wrong.
The kit itself is of decent quality, although you can see where the company has saved money by using standard rather than locking bolts. Other cheap parts have also been used where something a little more substantial might have been better.
As previously mentioned, you do have about a week after the build where you find that nuts and bolts have come loose and a little Loctite is needed to keep things together.
Once assembled the printer itself is impressive and solid. It is a shame that the spool reel isn't supplied and that the power pack is separate from the rest of the printer, but then that's why it's the price it is.
When it comes to print quality, the models produced were surprisingly good, and the fact that the printer was quiet and fast was a huge positive.
When it came to the software, I couldn't get this to work with the printer. However, almost every other free piece of Slicer software out there seemed to work just fine.
The Tronxy X1 is a decent printer; I loved the size and see this as having real potential.
As a way to get into 3D printing, then the Tronxy X1 is a great option, especially when you consider the price.
- We've also highlighted the best 3D printers
Ali Jennings is the imaging lab manager for Future Publishing's Photography portfolio. Using Imatest Master and DxO Analyser he produces the image quality tests for all new cameras and lenses review in TechRadar's cameras channel. Ali has been shooting digital since the early nineties and joined Future's Photography portfolio back in 2003.
