TechRadar Verdict
A very basic video editing program which will suit someone not looking for too much when working on a project.
Pros
- +
Simple interface
- +
Innovative implementation of some tools
- +
Drag and drop interface
- +
Can upload directly to social media
Cons
- -
Windows-only
- -
Import from camcorder still not ideal
- -
Some tools feel too complex for novices
Why you can trust TechRadar
Update: This review is for an older version.
For the latest release, see our Vegas Pro 19 review
-------
If you’ve heard the name Vegas in connection with video editing software, you’re likely thinking of the company’s impressive, professional applications for advanced movie making. Vegas Movie Studio 17 is not that. Instead it’s a Windows-only programme offering the basics for novice users.
So what do you get for your money?
- Want to try Vegas Movie Studio 17? Check out the website here
At $49.99 (£39.99), Vegas Movie Studio is the cheapest, and hence most basic video editing application in the range, with some limited functionality such as a lack of motion tracking, video stabilisation, and screen capture features. Next up is Vegas Movie Studio 17 Platinum, for $79.99 (£59.99), and the most expensive in the range is Vegas Movie Studio 17 Suite, for $99.99 (£74.99) (a discount that is apparently offered until the 9/9/2020 when it will revert back to $139.00 (£99.99)).
We got our hands on the the Premium version and have explored what it has to offer…
Getting started
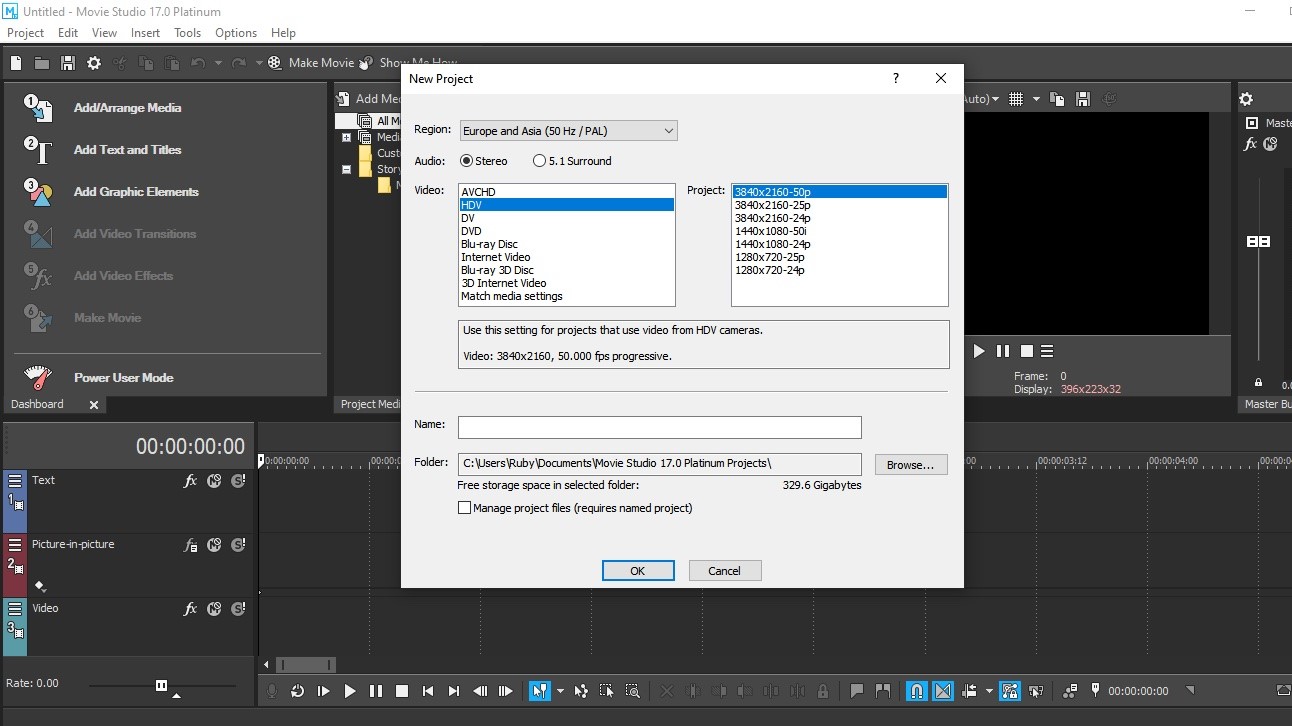
When creating a new project, you need to specify its resolution - owners of Premium or above can select up to 4K, while the cheapest version of this video editor can only go up to HD. HD is still pretty much the default, so this limitation shouldn’t hamper your creativity.
Importing media is an easy matter of finding the files you wish to use on your hard drive.
Last time we took a look at Vegas Movie Studio, we encountered issues with importing media from an AVCHD camcorder. We regret to say that we still had problems two revisions later. There have been improvements: you can now get a one frame thumbnail preview of a selected clip, but the import process still merely links to the file on the camcorder, and doesn’t copy it to your project. We couldn’t find an option to copy the footage, but even if there was one, such an option should be on by default when dealing with a camera’s media. As a result, you need to keep your camera connected to your computer if you want to edit the footage contained within it, which is still an extremely puzzling omission. Thankfully, files in other formats fared better.
Editing
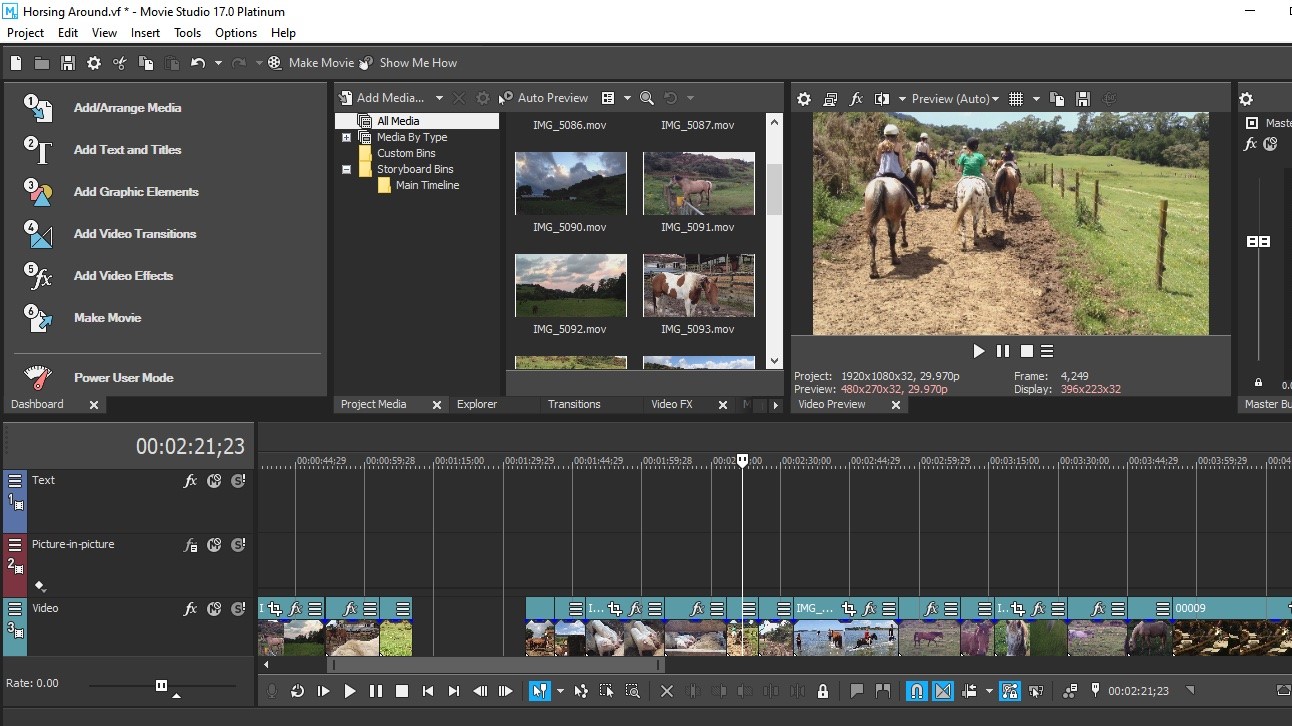
Once you’ve managed to add your media to the application, you’ll find that Movie Studio plays well with a large variety of different files. Even clips taken with an iPhone will work as expected.
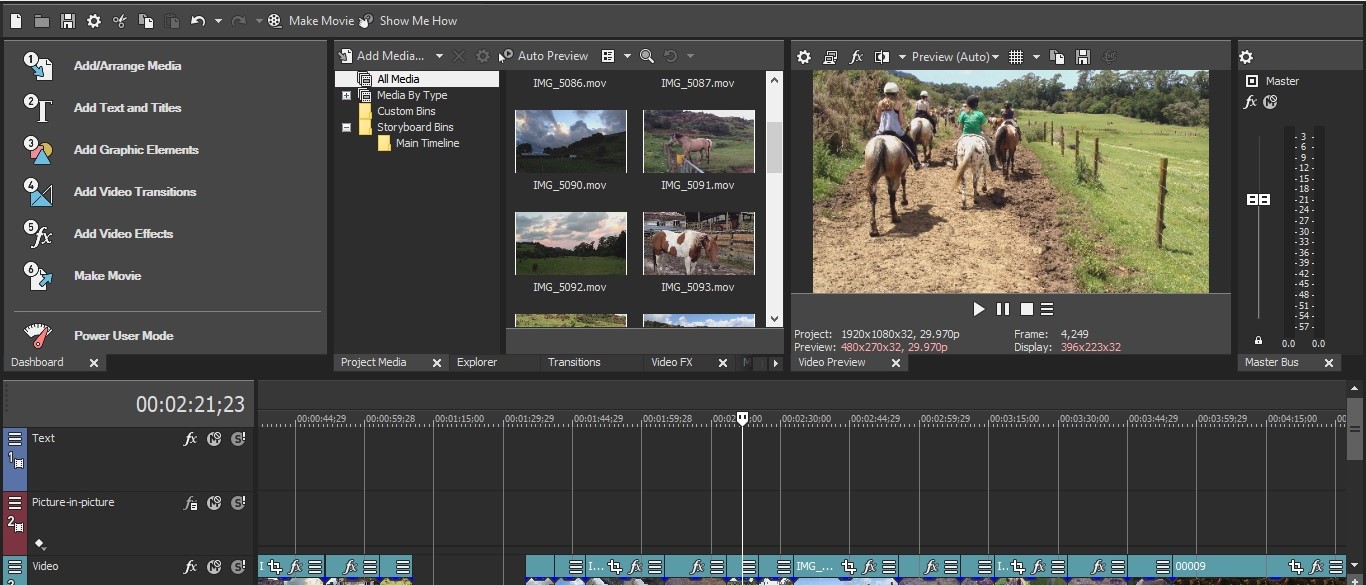
The main interface window is pretty standard fare - which is a good thing, because it’s instantly recognisable if you’ve got even the most basic of video editing knowledge.
The tools at your disposal at limited. Although you can work on multiple tracks, dragging a clip to a top layer turns it into a “picture-in-picture”, ie it’s shrunk allowing you to see it and the footage beneath it. This isn’t really what we think of when working with multiple layers. You can however cut footage, move it around, and have a few options to trim a clip and delete selected sections, but that’s about it. It is all you need as a novice user, but there doesn’t seem to be any opportunity to grow with the software.
Transitions and text
The default layout presents you with a checklist of actions to perform top left of the interface, such as ‘Add/Arrange Media”, ‘Add Text and titles”, “Add Graphics”, “Add Transitions”, “Add Effects”, and finally “Make Movie”.
Selecting them alters the interface to focus on the task at hand. For instance, click on “Text and Titles” and Vegas Movie Studio’s text tools are brought to the fore for you, where you can create your own, or choose from dozens of presets.
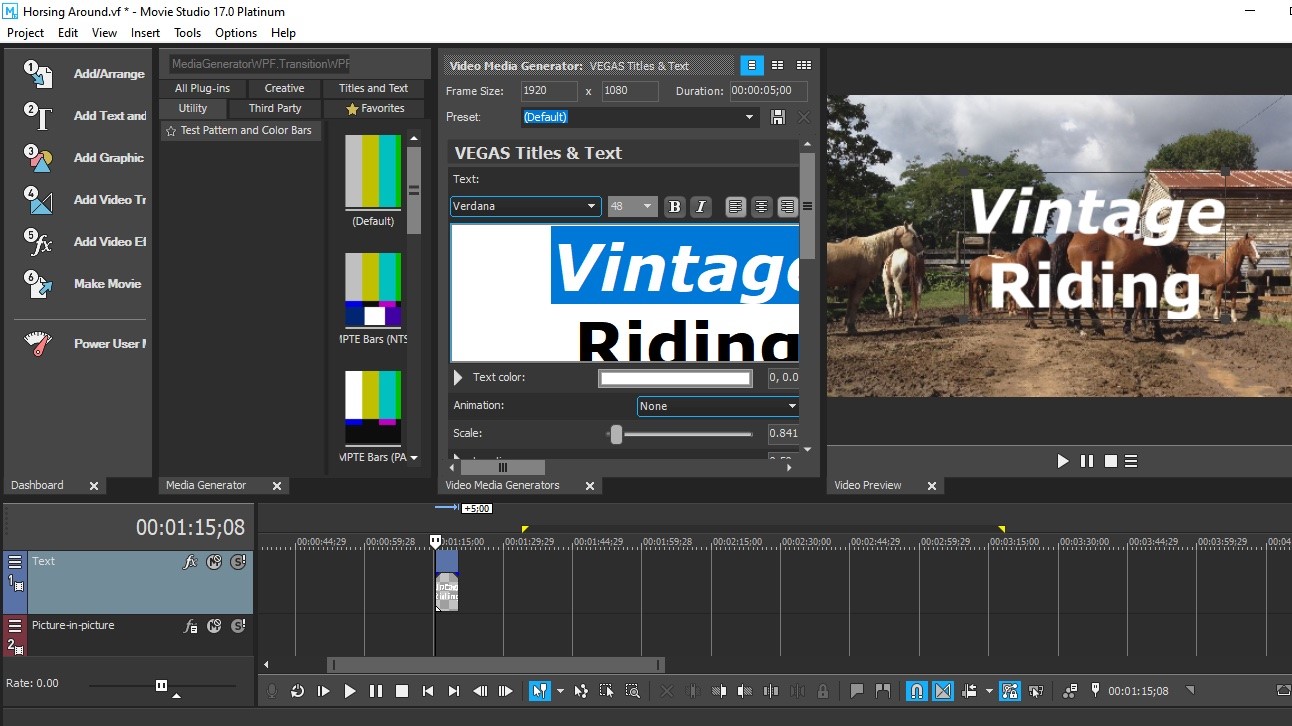
One annoying drawback is that although all text effects can be previewed by mousing over their thumbnail, they’re all on a checkered background (to illustrate that the background is in fact transparent), which makes it incredibly hard to discern what the animated title actually does.
As you drag one of those presets to your project, you are then able to alter its parameters, change the font, size, pretty much everything you’d expect. You even have the option of choosing a different text preset from a pull down menu which is a nice feature and helps you cycle through various titles until you find the one you like best, without having to drag another choice and retype your title over and over again.
Effects
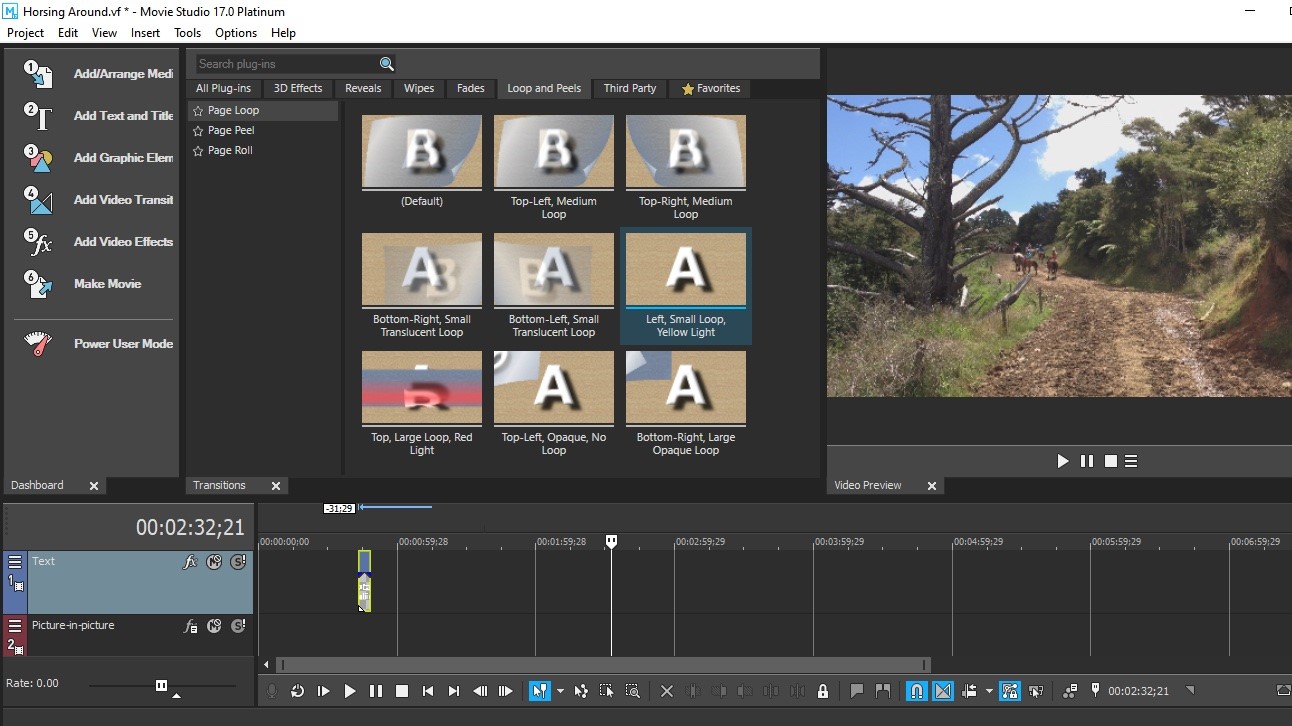
Another feature we liked is how you create transitions between clips. The process is very intuitive: say you have two clips next to each other. Drag the one on the right so its left edge overlaps the left one’s right edge. As you do so, they will overlap and that overlap then becomes a basic cross dissolve. It really couldn’t be simpler.
Of course, you may want something a little more snazzy than a cross dissolve, and Movie Studio’s got you covered on that front. You have access to dozens of transitions from a tab in the Media Panel. To replace the default transition you just created, simply drag a preview thumbnail of another one over it, and you’re done.
Contrary to the text thumbnails, previews for such graphic effects fare better, and are actually viewable.
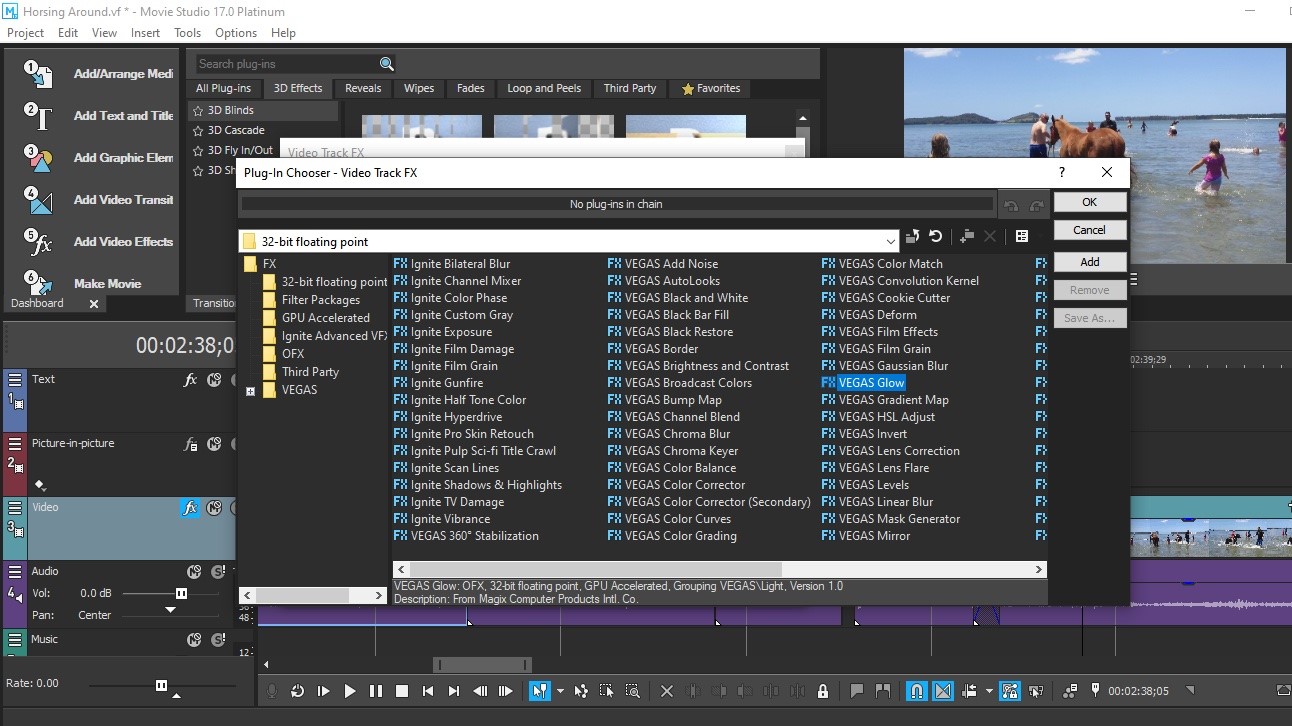
These effects can be applied either to individual clips, or to an entire track. The latter can save you a lot of time if you’re looking to transform a large number of clips.
Selecting each effect, again, feels unintuitive, as you need to select the one you wish to use from a list, with no apparent preview option available - you have to rely on the effect’s name to know which one you’re adding.
If you’d like to animate your clips, like making them pan across the screen as you zoom in or out of them, Movie Studio has some keyframing tools available, but the interface feels more convoluted than you’d expect for software aimed at novices. If someone didn’t know this feature existed, they’ll likely never notice it on their own.
Exporting
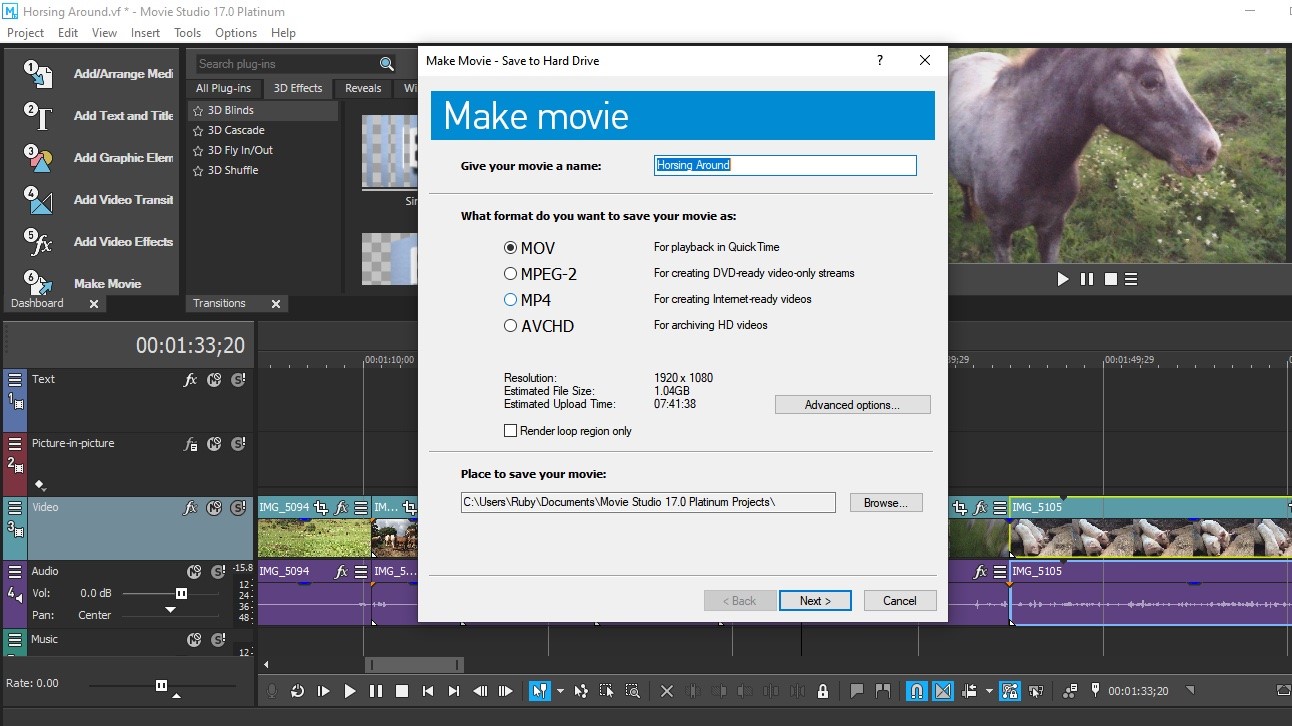
Once you’ve finished your project, and you’re happy with the results, it’s time to share it with others. The export feature is the last on the checklist and is called ‘Make Movie’. You can upload your work directly to various social media sites such as Vimeo, YouTube or Facebook. You have the option to burn your work to a DVD or blu-ray disc, save it to your camera, or to your hard drive.
The latter offers you some customisability, but also a puzzling inclusion: it lets you save files as .mov informing you that this is the file format for QuickTime, yet QuickTime has been able to read .mp4 files (another available option) for years. This feels unnecessarily antiquated and likely to confuse.
Final verdict
Vegas Movie Studio 17 is ok, but really not good as the Vegas name would lead you to believe. Your options are limited, or needlessly hidden, overly complex or confusing, and although some tools are implemented in a very clever, original, and intuitive way, on the whole it feels too limiting aside from your most basics of needs. Make full use of the free trial version to determine if this is the app for you.
- We've also highlighted the best video editing software
Steve has been writing about technology since 2003. Starting with Digital Creative Arts, he's since added his tech expertise at titles such as iCreate, MacFormat, MacWorld, MacLife, and TechRadar. His focus is on the creative arts, like website builders, image manipulation, and filmmaking software, but he hasn’t shied away from more business-oriented software either. He uses many of the apps he writes about in his personal and professional life. Steve loves how computers have enabled everyone to delve into creative possibilities, and is always delighted to share his knowledge, expertise, and experience with readers.
