How to read OBD codes
Guide to OBD codes and how to read them

There's nothing more intimidating for many drivers than to find a warning error light appear on your vehicle dashboard. While some may be confident in their ability to deal with mechanical issues, most other people will immediately have to start searching for the vehicle manual and start flicking through the pages to look for the specific error to know what's wrong. However, there is another easier and simpler way to deal with this - check the OBD code using a simple but specialist scanner.
If you're a personal user, knowing how to read and interpret OBD codes is a trick that's well worth having up your sleeve for those times when the Check Engine light in your car suddenly comes on.
However, if you're a business user with multiple vehicles, alongside investing in the best fleet management software and services and the best GPS fleet tracking solutions, understanding OBD codes is another vital aspect of vehicle maintenance that can round out a strong fleet tracking and management strategy.
When the Check Engine light pops on, it can indicate a wide range of issues with your vehicle. The light could be signalling an issue with the fuel system, the ignition or transmission, the computer circuitry or the emission controls, just to name a few. And while this may sound daunting, that's where knowing all about OBD codes can come in really handy.
Modern vehicles have onboard diagnostic computers (OBDs) that enable a mechanic with the right tools to quickly understand any problem that the vehicle is experiencing. When something goes wrong, the OBD computer stores a five-letter diagnostic trouble code (DTC) that summarizes the issue at hand. These are also commonly known as OBD codes or OBD-II codes.
Through the use of an OBD scanner, you can get this five-letter code from the vehicle so you know exactly what needs attention. Below, we walk you through eight simple steps to help you read and interpret OBD codes so that you can get back on the road again.
How to read OBD codes: Preparation
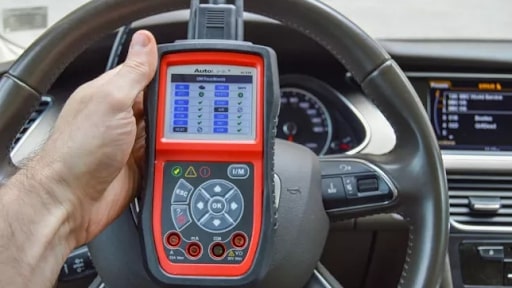
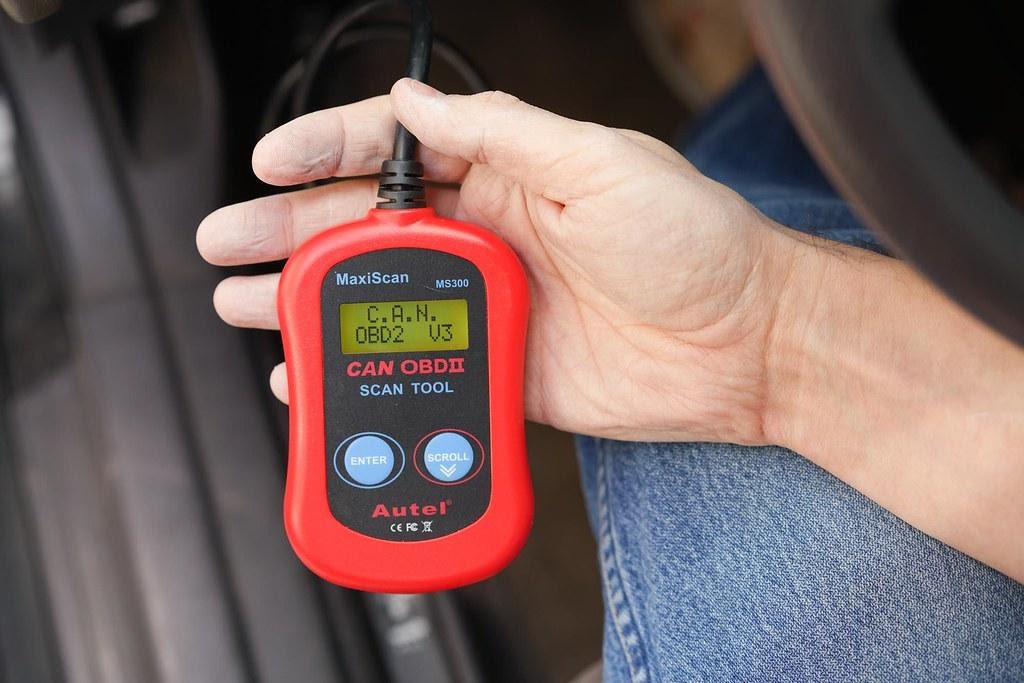
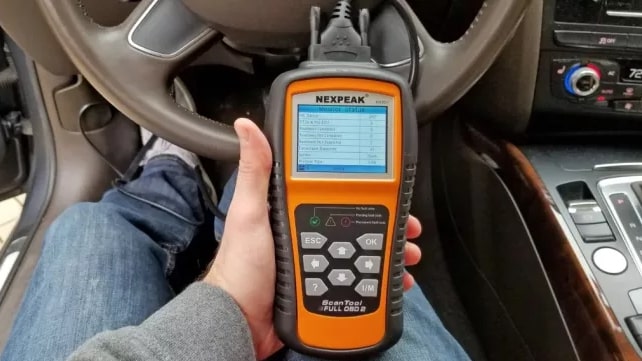
Reading OBD codes requires an OBD scanner, which can cost between $30 and $60. It’s a handheld tool with a 16-pin trapezoidal connector that plugs into the vehicle and interprets the OBD code. You don’t need any other tools, just access to the interior of the vehicle.
Are you a pro? Subscribe to our newsletter
Sign up to the TechRadar Pro newsletter to get all the top news, opinion, features and guidance your business needs to succeed!

Step 1: Plug the OBD scanner into the OBD port
Your OBD scanner has a 16-pin trapezoidal connector that fits into the vehicle’s OBD port. This is also known as the diagnostic link connector (DLC). Each vehicle has a different location for the OBD port, but most of the time, you’ll find it under the driver’s side dashboard near the pedals. In rare cases, it will be in the center dashboard or below the glove compartment. Check your owner’s manual for the precise location of your DLC.
Step 2: Turn on the ignition
Turn on the ignition in the vehicle, but don’t start the engine. Turning on the ignition will send power to the OBD scanner, which will begin communicating with the vehicle’s on-board computer. You’ll see a message like “establishing link with OBD” while the scanner is initiating.
If the scanner doesn’t light up when you switch on the ignition, check the connection between the scanner and the connector pins. If it’s still not working, check whether there is power coming through the car’s auxiliary power outlet (aka the cigarette lighter). The OBD system gets its power from the same circuit, so if there’s no voltage going to the power outlet, then the OBD scanner won’t work either.
Step 3: Enter the Vehicle Identification Number
With some OBD scanners, you’ll have to enter the Vehicle Identification Number (VIN), make, model, and engine type of the vehicle. This is because some OBD codes are manufacturer-specific, so the scanner will be able to give you more accurate information if you enter more details about your specific vehicle.
Step 4: Find OBD codes in the menu
Next, navigate to the Codes menu on your OBD scanner. Each scanner is different, but typically, it will be called Codes or Trouble Codes.
In many cases, you’ll also be asked to choose between Active Codes and Pending Codes. Active Codes refer to malfunctions that are causing your Check Engine light to stay on. Pending Codes are errors that have occurred at least once but haven’t yet caused the Check Engine light to trip. If the type of error happens again, though, the Pending Code will be updated to an Active Code, and the Check Engine light will turn on.

Step 5: Interpret the first character of the OBD code
Now you have the OBD code, you need to be able to interpret what it means. Each character of the code tells you something about the error. The first one gives you an overview of the issue at hand.
If the first character is a P, there’s a problem with the powertrain system. If it’s a B, there’s something wrong in the body system, which could indicate an issue with the airbags, for example. If the first character is a C, there’s a problem in the chassis, such as an issue with the anti-lock brakes. If it’s a U, the network communication system has an issue.
Step 6: Interpret the second character of the OBD code
The second character in the code defines whether the problem is a generic issue or a manufacturer-specific issue. When creating the OBD code system, the Society of Automotive Engineers chose standard codes for problems that can occur on most cars. These are known as generic codes. Some manufacturers have added their own codes because their parts aren’t accurately reflected in the generic list. These are the manufacturer-specific codes.
Look at the first two characters of the OBD code. If they are P0, P2, P34-P39, B0, B3, C0, C3, U0, or U3, the issue is generic. If they are P1, P30-P33, B1, B2, C1, C2, U1, or U2, the problem is manufacturer specific.
Most of the time, the issue will be P0 or P1, which specifies that there’s a problem somewhere in the powertrain system.

Step 7: Interpret the third character of the OBD code
The third character gives us even more specific information on where the problem lies. Each type of issue (powertrain, body, chassis, network communication system, etc.) has its own interpretation for this number.
In the case of powertrain issues, a 1 indicates a fuel or air metering system problem, a 2 means there’s a fuel or air metering injection system issue, a 3 indicates a problem with the ignition system, a 4 is an emissions systems error, a 5 is a speed control or idle control issue, a 6 is a computer/electronics problem, and a 7-9 indicates that something’s wrong with the transmission.
Step 8: Interpret the final characters of the OBD code
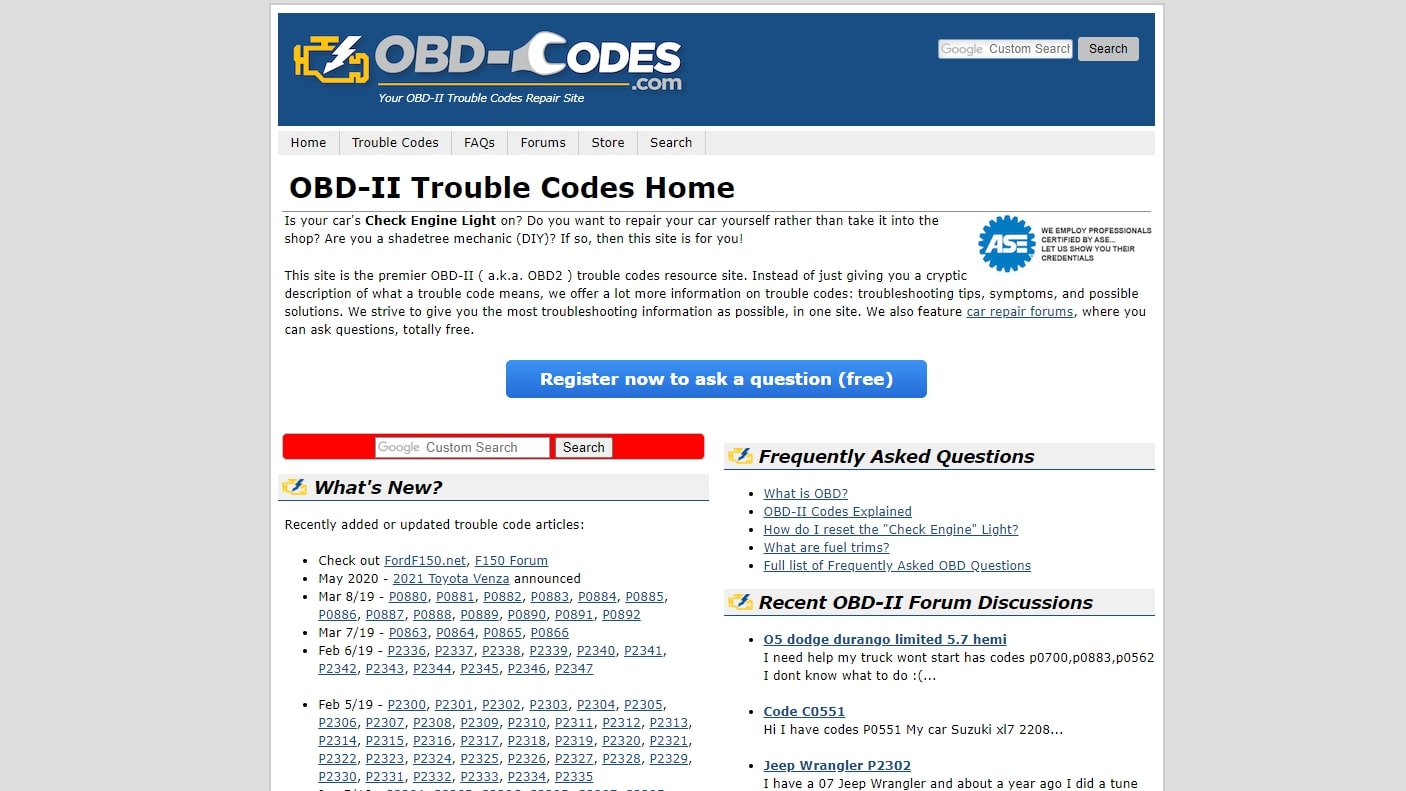
The final two characters of the OBD code specify the exact fault. With thousands of potential faults, to get the exact details of the issue, you’ll need to go online and use one of the many OBD Code interpretation websites, such as OBD-Codes.com. Enter the full OBD code, and the website will return full details on the fault experienced and how to fix it.

Summary
Modern vehicles make diagnosing vehicle trouble easier through the use of OBD codes. You can use an OBD scanner to find out why your Check Engine light is on. The five-character code details the vehicular system that’s experiencing a problem, and you can even interpret the code yourself by examining its characters.
However, there are so many possible OBD codes, it’s usually easier to enter the OBD code returned by your scanner into an OBD Code interpretation website to find out what that specific code means.
Richard brings over 20 years of website development, SEO, and marketing to the table. A graduate in Computer Science, Richard has lectured in Java programming and has built software for companies including Samsung and ASDA. Now, he writes for TechRadar, Tom's Guide, PC Gamer, and Creative Bloq.
