How to reinstall Windows 10
If you want to reinstall Windows 10, you'll be pleased to learn that it's easier than you think - and you can keep your files intact too!
Knowing how to reinstall Windows 10 is a great skill to have up your sleeve. From frequent error messages to a significantly reduced operating speed, sometimes the only cure for these pesky problems is to reset everything. If you've been wondering how to do it and keep your files intact, this guide will show you how.
Windows 10 continues to be one of the most widely used operating systems around and while it's successor Windows 11 brings with it a redesigned theme, fresh looking apps, and an improved touch interface, Windows 10 still remains the favorite for many users.
With Windows 10 continuing to be supported until October 2025, there really is no rush to swap over to Windows 11. If you have one of the best Windows laptops or the best computer and you do plan to continue to run this OS for the next three years, it's worth knowing how to reinstall Windows 10 if you run into any issues.
A lot of common Windows 10 problems can be solved by doing a reinstallation and yes, it can be done quickly and easily and without any risk of losing important files or personal data. Below, you'll find everything you need to know to reinstall Windows 10 while keeping your files safe and secure.
How to backup Windows 10
Before you reinstall Windows 10, you should take steps to protect your saved files. Just think about all the priceless photos, home movies, important work documents and other irreplaceable files that would be lost in the event of a disaster.
The good news is that backing up your files couldn't be easier, and the tools you need are provided in Windows 10 itself.
When it comes to backing up your files, the File History tool is your first port of call. To access it, click Start > Settings > Update & security > Backup, then follow the step-by-step guide later on in this feature to set it up to work with your backup drive, whether that's an external USB drive, a network share or network attached drive.
Get daily insight, inspiration and deals in your inbox
Sign up for breaking news, reviews, opinion, top tech deals, and more.
By default, starting with the Windows 10 April 2018 update, Timeline automatically backs up all the content from your libraries, contacts, favorites and more. You can also rely on the File History tool on older builds of Windows 10 – if you want to back anything up with that, add any files you want to back up in one of your libraries. You can then choose ‘Exclude folders’ from the ‘More options’ screen if you want to remove certain folders from the backup.
Earlier versions
Once you've got everything set up, click 'Turn on' (if it's not automatically done for you) and File History not only starts backing up your files, but backs up different versions of them, too, giving you the option to roll back through your files to earlier revisions, which can be really useful.
There are two ways to recover your files. Firstly, if you want to restore lost or accidentally deleted files, click 'Restore files from a current backup' in the 'More options' section of File History. From here, you can browse your backups by location or library, or search for specific content.
It's just as simple to restore an earlier version of a file. Browse for it in an Explorer window, select the file in question and click the 'History' button on the Home tab of the ribbon to see a list of previous versions of the file, before restoring the one you want.
When it comes to backing up other key settings and files, the guide opposite has all the tips, tools and tricks to keep all aspects of your PC safe.
1. Back up your settings
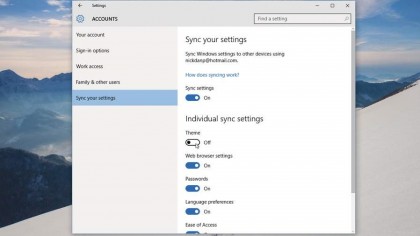
If you log on to your Windows 10 PC using your Microsoft account, you can take advantage of Windows' built-in Sync Your Settings feature. Although this tool is designed to synchronise personal settings across your Windows devices, it also serves as a backup for key preferences so you don't have to set them up again should disaster strike.
Make sure 'Sync Your Settings' is on and choose the settings you wish to back up – to do this open Settings from the Start menu, select 'Accounts' followed by 'Sync your settings'. You'll find switches to turn the feature on and off, and you can also exclude settings from the backup, such as passwords or browser settings.
2. Take a drive image
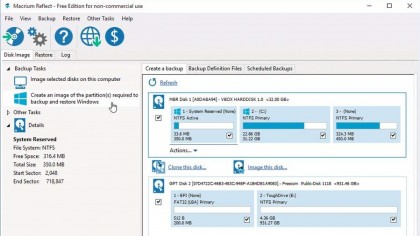
Having a backup of your entire system enables you to quickly restore your PC to exactly how it once was when you reinstall Windows 10. Windows 10 has a built-in drive image tool, but you can get better, more efficient results with Macrium Reflect Free.
There are two basic back-up options, but we're going to choose 'Create an image of the partition(s) required to backup and restore Windows'. Make sure the correct drives have been selected, then click the '...' button next to 'Folder' to select a location on your back-up drive.
Finally, click 'Finish > OK' and the backup will be created. Once complete, check that the backup is not corrupt by switching to the Restore tab and clicking 'Verify image' next to it. Finally, select 'Other tasks > Create rescue media' to create a Macrium recovery disc or USB drive.
3. Create rescue media
A recovery USB flash drive lets you access essential repair and recovery options that can save the day if your PC or tablet fails to boot. If your Windows 10 device has a recovery partition, you can store that on the drive, too.
A basic recovery drive without a recovery partition requires a 256MB USB flash drive, but you'll need a drive at least 4GB in size if you plan to make a backup of the recovery partition, too (which is recommended).
To create the drive, plug in your USB flash drive, then type the word recovery into the search box. Select the 'Create a recovery drive' option under 'Settings', then follow the prompts to create your recovery stick. After the process has finished, select the option to delete the recovery partition only if you're low on storage space.
How to reinstall Windows 10 with System Restore
So, you’ve run into a bunch of Windows 10 problems, and you’ve tried everything, but what are your options if you’re not quite ready to reinstall Windows 10?
Well, the next step would be to try using the Windows 10 System Restore tool. System Restore works similarly to File History, only it affects system and program files instead of your personal data.
Snapshots of these files, known as Restore Points, are taken at key moments during general use, and if you run into problems, you can try rolling back to a previous Restore Point to see if it fixes the problem.
System Restore usually works best when your problem has been caused by a recent change to your computer, typically through installing or updating new hardware, software or if you reinstall Windows 10 itself. The step-by-step guide below reveals how to access and use System Restore, either from within Windows or via your computer's recovery menu.
1. System Restore
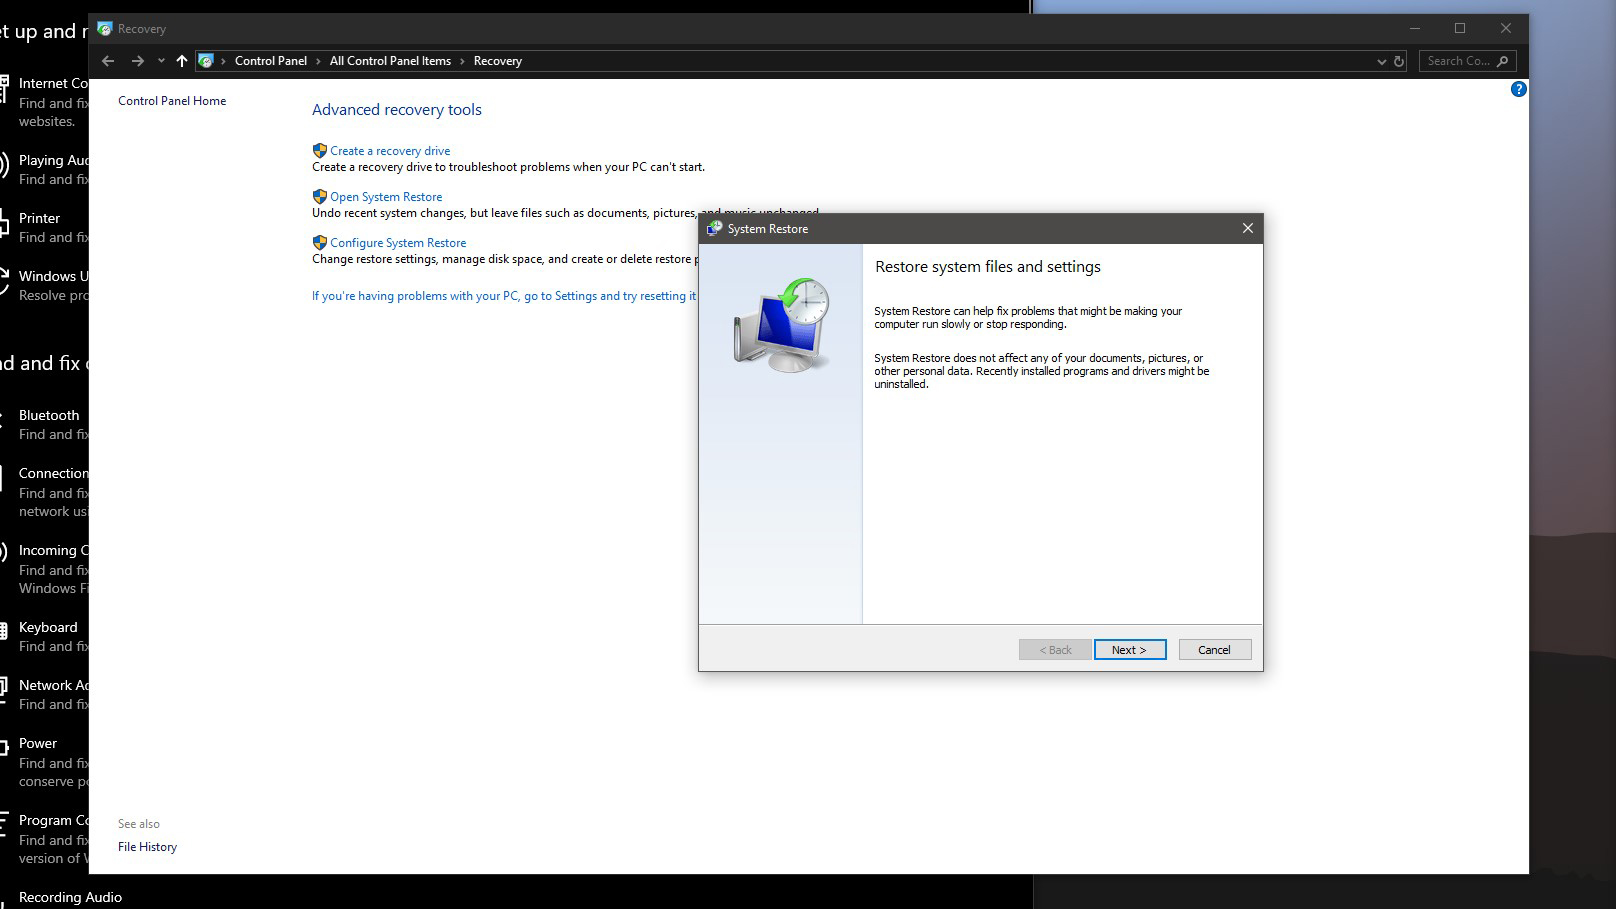
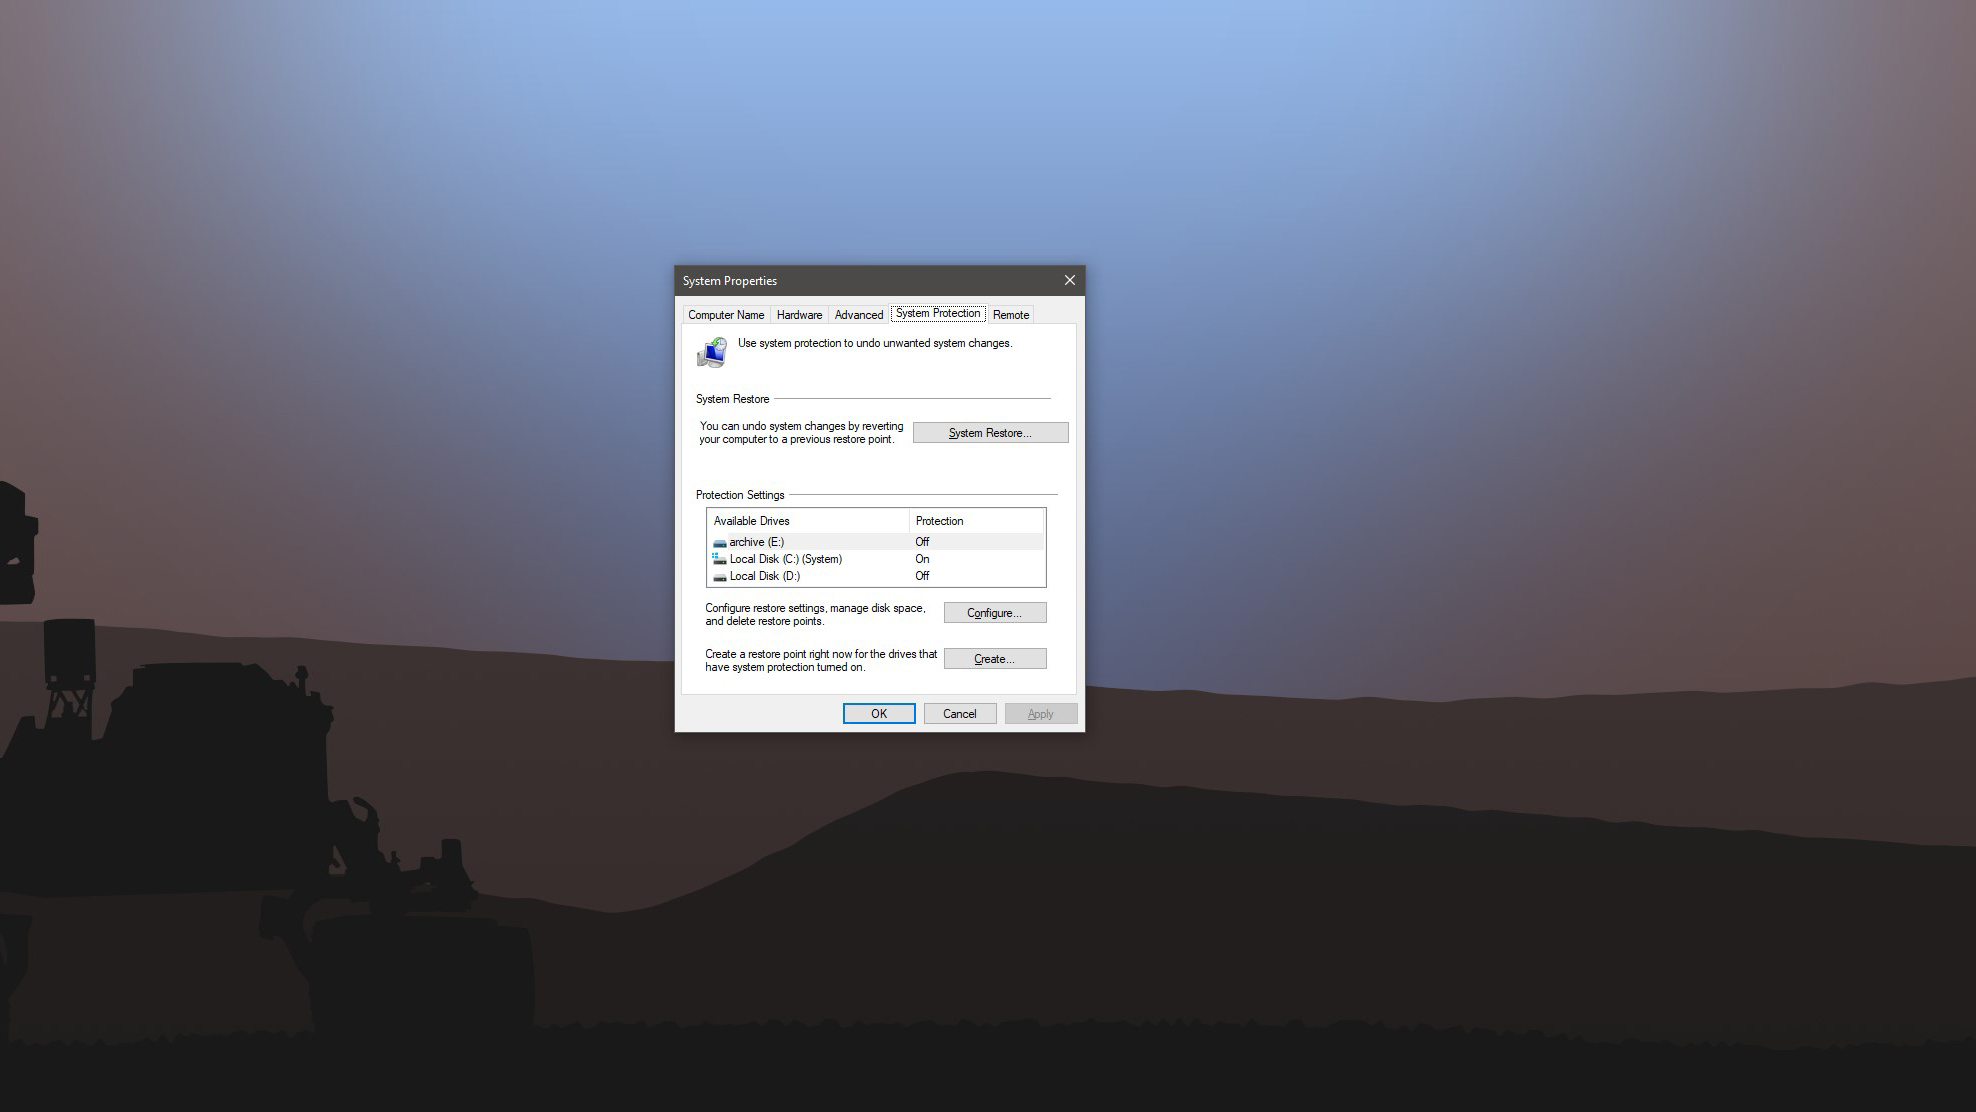
If you can boot into Windows, access System Restore via the desktop. Type 'System Protection' into the search bar and click 'Create a restore point' followed by 'System Restore...' If Windows won't start, you can use System Restore automatically.
Or, boot from your USB recovery disk, select 'Troubleshoot', 'Advanced options' and then 'System Restore'.
2. Restore Points
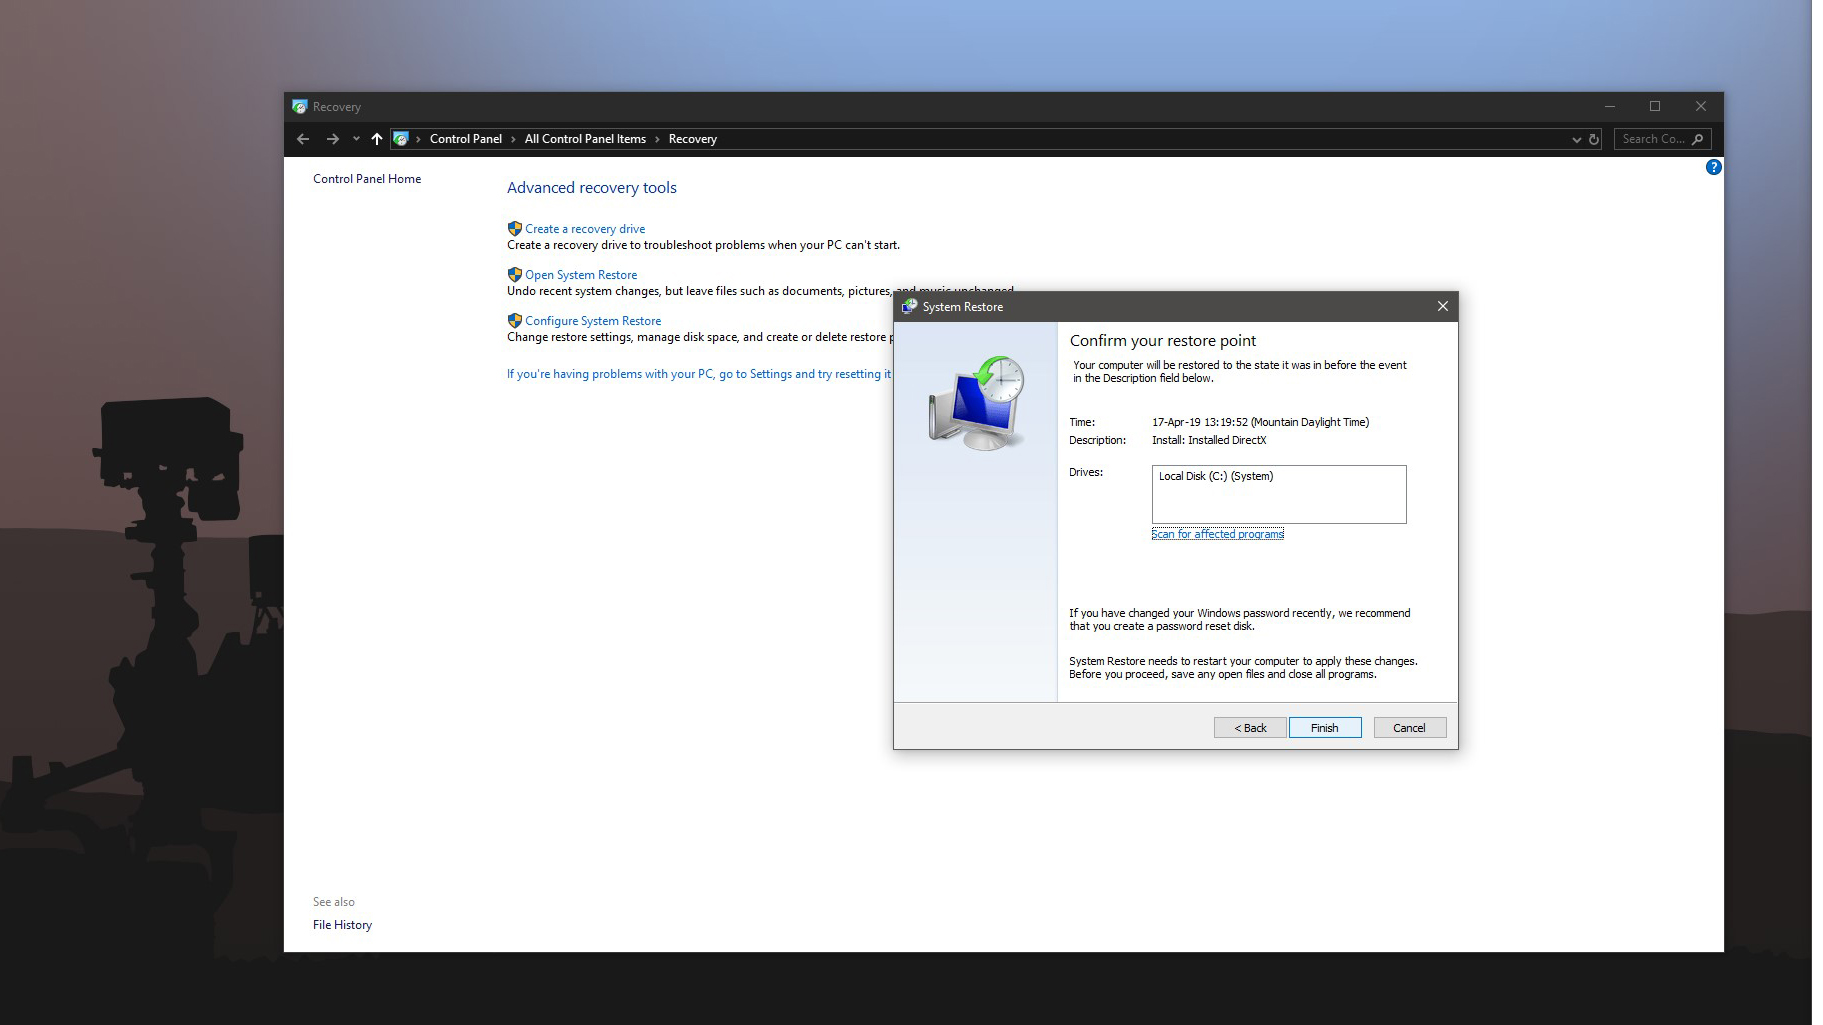
By default, Windows recommends you use the most recent Restore Point; in fact, you may even find it's the only Restore Point offered.
Make a note of the time and date it was taken, and click 'Scan for affected programs' to see which programs and hardware drivers will be affected by rolling back your PC to this point.
You'll see the programs that will be removed if you choose it, and others that will be restored. This should help you decide whether to use it or not.
3. Send your PC back in time
To restore a recommended Restore Point, click 'Next' and follow the prompts to roll back your PC. If this doesn't work, or you want to try an earlier Restore Point, select 'Choose a different Restore Point' and click 'Next'.
Browse through the available points, noting what would be affected by choosing each one. After restoring, you can undo the process if it doesn't have the desired effect.
If System Restore doesn't do enough to fix the problem, then you can perform a more radical step: go back to the previous build of Windows 10.
When you perform a major update of Windows, or Windows 10 installs a major new version, it creates a backup of the previous build, just in case you run into any problems. This backup is stored in the 'Windows.old' folder – it can take up a fair bit of space, and can be removed using Disk Cleanup.
But if you have the spare capacity, leave it in place in case you ever need to use it to fix a problem.
Rolling back your system in this way works in a similar fashion to System Restore: your data is unaffected, but any changes made since the new build was installed, like changes to settings or programs, newly installed apps and so on, will be undone.
If you need to use the rollback feature, and Windows is working well enough for you to access it normally, open Settings before selecting 'Update & security' followed by 'Go back to an earlier build'. If Windows won't boot, use your recovery drive or select 'Troubleshoot > Advanced options' to access the option.
You'll see a message telling you Windows is getting things ready. You'll then be asked to give a reason for why you're rolling back Windows – this helps highlight issues that may require an urgent fix.
You'll then be given a brief summary of the changes being made (no specific details are available, unlike with System Restore, sadly), with a prompt to back up for safety's sake (if File History is turned on, you're probably covered).
Click Next, make a note of the warning about your logon password and then click Next again, sit back and wait while your PC is restored.
If all goes well, you should have a working version of the OS again, without having to reinstall Windows 10, and with just a few maintenance tasks to perform (reinstalling programs, updating settings, and so on) before everything's back to normal.
Beyond a rollback
Unfortunately, rolling back your PC to the previous version of Windows 10 won't always cure all issues. You may find your device still doesn't function as it should after you've refreshed it, or the procedure might not work.
If Windows comes across a problem, it'll inform you of the fact, try to resolve it and then, if the fix fails, undo all the changes it's made, leaving you back where you started.
If all else fails, fixing your PC will involve something more drastic: a complete wipe and reinstall of Windows 10 itself in what is now termed a 'reset' of your PC. The good news is that you can perform this action without losing your data or by wiping the drive entirely. However the end result is the same: you'll lose all your settings and apps.
There's no need to tear your hair out if nothing seems to help with the troubleshooting. You can go the whole hog, wipe your hard drive clean and completely reinstall Windows 10.
This approach will delete any personal data you have saved on the drive, so make sure it's fully backed up first, using our guidelines earlier. It's also a good idea to make a note of any programs you've installed on your PC, so you can download and restore them after Windows has been reinstalled. So, let’s dive into how to reinstall Windows 10.
How to perform a full reinstall of Windows 10
Microsoft knows how much of a pain it is to reinstall Windows 10, and that’s why it’s gone out of its way to make the way to make sure the process is easier than ever.
The simplest way to reinstall Windows 10 is through Windows itself. Click 'Start > Settings > Update & security > Recovery' and then choose 'Get started' under 'Reset this PC'. A full reinstall wipes your entire drive, so select 'Remove everything' to ensure a clean reinstall is performed.
If Windows fails to load, you should be shown the troubleshooting screen, which you can also access via your recovery drive if you created one. In these circumstances, select 'Troubleshoot' followed by 'Reset your PC'.
One of the benefits of this new approach is that Windows attempts to recover from a previously created system image or – failing that – using a special series of install files that download the latest version of Windows during the reinstall process.
In practical terms this means you'll avoid a lengthy series of post-install updates to download and install in order to bring Windows itself back up to date. The reset process is simple: your PC reboots, then after a pause while things are being prepared, you may be confronted by a screen asking you if you want to remove files from all of your drives, or just the drive that Windows is installed on.
Unless you're planning on disposing of the PC, select 'Only the drive where Windows is installed' to protect data files stored on other partitions or drives.
You'll also be given an option to 'clean the drive fully' – again, skip this unless you're selling on your PC. Finally, click 'Reset' and let your PC do the rest.
Post reinstall
Once you’re done reinstalling Windows 10, you’ll have a brand new system at your disposal and it’s time to reinstall your apps, apply preferences and restore backed up data. The step-by-step walkthrough reveals everything you need to know.
Of course, you'll need to reinstall your key desktop applications, too, after this has been done. Again, take the time to download the latest versions and set each one up.
1. Restore settings
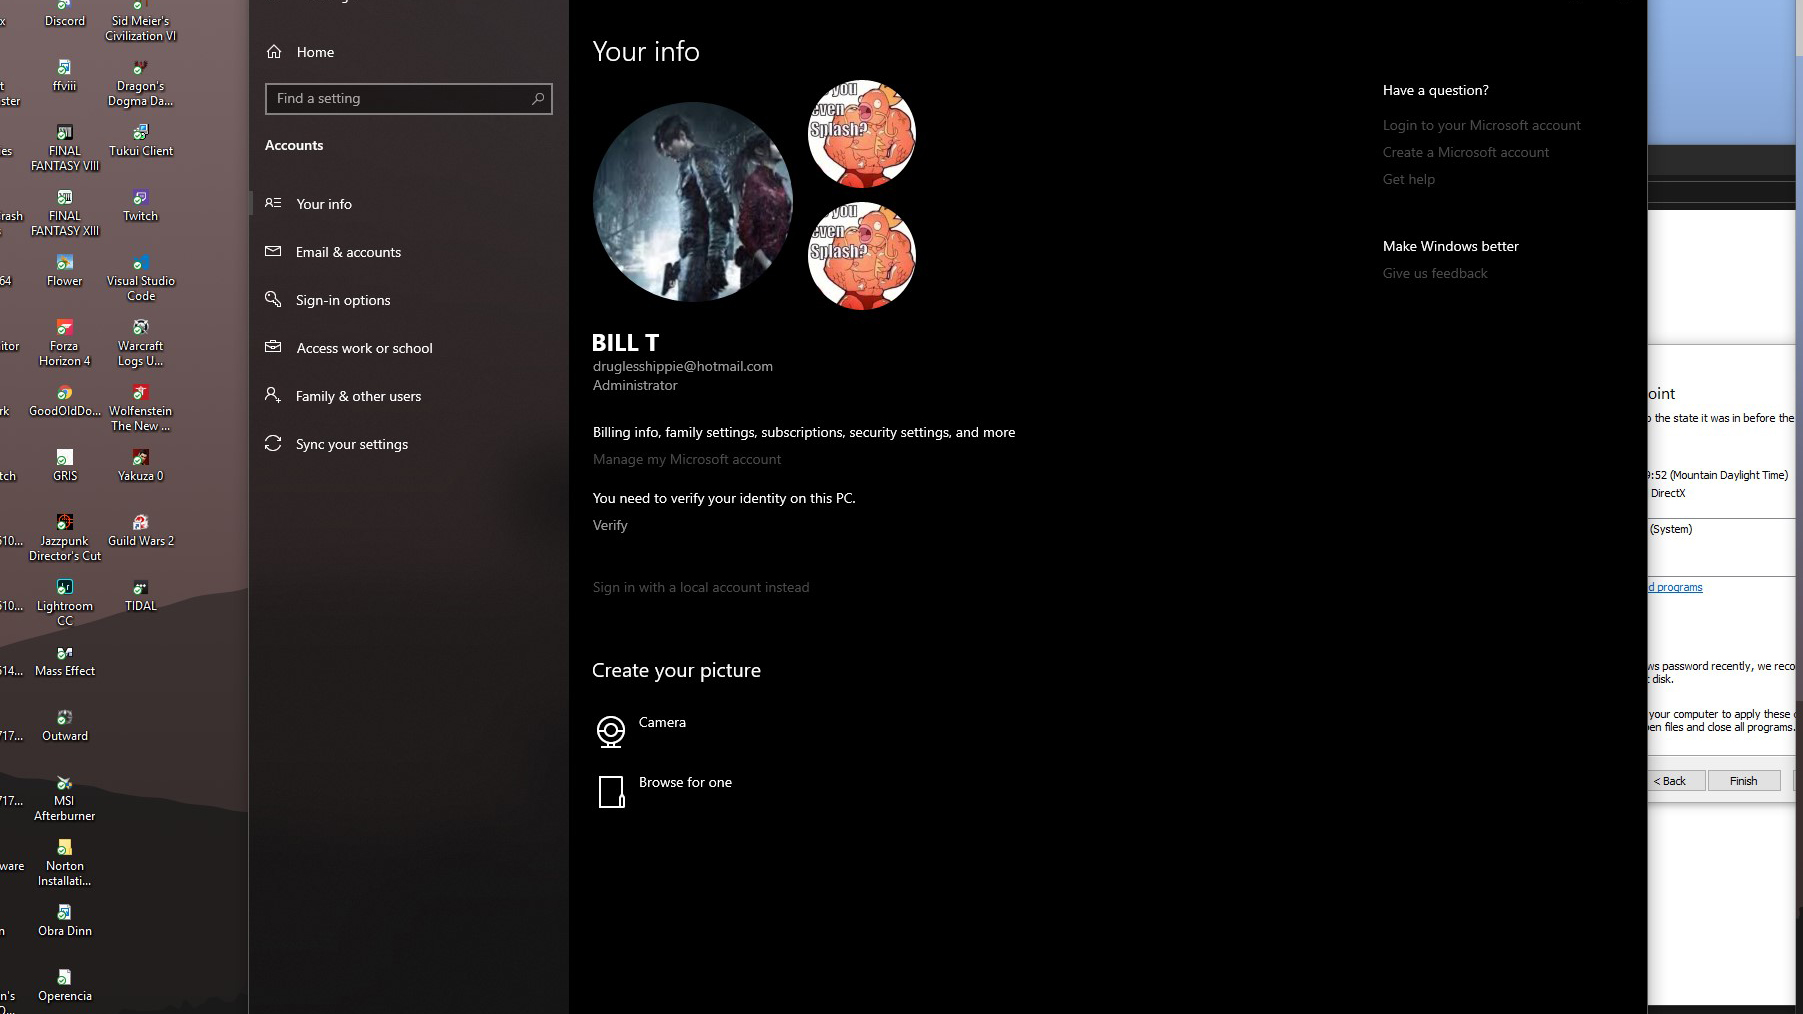
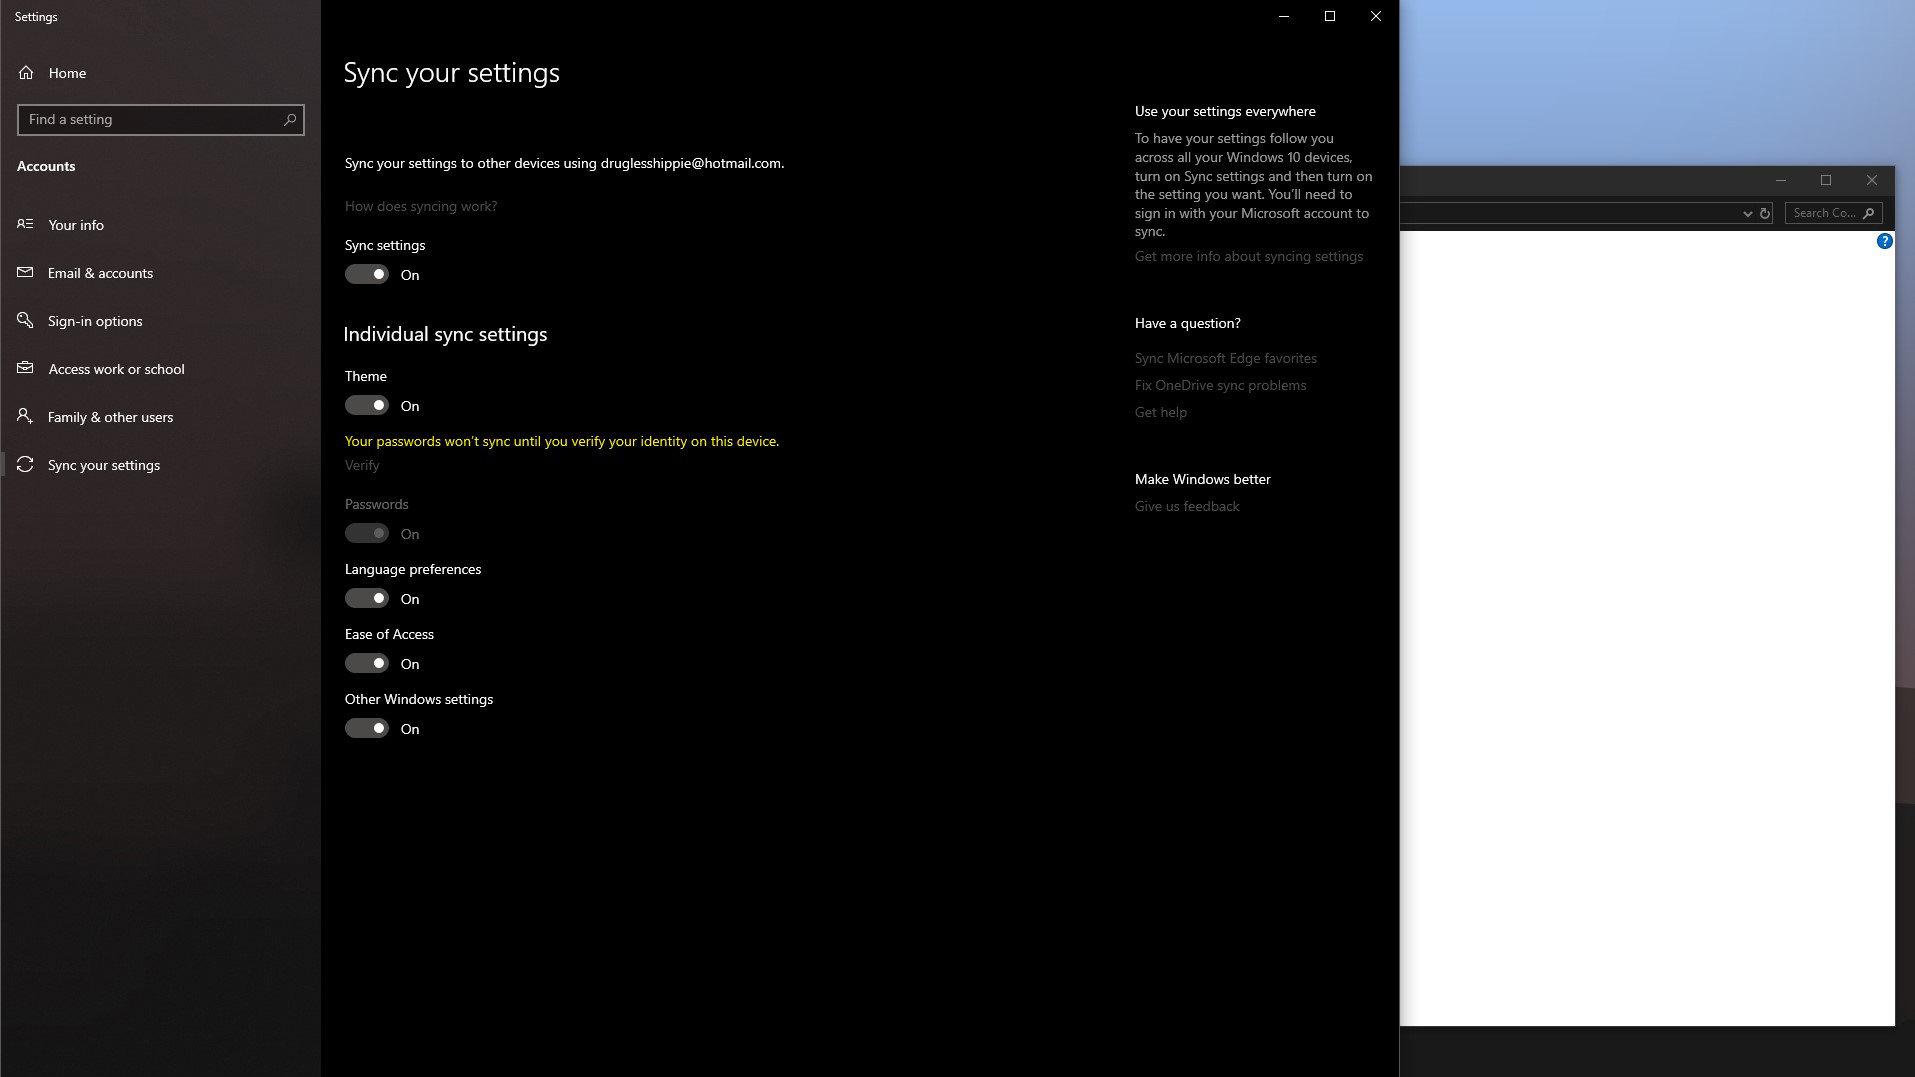
You'll need to log into your Microsoft account in order to restore your synced settings and previously installed apps.
Before these are all restored, you'll need to verify your account on this device: click 'Start > Settings > Accounts > Your account' and click the 'Verify' link to get the code required to add your PC back into the trusted list.
2. Restore apps
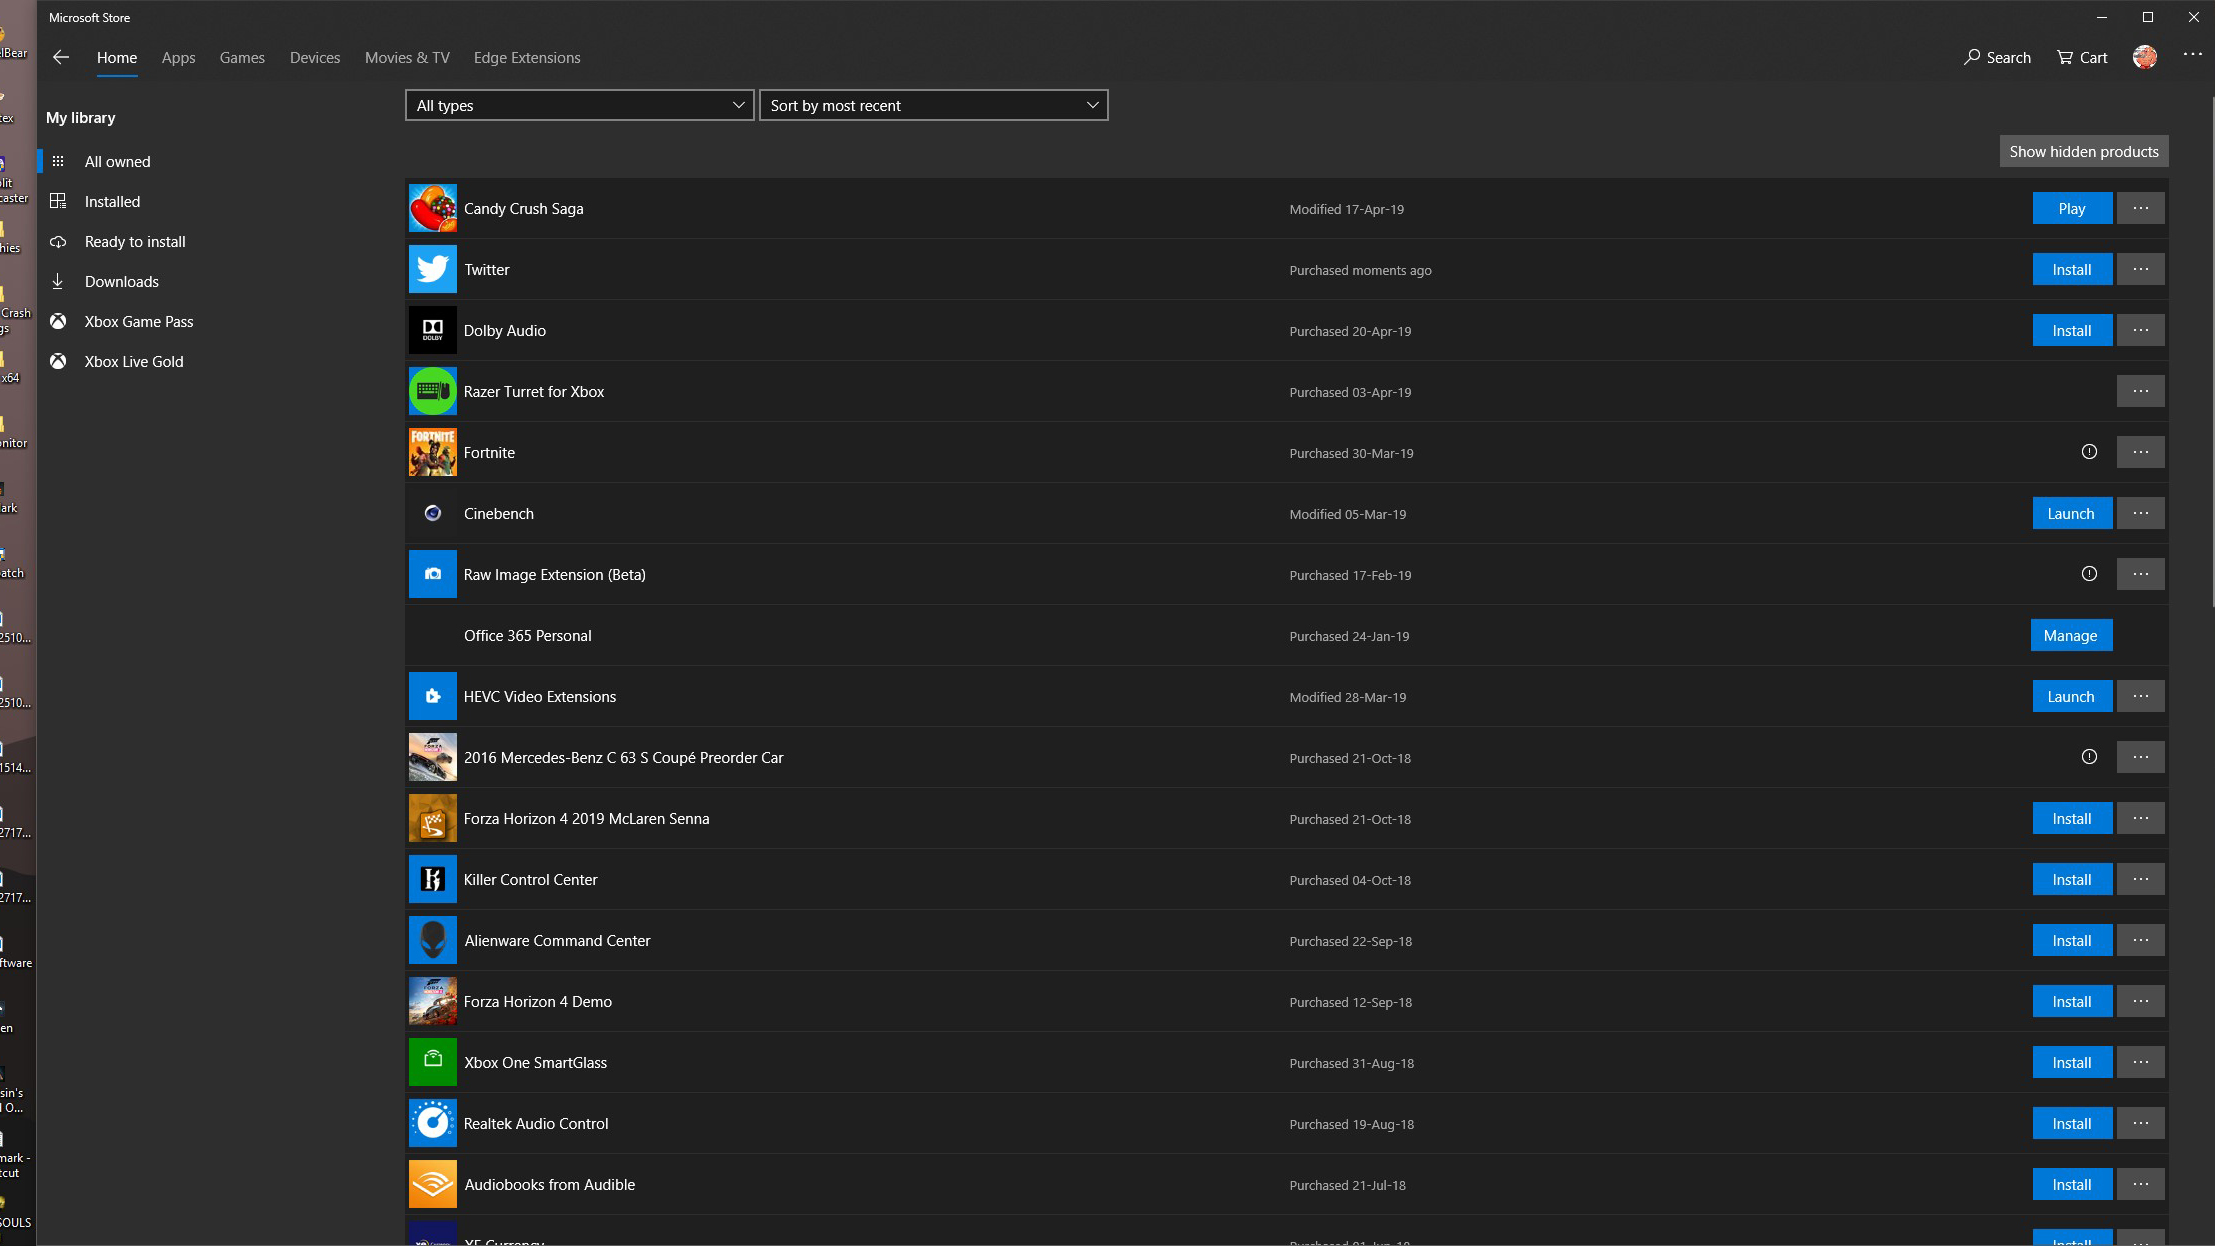
Open the Windows Store ('Start > All Apps > Store'), click your user photo and choose 'My Library' to access all previously installed apps (and your settings).
Click 'Show all' and then click the download button next to each app you wish to restore.
Once done, click your user photo again, but this time choose 'Downloads' to update the built-in apps.
3. Restore files
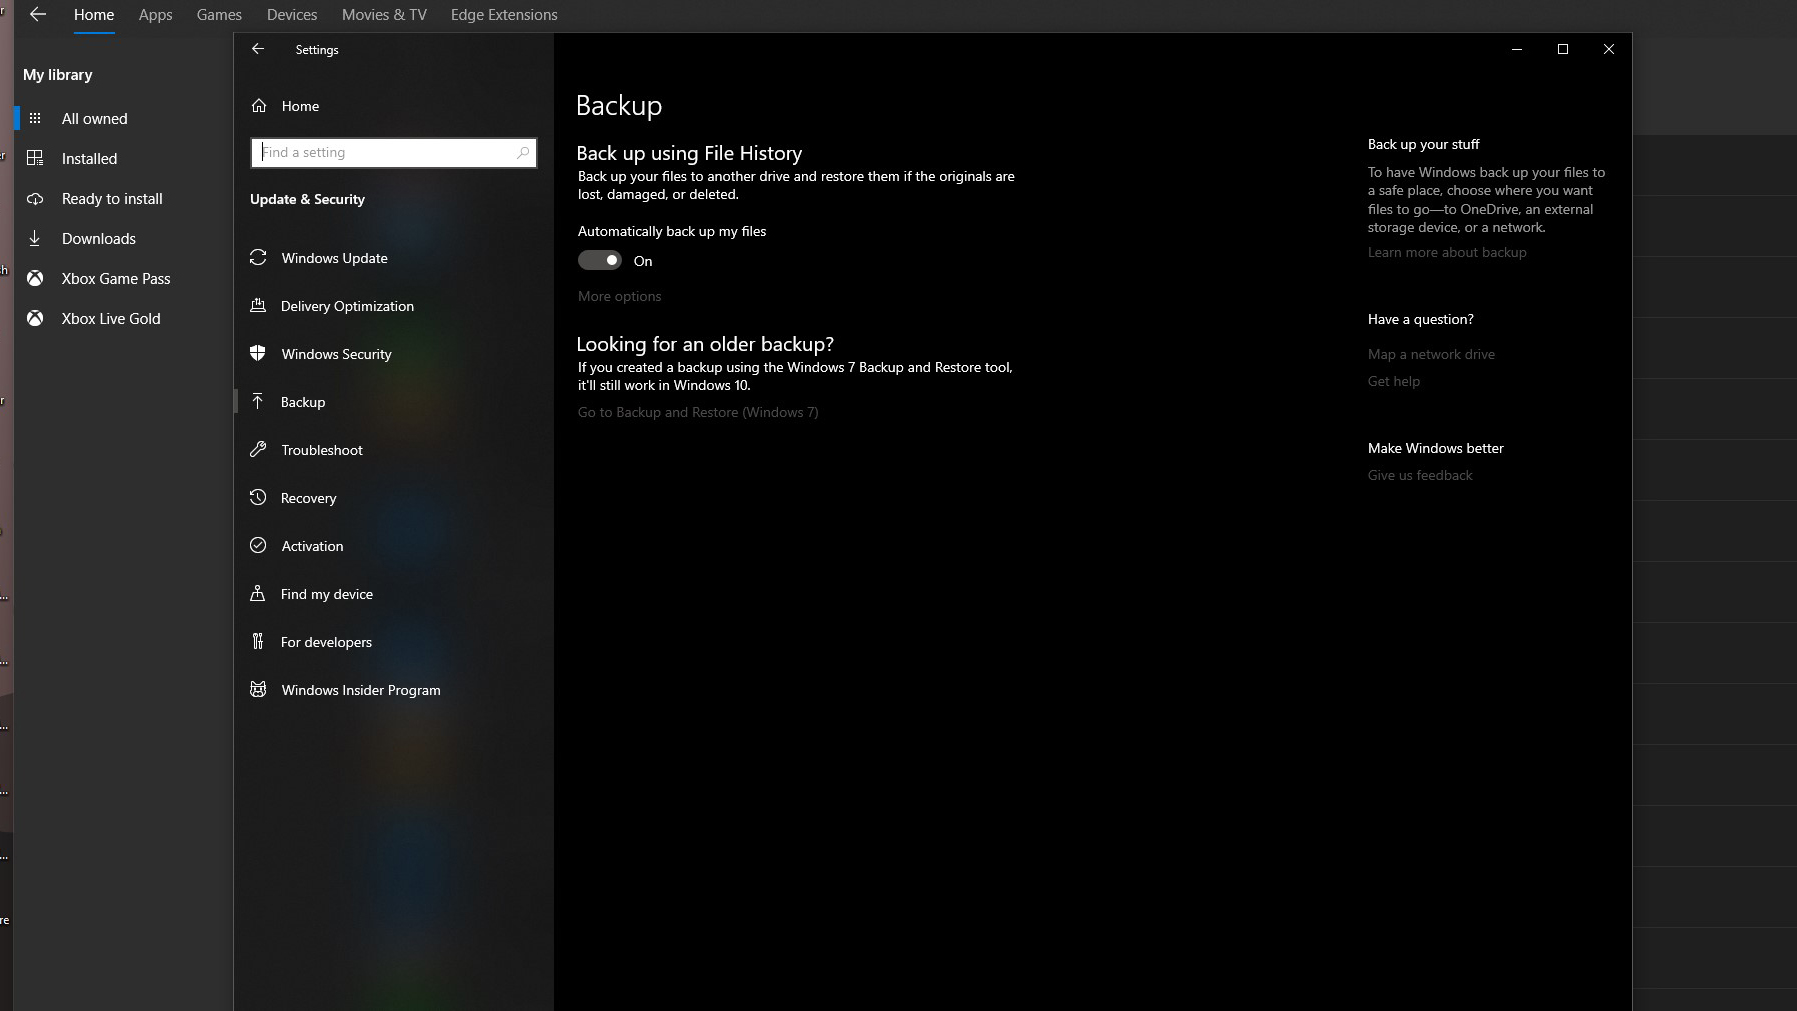
Finally, restore your files using File History. With your back-up device plugged in, click 'Start > Settings > Update & security > Backup' . Click 'Add a drive' to select your back-up device, then click 'More Options' followed by 'Restore files from a current backup'.
Click the Settings cog and choose 'Restore' to recover your data. This can take a little time, so be patient.
Speed up future Windows reinstalls
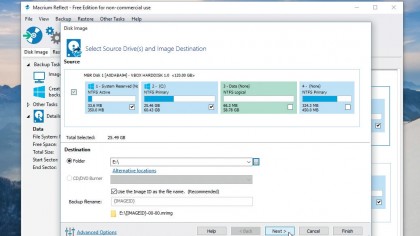
Reinstalling and setting up Windows again can be a chore, so speed up future reinstalls by creating a perfect recovery image. After reinstalling Windows and apps, reinstall your key programs and set them up as you like them.
Then, before you restore your File History backup, launch Macrium Reflect Free and take a new drive image. Create a recovery CD or USB stick following the prompts, and next time you need to reinstall Windows, make sure your File History backup is up to date, then boot from your recovery media before restoring this drive image.
All you'll need to do is bring Windows and your apps up to date, and reinstall new programs. Before restoring your File History backup, create a new drive image to use the next time you need to reinstall Windows.