How to install Windows 10 and 11 on a Steam Deck
Turning it up to 11 on the go

Valve's Steam Deck has already been a success for users who commute on the train for jobs and family, with the ability to use their Steam library on the go being very enticing.
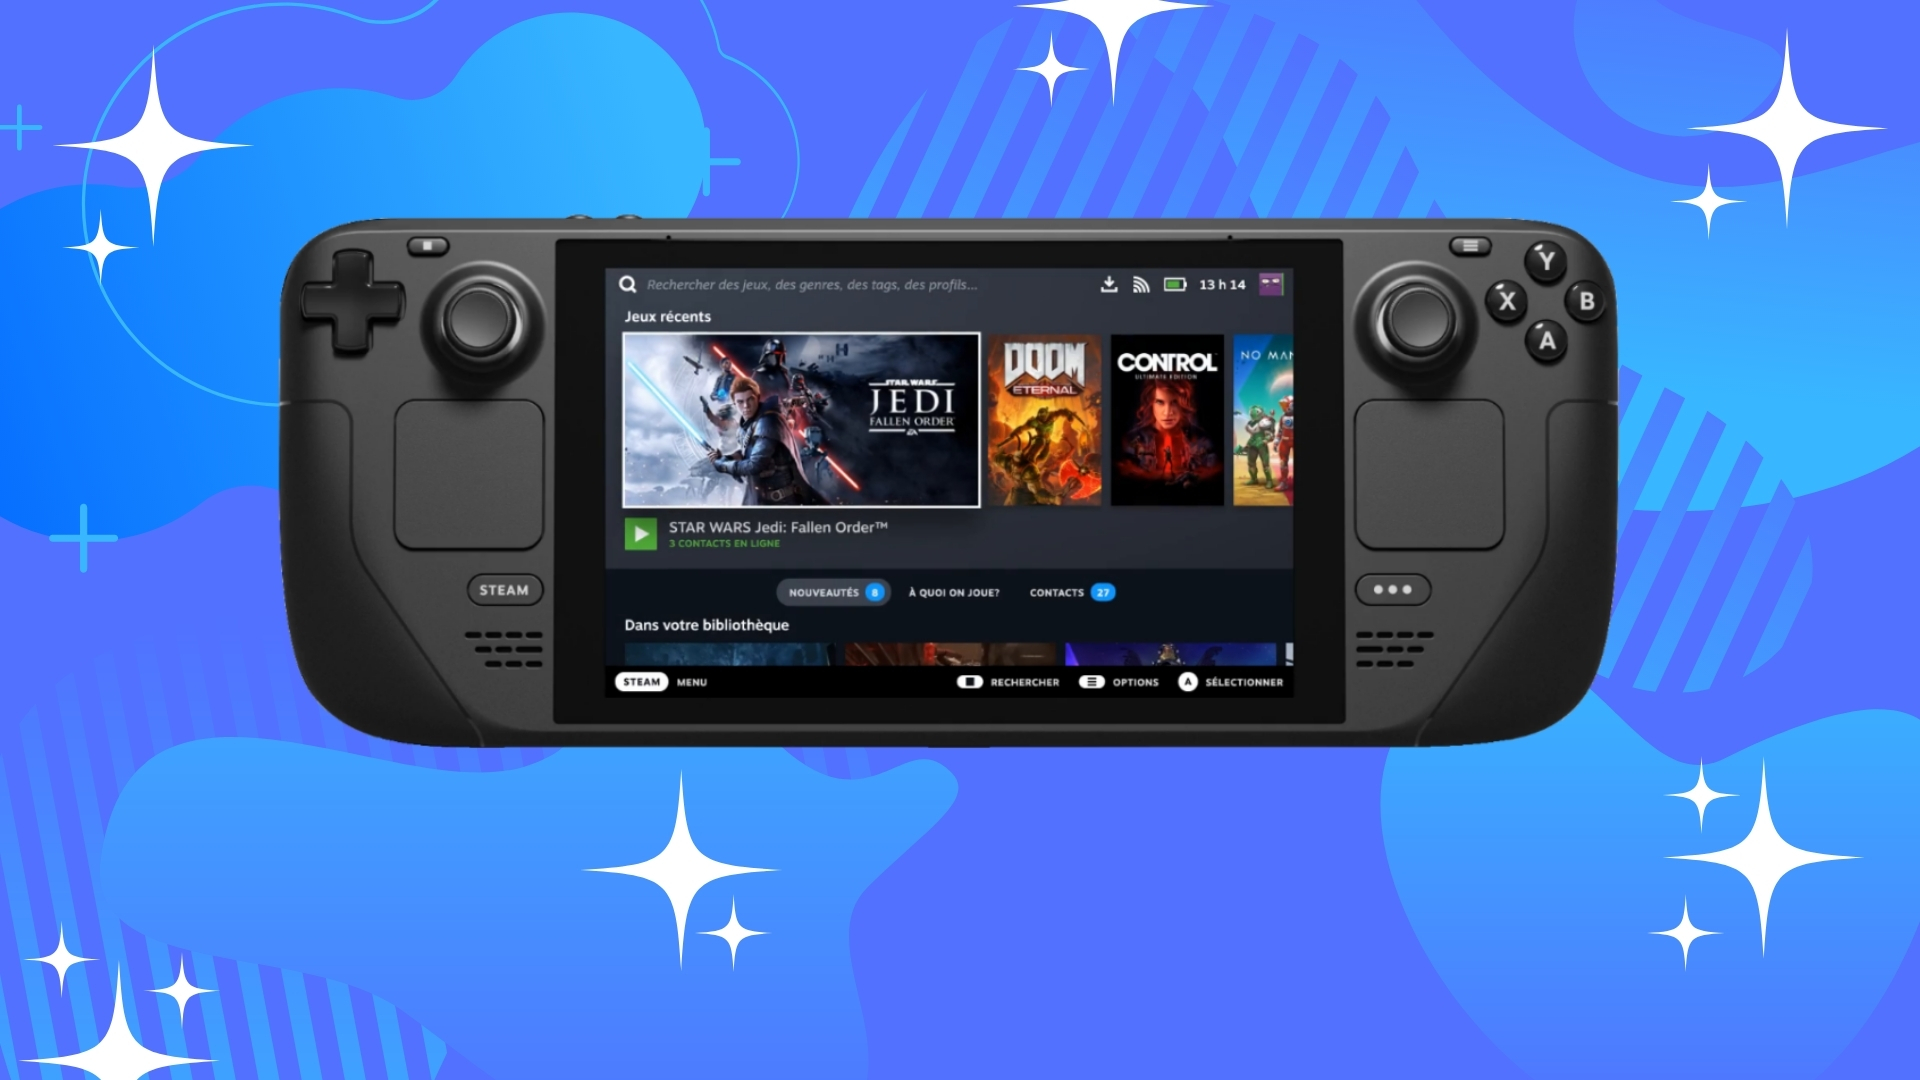
However, a new update has been released that enables users to install Windows 10 or Windows 11 on the handheld, which can allow other apps to be used on the Deck, not just Steam games.
Yet, this isn't a simple affair – it's easy to get lost in the steps required in order to get Windows onto the handheld, which is why we've put together this guide to help you.
Quick steps

- Get an SD Card and SD Card Reader
- Put a Windows ISO on the SD Card
- Boot up Windows from your Steam Deck
The Steam Deck is truly an impressive machine in need of more advanced software. Though it is slowly getting to the right place, you may want to get there quicker. Here is how to install Windows 10 and 11 on Steam Deck and some information you should really know before you do so.
In this guide, we're going to go over how to install Windows with a MicroSD. This is not the only way to do it but, with the software still updating and changing, having a separate drive to boot up Windows from makes sense for long-term use. This will allow you a little more wiggle room - at the expense of some boot-up speed.
Tools and Requirements
- Micro SD
- SD Card Reader
- Steam Deck
How to install Windows 10 and 11 on Steam Deck
Get daily insight, inspiration and deals in your inbox
Sign up for breaking news, reviews, opinion, top tech deals, and more.
- Go to this link and pick a version of Windows you want to use. I would recommend Windows 10 for now but the Steam Deck can handle Windows 11. Once you've clicked on whichever version you want, go to the "Download tool now" option and save it to a place on your computer. Do not place this on your SD Card.
- Download Rufus via this link. This will let you boot Windows from a USB or, more importantly, an SD card.
- Go to this Steam page and download all the drivers there. It will save you some hassle in the long run and may avoid some frustration when you have everything booted up. As of right now, there are drivers for the GPU, Wi-FI, BlueTooth, and SD Card Reader. Get them all and put them on your Micro SD.
- Plug in your SD card to your computer via the card reader. From here, open up Rufus and select your SD card in the device menu. Then go one down and to the right where it says "Select" and choose your windows iso you installed earlier on.
- Click on the "Image option" menu and pick "Windows To Go". Then, under "Partition scheme", pick MBR. After this, open up "advanced drive properties" and click the option that says "Use Rufus MBR with BIOS ID". Click "Start" and wait for it to finish.
- Turn off your Steam Deck entirely. To do so, hold down the power button and click to shut down.
- Wait for Rufus to finish, then Eject your SD Card and plug it in at the bottom of the Steam Deck.
Boot Manager
- Hold down on the volume button and the on button and the Steam Deck should go into your "Boot Manager". This may take a few seconds the first time to boot up so don't worry if the screen is black for a second. As this is still a new piece of hardware, some mistakes may still happen or some issues may arise.
- From the "Boot Manager" go down and click on your SD card. It should automatically start to work on booting up Windows. The first time I did this, my Steam Deck turned off midway through and I just had to initiate it again to get it working. The Steam Deck logo will flip when booting up, signifying Windows is being put in portrait mode. This is a good sign.
- After this, you just have to continue with your Windows installation. You can use the touchpad or use the pads on the side to move the mouse and triggers to click. You could opt to use a keyboard and mouse here but it's not needed to get everything running. Skip the Wi-Fi set-up as you install drivers first and make your way through installation. You now have Windows 11 on your Steam Deck.
What should you do after you install Windows?
You should flip the screen orientation to landscape first. Left-click with the left trigger and then click on "Display Settings". If you can't get this working, go into the start menu and find it in settings. Then, scroll down to display and change it to landscape.
After this is done, you won't have access to Wi-Fi, Bluetooth, and some other things so go into your file explorer and find them in your SD Card (We put them in there in the prep part of this guide) extract them all and install them to get everything up and running. After the GPU driver is installed, it may flip the screen back to portrait mode. Change it back to landscape and you're ready to go.
Final Thoughts
The important thing to note about Windows on the Steam Deck is that it's still early on. New drivers and updates will come out all the time. Just turn off your Steam Deck, take out the SD Card, and update all the files, then install them again.
You can, of course, install them straight from the Steam Deck too. As of right now, it is still missing an audio driver so you may have to set up your Steam Deck with a BlueTooth speaker to get the best experience.

James (he/they) is a freelance games journalist with over 500 pieces published at outlets including GamesRadar, NME, Prima Games, VG247, and God is a Geek.
- Daryl BaxterSoftware & Downloads Writer