How to protect your privacy in Windows 10
Keep out prying eyes

You may not realise it, but Microsoft likes to hoover up an awful lot of your data every time you use Windows 10. Thankfully, there are ways to limit what is collected through Microsoft’s Settings app and by managing your Microsoft account.


Another option is ShutUp10, a free app that lets you tweak Windows 10’s data collection policies all in one place without having to search around for disparate settings.
Although disabling some Windows settings may limit Windows functionality, judicious limiting of Microsoft’s overreach is a great way to keep Windows private without totally hobbling its functionality. Let’s see what we can do.
Have yet to switch to Windows 10? Here's how to upgrade to Windows 10 for free. Be sure to visit our other Windows 10 tutorials including how to screenshot on Windows 10, how to perform a password reset, how to speed up Windows 10, and more.
1. Windows permissions
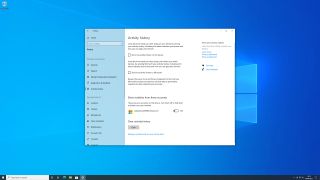
Open the Settings app and click 'Privacy'. On the left-hand side is a lengthy sidebar with various sections (aptly demonstrating how much of your data can be shared with Microsoft and app developers).
In the section labelled ‘Windows permissions’ are numerous Windows privacy settings. Ones you might want to disable are advertising ID under General, Inking & typing personalisation, optional diagnostic data under Diagnostics & feedback, and the options under Activity history.
Note that disabling some of these might impact some Windows features (be sure to see each setting for details on what could be affected).
Get daily insight, inspiration and deals in your inbox
Sign up for breaking news, reviews, opinion, top tech deals, and more.
2. App permissions
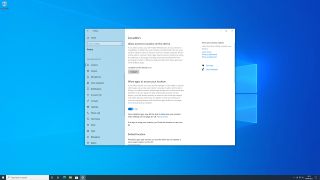
The much larger section in the left-hand sidebar concerns app permissions. You should go through these and see what information you are happy to be collected. Pay particular attention to the Location, Camera, and Microphone sections and disable them unless you know you need them.
An important section covers your location data. You can either turn this off for all apps or toggle it for each app. As well as that, you can decide whether Windows itself can see your location, delete previously collected location data, and prevent geofencing (which can trigger things like notifications when you enter a shop).
3. Background apps
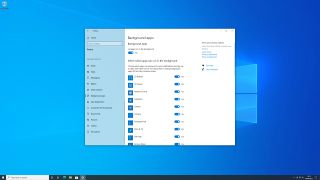
In the 'App permissions' section, scroll to the bottom and click 'Background apps'. When an app runs in the background, it might collect personal information (such as your location data) even when you do not have the app open.
To prevent this in its entirety, disable it with the toggle at the top. Otherwise, you can choose on a per-app basis. If a certain app hogs resources even when it is not being used, disable it here. It is a good idea to let some apps run in the background so they can perform important functions like checking for Windows updates or new emails.
4. Disable Cortana
Cortana can help here and there, but using it requires turning over a lot of personal information to Microsoft. If you are uncomfortable with that, it is best to disable Windows 10’s built-in voice assistant.
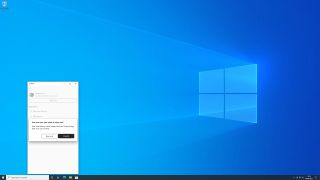
To do so, click the Cortana icon in the taskbar, click the three dots in the top-left corner, then click 'Settings'.
From here, click 'Sign out', then 'Sign out' again. Now open Settings and click Privacy > Voice activation. Scroll to the bottom and turn off the two Cortana settings. You might also want to disable the other voice activation settings in this section.
5. Microsoft account data
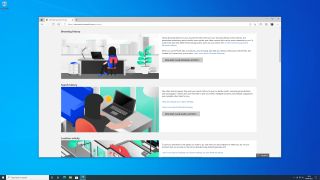
If you are signed in with a Microsoft account on your Windows 10 device, there is a separate place to access its privacy settings. Head to account.microsoft.com/privacy and log in if prompted to, then click the 'Overview' tab.
On this page you will see several sections covering the different ways Microsoft uses your personal data. You can view and delete data for browsing and search history, location, voice, and media activity, Cortana data, and more. Make sure to carefully review the info that has been collected and delete anything you do not feel is absolutely necessary.
6. Personalised ads
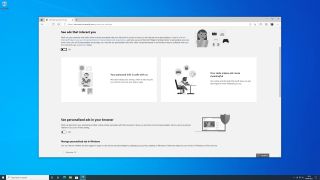
At the top of the Overview page, click the 'Ad settings' tab. Like many companies, Microsoft collects personal data in order to serve you adverts. If you do not feel comfortable with this, you can disable it on this page.
There are two main toggles: “See ads that interest you” and “See personalised ads in your browser”. The former relates to your Microsoft account, while the latter is restricted to your current browser. Turn off both if you do not want your information being used to learn your preferences and serve personalised adverts.
7. Get started with ShutUp10
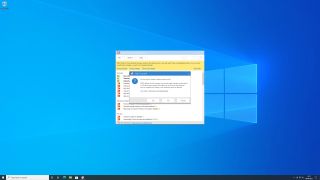
An alternative approach is to use the free app ShutUp10, which we discussed in the introduction. It provides a quick all-in-one place to tweak your privacy settings in a targeted, granular way.
Download and install ShutUp10, then open it and click Actions > Create a system restore point. This will ensure any changes you make can be undone if they cause problems (you will be prompted to create a restore point when making changes anyway). If you want to revert to how things were when you opened the app, click Actions > Undo all changes.
8. Start managing your data
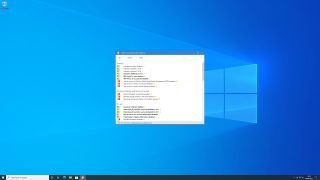
Go down the list of settings and use the toggles to enable or disable individual features. Click each description to see a longer explanation of what each function covers. A green toggle means this form of data collection has been disabled; if it is red, it is still permitted.
To the right of each description is a green tick, orange triangle, or red exclamation mark. Green ticks are safe to enable, orange triangles might cause some disruption in Windows functionality, while red exclamation marks are not recommended unless you know what you are doing.
9. Apply all settings
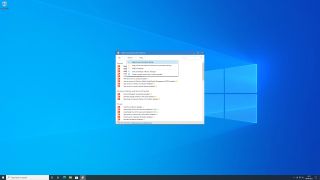
Alternatively, you can click 'Actions' and apply one of three sets of settings – either all recommended settings, recommended settings plus the orange triangles, or absolutely everything (including options that are not recommended).
No matter which you choose, you should still go through the list afterwards to see if you are happy with ShutUp10’s choices. All three options in the Actions menu should be seen as a base to get you started rather than fire-and-forget presets that require no further attention. Tailoring the choices to your needs is important.
10. Export or import settings
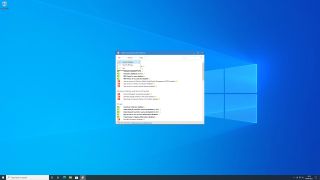
Any changes made since the last time you ran ShutUp10 are shown in bold. These could be settings that have been changed externally, such as through Windows 10’s Settings app. You can accept the changes, revert them, or hide everything except the changes to help you see what needs to be addressed.
You can export or import settings using ShutUp10’s File menu. This is useful if you want to use your settings on another computer without having to go through each option again on the new device. Finally, you might be prompted to restart your PC when you close ShutUp10 to let the changes take effect.

Alex Blake has been fooling around with computers since the early 1990s, and since that time he's learned a thing or two about tech. No more than two things, though. That's all his brain can hold. As well as TechRadar, Alex writes for iMore, Digital Trends and Creative Bloq, among others. He was previously commissioning editor at MacFormat magazine. That means he mostly covers the world of Apple and its latest products, but also Windows, computer peripherals, mobile apps, and much more beyond. When not writing, you can find him hiking the English countryside and gaming on his PC.

