How to set up a record player
Dust off your old vinyl and get that turntable spinning

Setting up a new turntable is an enormously fun project to get stuck into. And, it's really not as tricky as you may have thought, whether you've just bought one of the best record players available today (and all the modern trappings they come with), or you want to revamp an older model that needs a little TLC.
Many modern turntables come with all manner of nifty features, including Bluetooth connectivity for pairing with wireless headphones and speakers, and even USB outputs for ripping your vinyl to your computer.
Aside from these extra mod cons, all turntables feature intricate, moving parts – and that can be a little daunting. That's why we've put together this easy guide on the best way to set up a turntable.
It’s worth noting that many cheaper modern turntables come pre-assembled, so you should be ready to play your music straight out of the box; however, the further up the price band you go, the more likely it is that you’ll have to set up your new turntable yourself.
For the purposes of this guide, we’ve assumed that you need to assemble your new record player from scratch – and don’t worry, it’s not as fiddly as it looks.

Parts of the turntable
Aside from your new turntable, there are some other bits of kit you might want to invest in.
First off, you'll want to check out the best stereo speakers; after all, a turntable is only as good as your speakers you hook it up to.
If you opt for a fancy wireless turntable, you might want to invest in a Bluetooth speaker, connect it to your existing smart speaker, or buy a pair of fantastic wireless headphones.
If your record player of choice doesn't have a built-in amplifier, you'll need to buy one – check out our amplifier reviews for more information.
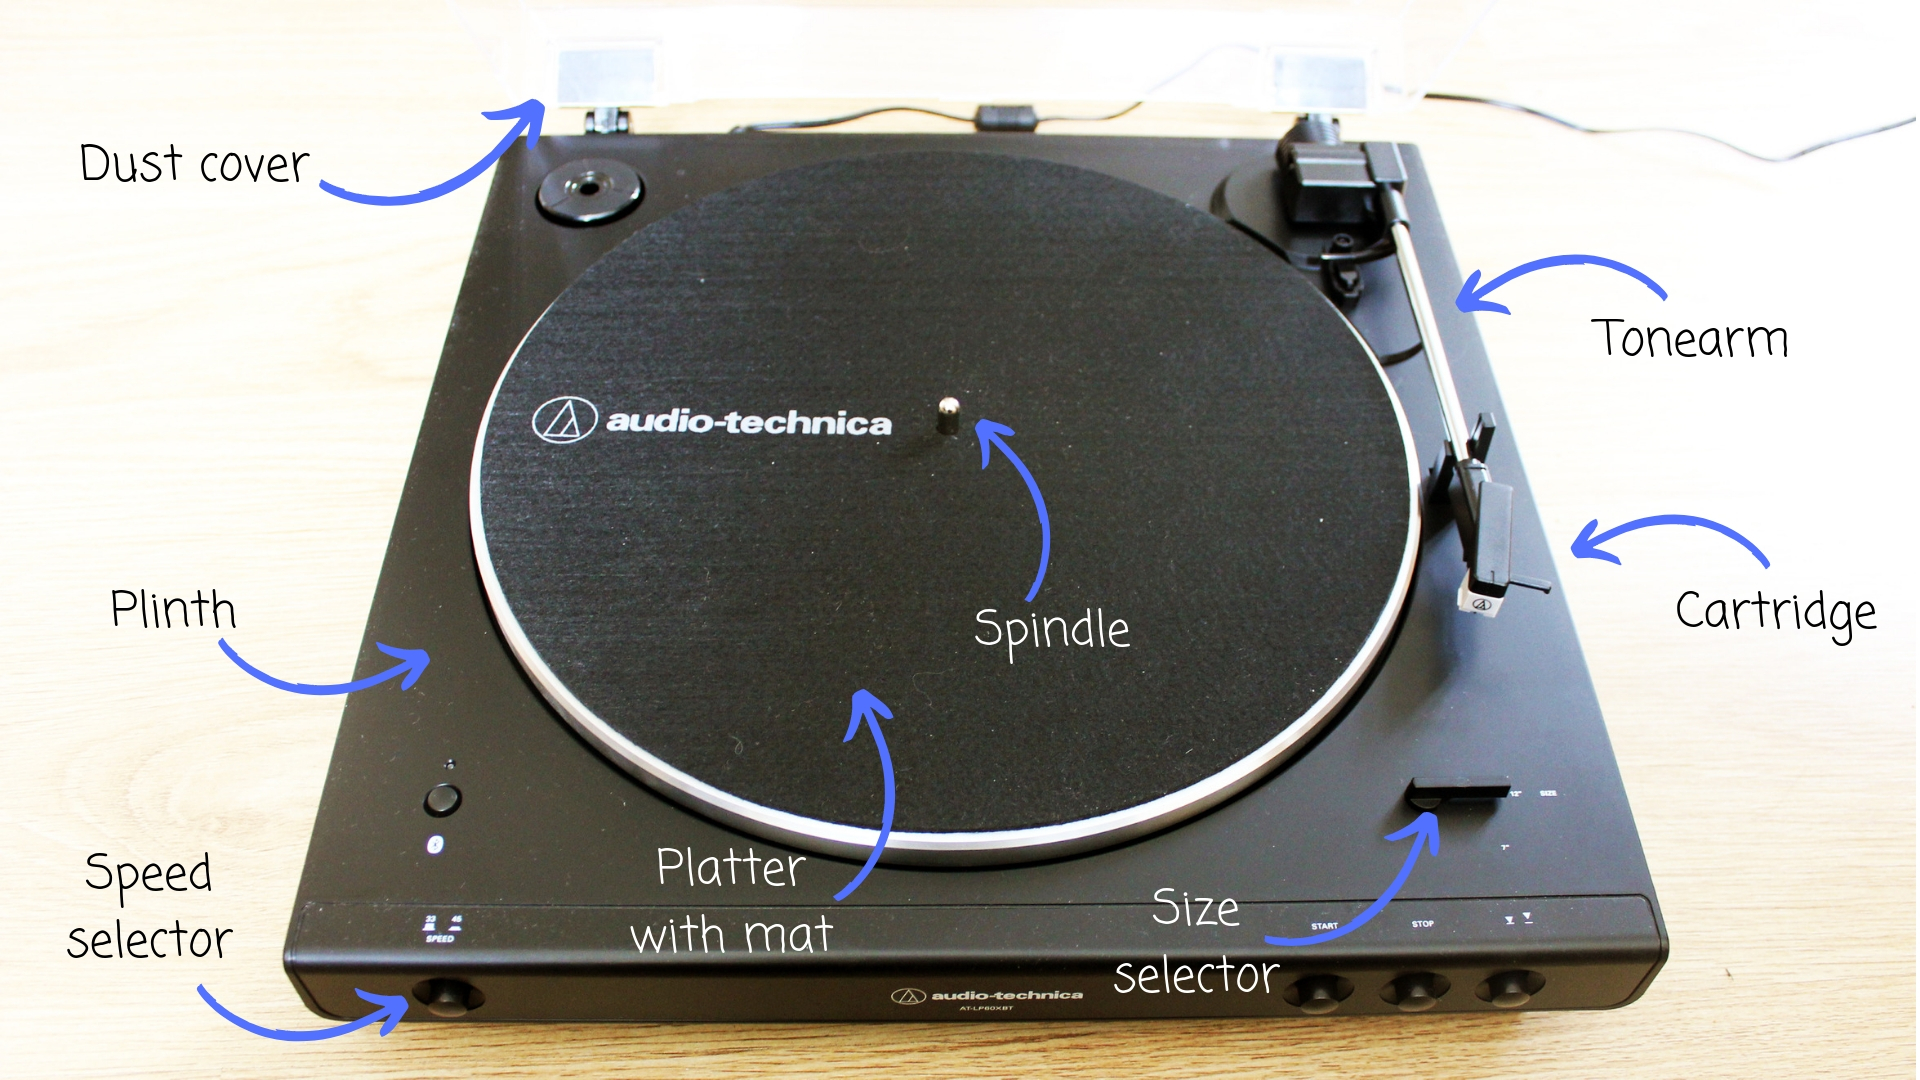
Whether you need to assemble your turntable or not, it’s a good idea to become familiar with the different parts of the record player.
Plinth
Get daily insight, inspiration and deals in your inbox
Sign up for breaking news, reviews, opinion, top tech deals, and more.
The plinth or ‘support’ is the base of the turntable. As well as providing a base for everything to sit on, the plinth is designed to dampen or absorb vibrations that negatively affect the sound quality of the turntable.
It’s important that the plinth is sat on a completely level surface, as you’ll need to balance your tonearm when it comes to setting up the turntable and a sloped surface can throw it off kilter. Some turntables come with adjustable feet for this reason.
Platter
The platter is the circular part of the turntable that spins and where you put your record. Most platters come with a mat made of rubber or felt to reduce vibration and protect your precious vinyl.
Belt drive
The two most commonly used types of turntables are belt driven turntables, and direct drive turntables. The latter are usually used by DJs who need to be able to ‘scratch’ and play their records backwards, while belt-driven turntables are normally used for home listening.
Tonearm
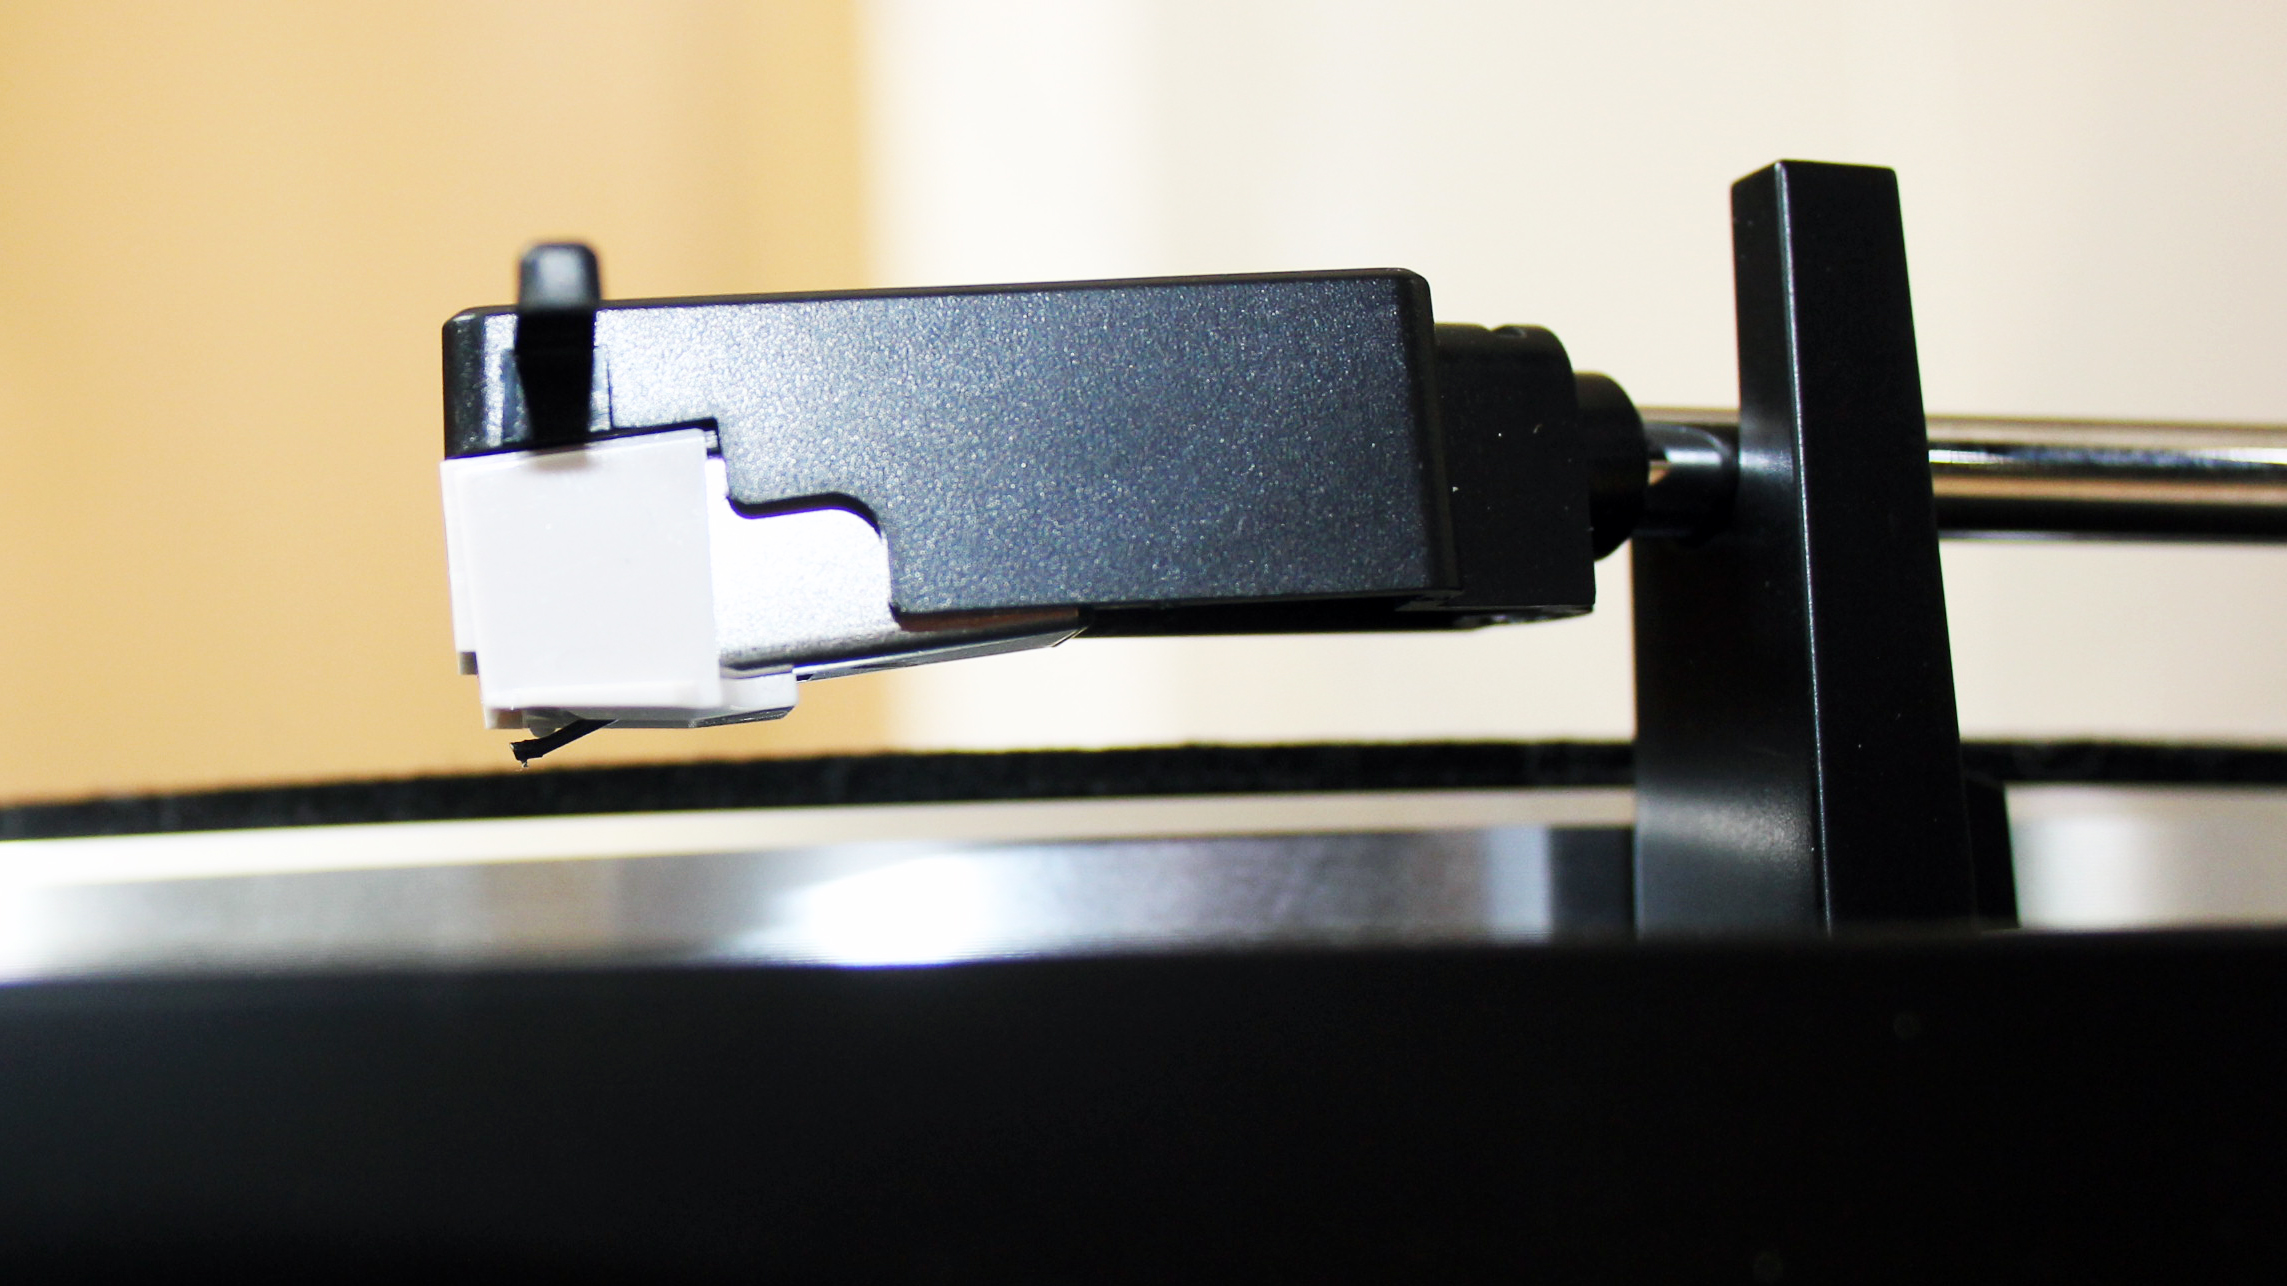
The tonearm is the part of the turntable that guides the stylus (also known as the needle) through the grooves on the vinyl. It needs to be carefully balanced to ensure the stylus sits correctly in the groove without veering towards either side.
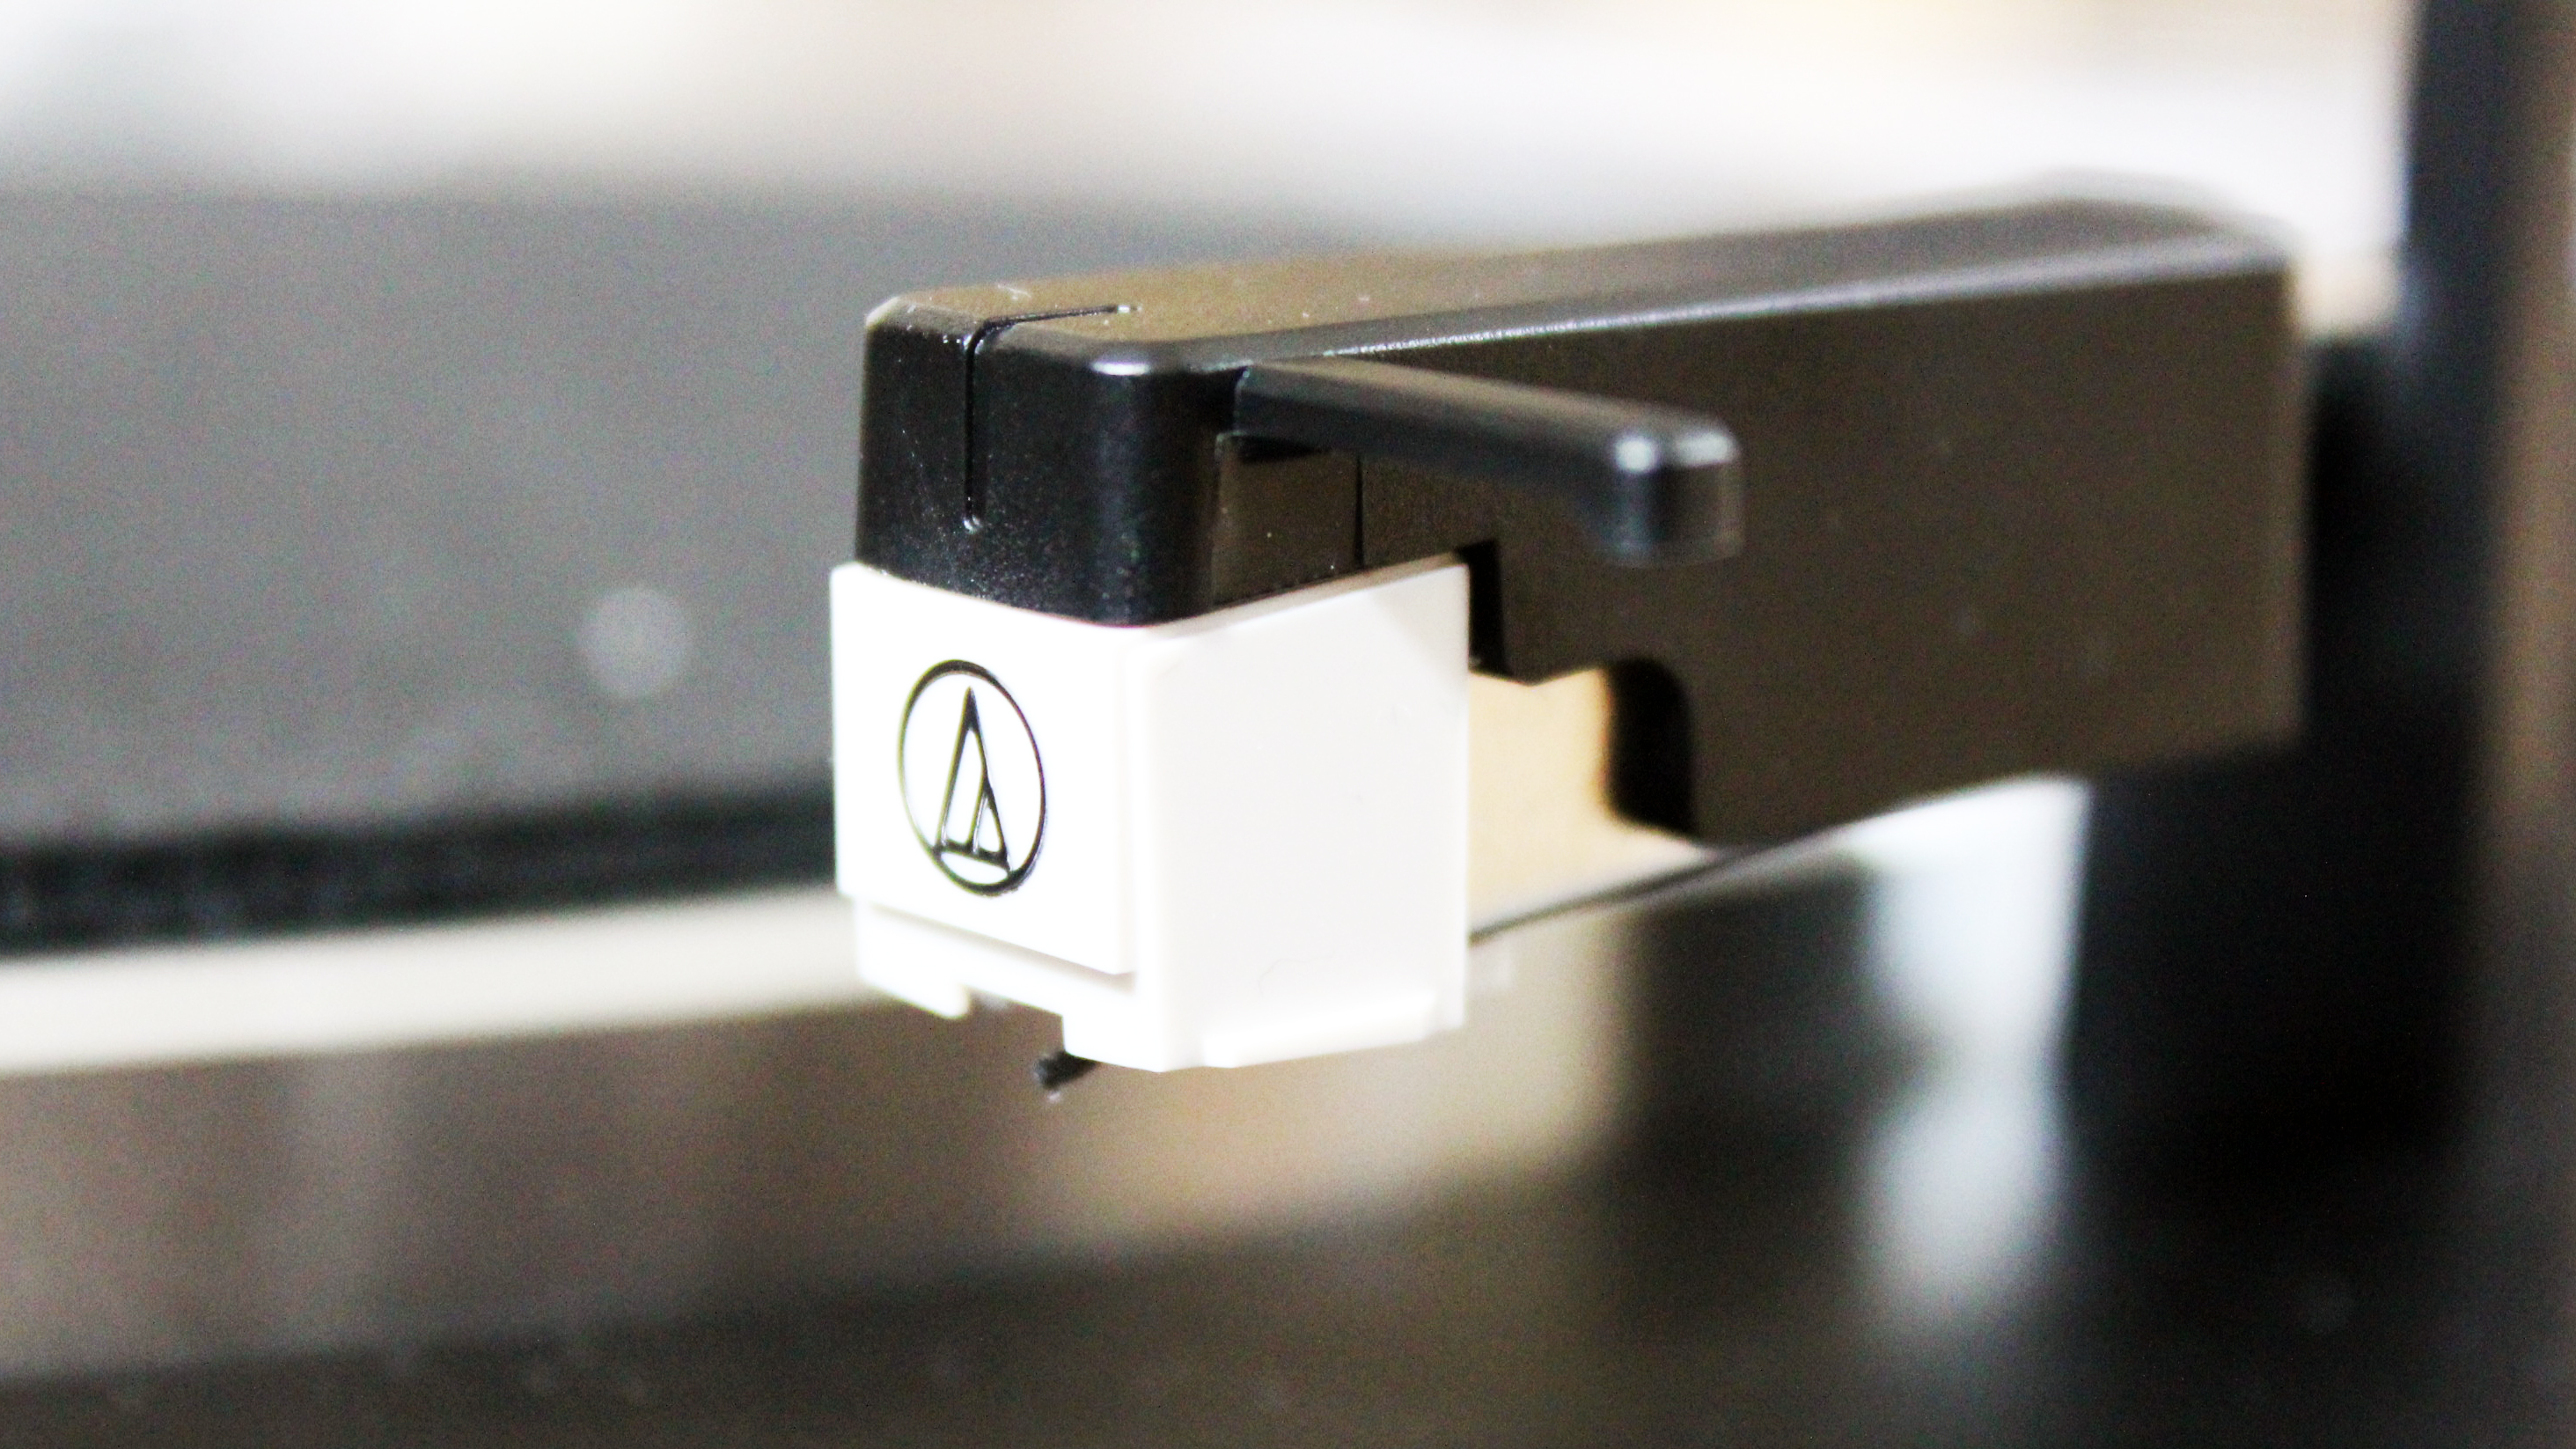
Cartridge
The cartridge attaches to the end of the tonearm and contains the stylus, which sits in the microgrooves of the record. As the platter spins the record, vibrations travel through the stylus and into the cartridge, where coils in a magnetic field convert the kinetic energy from these vibrations into an electrical signal.
The stylus is usually made from a tiny piece of diamond attached to a flexible metal strip, although materials like ruby, sapphire, boron, and even cotton fibre can be used as well.
Pre-amplifier
The pre-amplifier (also known as the phonostage) amplifies the electrical signals from the cartridge, boosting the signal so that you hear music when it finally reaches the speakers. Many consumer record players come with an amplifier built in, but high-spec, audiophile turntables usually require an external pre-amplifier to be connected via RCA cables.

Setting up your record player
Firstly, you'll need to connect the different parts of your turntable setup together. If you are using an external pre-amplifier, you'll need to plug it into the turntable's output port using an RCA cable.
If the preamp comes built into the turntable, you'll be able to plug your speakers into the back directly. Check out our roundup of the best stereo speakers if you need some inspiration.

Attaching the belt
If you have a belt-driven turntable, you'll need to attach the belt to the platter and the motor pulley – this is what makes the platter (and therefore your records) spin. Lift up the dust cover, take off the protective mat, and remove the platter; turn it upside down and slip the belt around its underside.
Then place the platter back onto the spindle (the bit that sticks through the hole in your vinyl), and pull the belt through the square opening in the platter.
You'll need to hook the belt around the motor pulley – most belts will come with a small piece of ribbon attached to help you pull it through the hole and attach it securely.
It's important that the belt has no twists in it so it the platter spins smoothly. Put the mat back on the platter.

How to balance the tonearm
Now it's time to balance the tonearm. First unplug the record player so that it doesn't start spinning unexpectedly.
Next, set the anti-skate control (a small numbered wheel next to the tonearm) to 'zero' and gently lift the tonearm from its rest, taking care not to drop it, which could cause damage to the stylus.
The tonearm's height needs to be set in such a way that it's parallel to the surface of your vinyl when the stylus sits in the groove. You can do this by moving the counterweight at the bottom of the tonearm backwards and forwards until the tonearm sits level without your support.
Setting the tracking weight
This means your tracking weight (the amount of down-force the stylus places on the microgrooves in the record) is now at 0g.
Once you've done this, you can adjust the tracking weight to the cartridge manufacturer's recommendation.
Too high, and the stylus will jump out of the grooves and damage your records, while too low a tracking weight will deaden the sound and lead to distortion. It's worth taking your time with this step and using the manufacturer's recommended tracking weight to avoid causing damage to your precious vinyl.
Now that your tracking weight is effectively at 0g, you can change the tracking weight gauge to 'zero' to reflect this. The tracking weight gauge is another numbered dial that forms part of the counterweight itself.
Now you can set the tracking weight to whatever the manufacturer recommends by moving the entire counterweight up and down the tonearm.
Once you're happy, place the tonearm back on its rest and set the anti-skate control dial to the same number you've just set the tracking weight to.
Balancing the tonearm is the most difficult part of the process to get right, so if you're unsure, we recommend watching the video below from Vinyl TV:
You spin me right round
Now you're ready to start playing your records! Simply switch the turntable back on, place your record onto the platter and select the correct speed setting – there should be a button on the plinth that allows you to do this.
If you're playing a 12-inch you should select 33 RPM (revolutions per minute). For seven-inch vinyl, select 45 RPM.
Press play and raise the tonearm's cueing lever – the tonearm should now lift up. Align the tonearm with your record and lower the cueing lever until the tonearm gently drops and the stylus settles into the microgrooves of your vinyl.
There you have it – if you've followed all the steps correctly, you'll be able to sit back and enjoy the warm analogue sound of your music on vinyl.
- Still looking for the perfect record player? Read our round up of the best turntables
Olivia was previously TechRadar's Senior Editor - Home Entertainment, covering everything from headphones to TVs. Based in London, she's a popular music graduate who worked in the music industry before finding her calling in journalism. She's previously been interviewed on BBC Radio 5 Live on the subject of multi-room audio, chaired panel discussions on diversity in music festival lineups, and her bylines include T3, Stereoboard, What to Watch, Top Ten Reviews, Creative Bloq, and Croco Magazine. Olivia now has a career in PR.
