How to set up a VPN for Roku
Connect a VPN to your Roku and enjoy unlimited streams

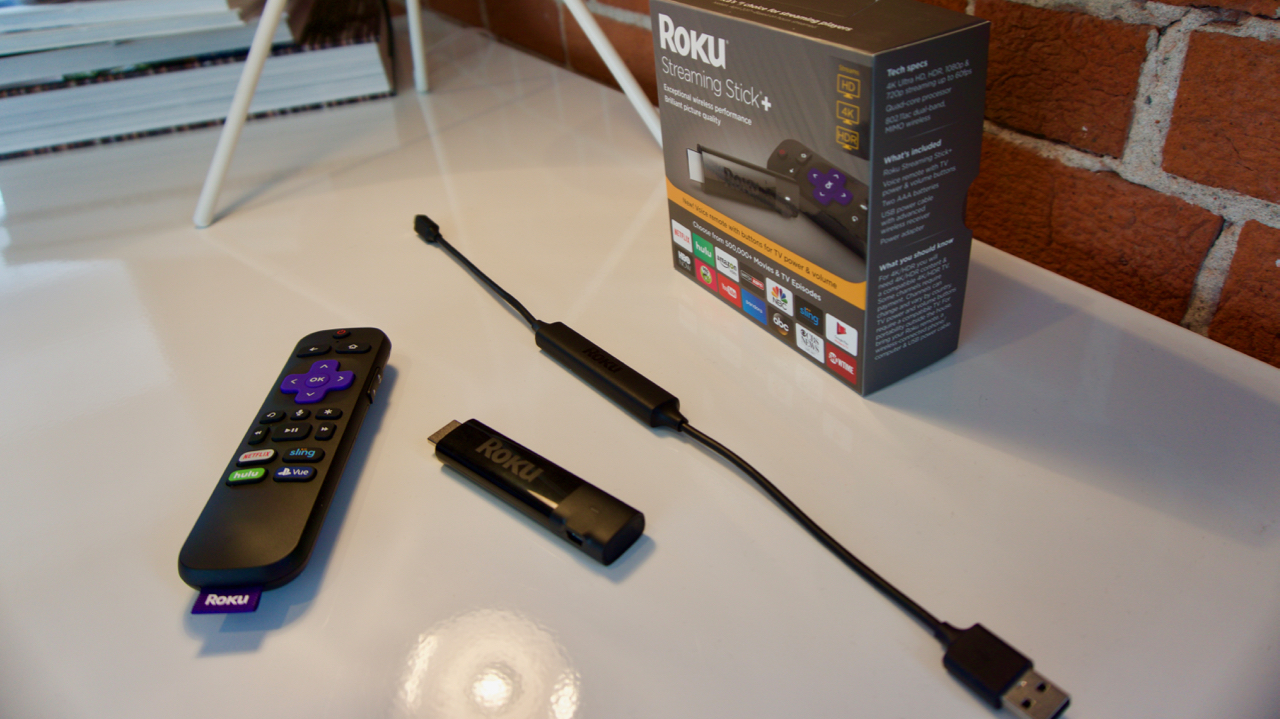
As one of the most popular streaming boxes on the market, Roku is an easy-to-use media device that comes in a variety of forms. Being able to sync your Roku to your TV lets you access Netflix, Hulu, Amazon, and more from the comfort of your own couch. What’s more, you can connect your Roku to a VPN (Virtual Private Network) to simultaneously encrypt your network and open up a whole new world of streaming possibilities.
If you already have a VPN, here’s how you can use it with your Roku device.
How VPNs help you stream more content on Roku
When you use a VPN, you’re able to take on an entirely new IP address. That means sites and services that may have been blocked in your region will instantly become available. If a person in the US wants to stream content from the UK, all they have to do is use their VPN to connect to any British server location and voila – they’re immediately able to access sites and services as if they were actually browsing from the UK.
For media devices like Roku, this gives users a whole new world of streaming possibilities, as you can now set up and sync channels from anywhere you want.

Installing a VPN on Roku
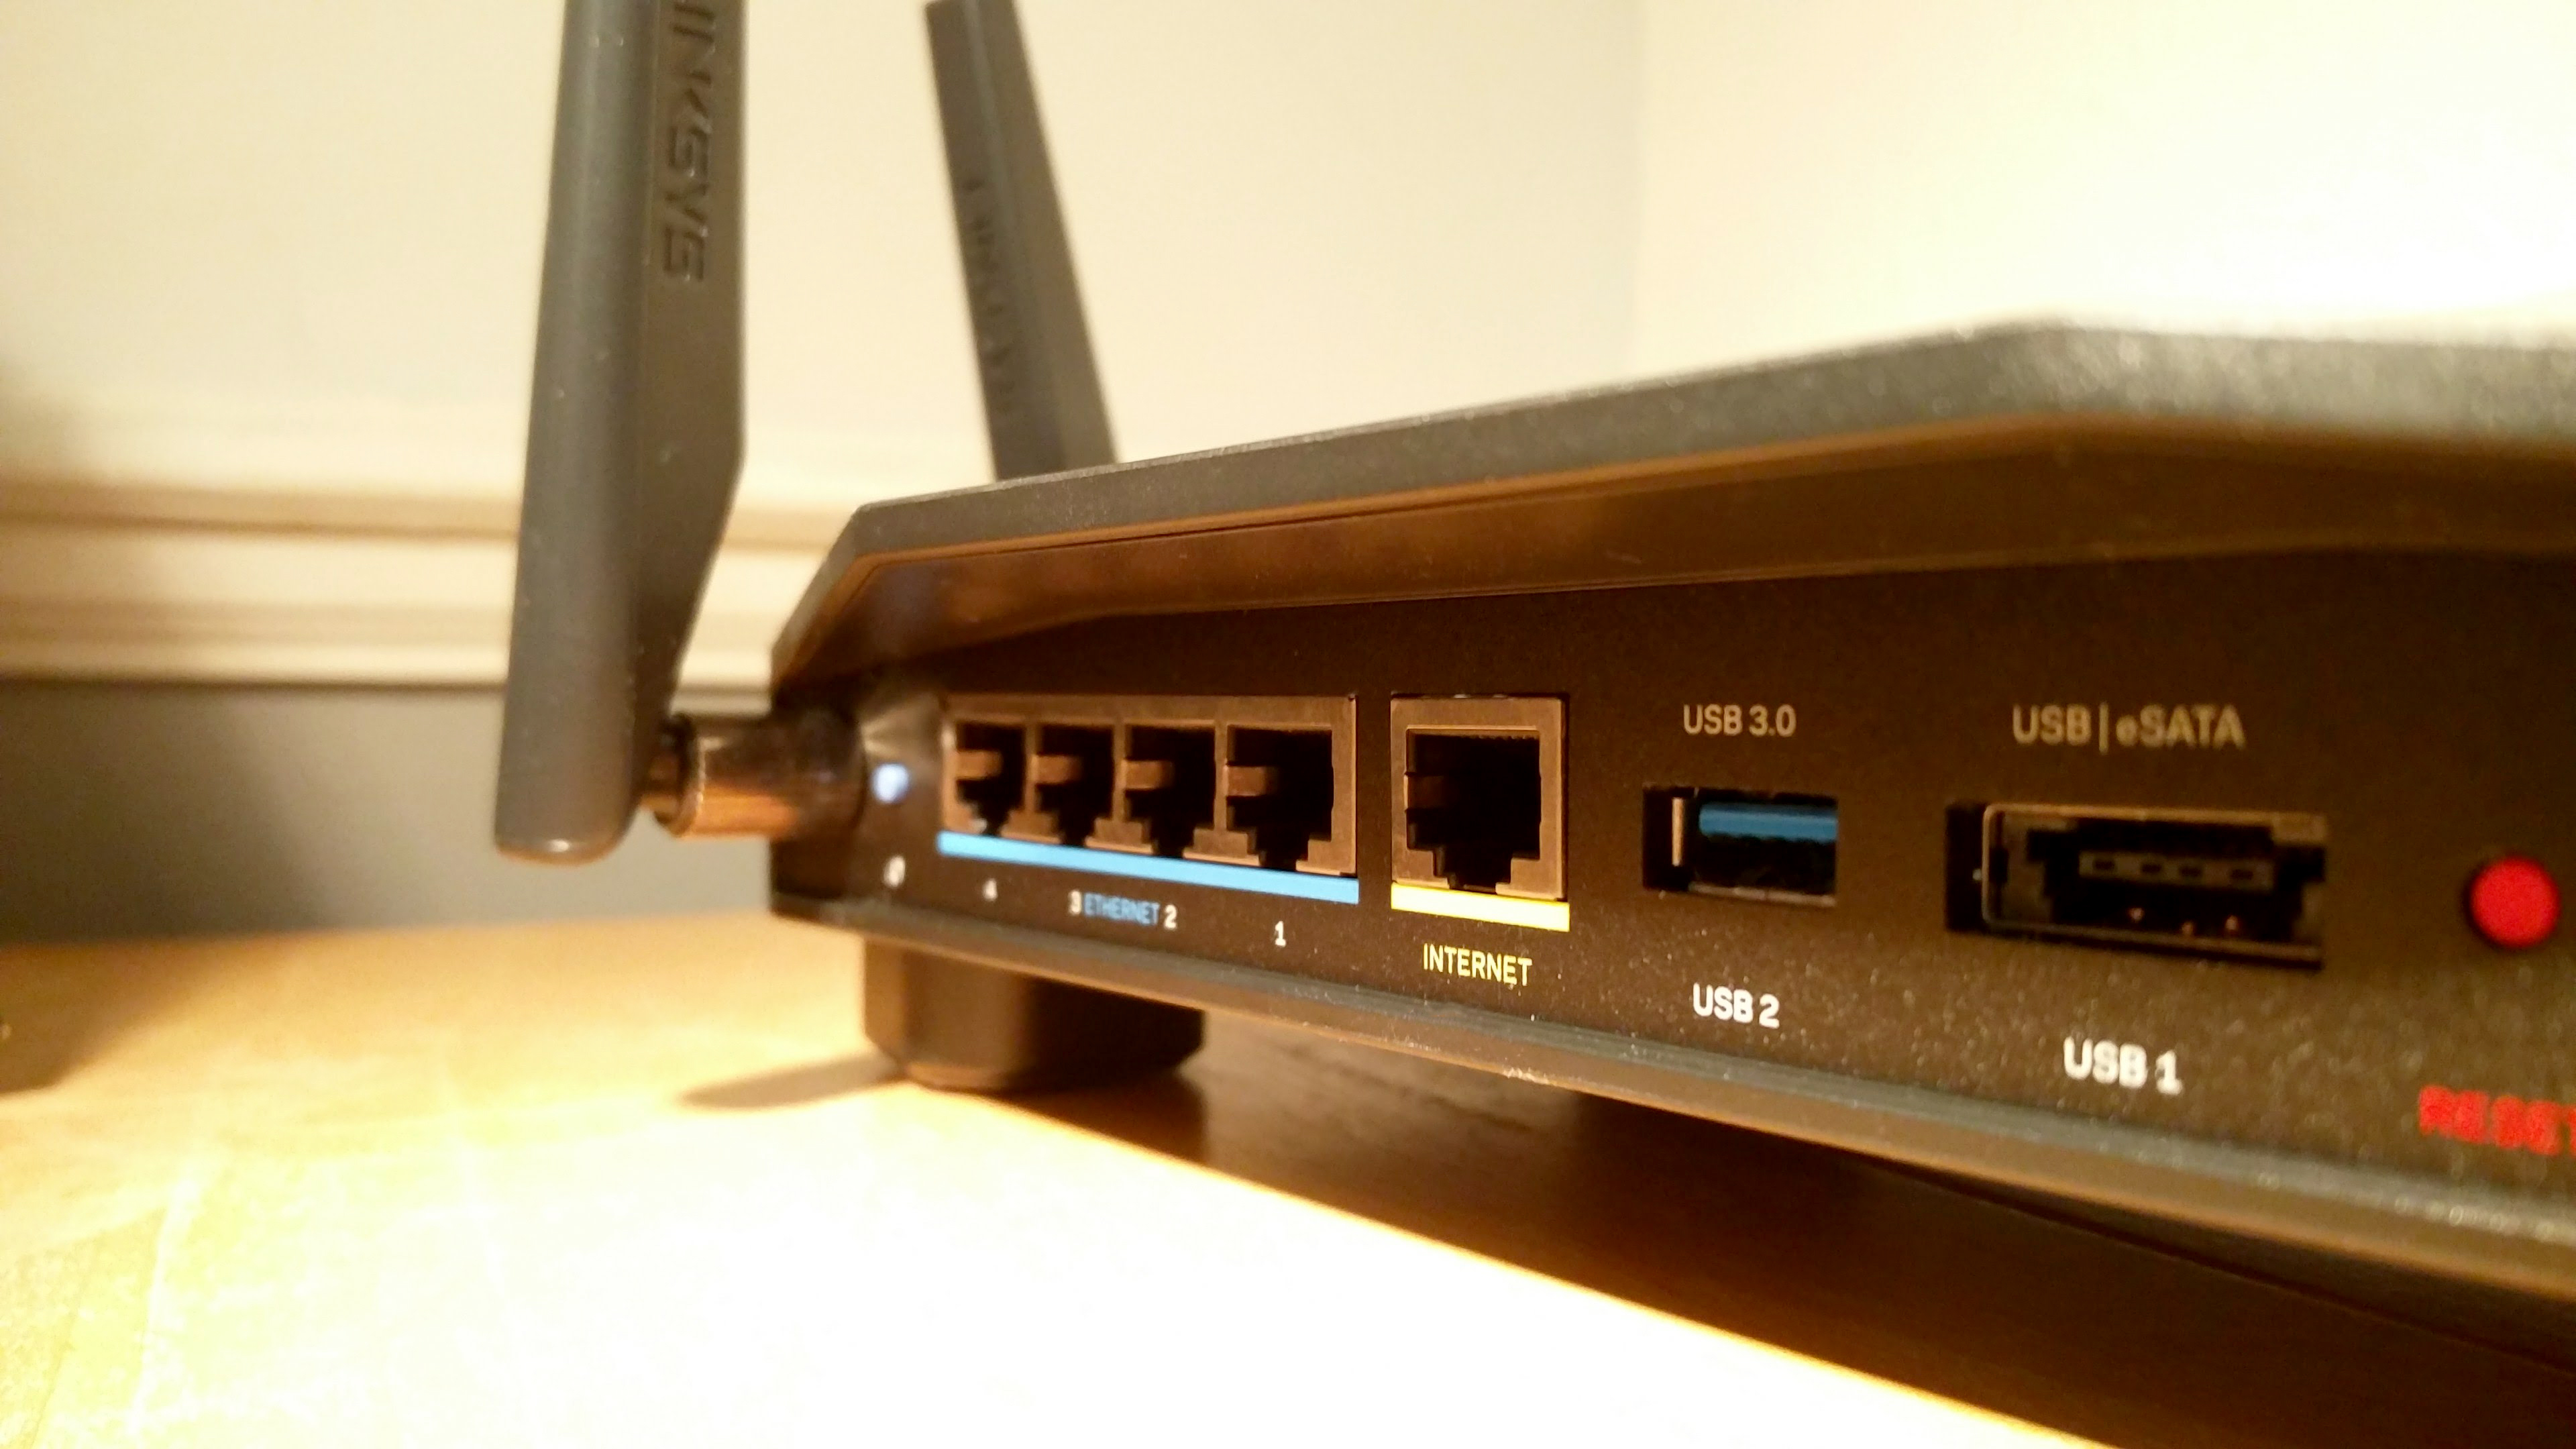
First, let’s clear the air a bit: Roku devices don’t actually support VPN or Smart DNS functionality, which means the only way to use a VPN for Roku is to actually install one on your router. Sure, it’s a bit of an extra step, but having a VPN installed on your router is worth doing regardless of whether you want to use it on your Roku or not.
By setting up a VPN on your router, you’re able to instantly cover every device connected to – from your laptops to smartphones (and even that smart fridge of yours), every internet-enabled device can instantly benefit from VPN use.
Another option, which may be easier, is to set up a virtual router with your VPN. We’ll cover both these methods below.
Get daily insight, inspiration and deals in your inbox
Sign up for breaking news, reviews, opinion, top tech deals, and more.

How to set up a VPN on your router
If you wish to configure a VPN on your router manually, you’ll need to first make sure your router is able to accommodate a VPN. Keep in mind that not every router is VPN-capable. More than that, the installation process often differs from router to router, so one guide may not work for another device.
That said, if your router doesn't support VPN functionality, you can often install new firmware that essentially ‘flashes’ it. One of the most common ways to do this is to install an open source firmware, namely either DD-WRT or Tomato, to help give your router the ability to run VPNs.
(Note that this process can actually permanently damage your router if not done correctly. You can read our installation guide for more tips on how to install a VPN on your router).
Another option is to simply choose a VPN that offers pre-configured router apps. If you’re worried about flashing your router or don’t want to deal with the cumbersome installation process, we recommend going with ExpressVPN. As our highest rated VPN provider, it offers the best all-round service for the asking price. More than that, the company offers its own router apps for easy installation.
Of course, if for some reason you prefer not to connect your VPN to your router, you can set up what’s known as a virtual router to use Roku with a VPN. All you need is a VPN connection, a Mac or Windows device, and an open Wi-Fi hotspot.
How to set up a virtual router with a VPN
This option is arguably a little easier but requires a few more steps. First, use your PC or Mac computer to set up a VPN connection. (You can check our how-to guide here).
Next, open your VPN app and share your Wi-Fi network. For Windows users, you can do this by opening Run and pressing Windows + R. Now, name your connection. Next, open your Connection Settings and find the network option with the corresponding VPN. Now, right click on the connection, scroll down to Properties and click Allow other network users to connect through this computer’s Internet connection.
For Mac users, go to your Sharing Menu and check the box next to the Internet Sharing option. You should be automatically greeted with a pop-up confirming your selection. Click Start and open your menu bar. If done correctly a green light should appear next to your Internet Sharing status under your Sharing menu.
With your Wi-Fi hotspot activated, simply use your Roku to connect to that hotspot. Once connected, your Roku should be covered by the VPN.

How to use a VPN with Roku
Now that your VPN is connected, you can start enjoying Roku on a whole new level. To do that, you first need to make sure your VPN and Roku are set to the same location. While there are tons of options to choose from, we’ll stick with UK and US streams for now.
Assuming you’re located in a different country, you can set your VPN to stream content directly in the States. First, make sure you’re connected to a VPN connection in the US. Next, configure your Roku’s settings by heading to https://owner.roku.com on whichever device you have connected to the VPN.
If you don’t already have an account set up, you can do so now. Make sure you configure your settings to the US. For new users, you’ll be asked to add a ZIP code. Enter an American ZIP code and continue. You can now use your VPN to stream American content on Roku.
To log in from another location around the world, you may need to reset your Roku’s factory settings. Once the settings have been reset, simply use your VPN to connect to whichever server location you want, enter the corresponding location in your Roku menu, and enjoy region-free streams.
- Check out our list of best VPN

Désiré has been musing and writing about technology during a career spanning four decades. He dabbled in website builders and web hosting when DHTML and frames were in vogue and started narrating about the impact of technology on society just before the start of the Y2K hysteria at the turn of the last millennium.