How to turn a Raspberry Pi into a Steam Link
Turn your Raspberry Pi into a gaming PC

Can you play Doom on a Raspberry Pi? Well the answer is yes if you mean the version from 25 years ago, and now you can also play the 2016 version of the visceral, fast paced shooter.
In fact, you can play any modern Steam game on the Raspberry Pi thanks to Steam Link, a recent beta app released by Steam we can stream games from our gaming PC to the humble Raspberry Pi 3B+.
In this guide we'll show you how you can install the Steam Link beta on your Raspberry Pi and use the mini computer to stream your Steam games to your TV.
You'll need:
- A Raspberry Pi 3B+
- Latest Raspbian installed on an SD card
- Ethernet connections for your Raspberry Pi and gaming PC
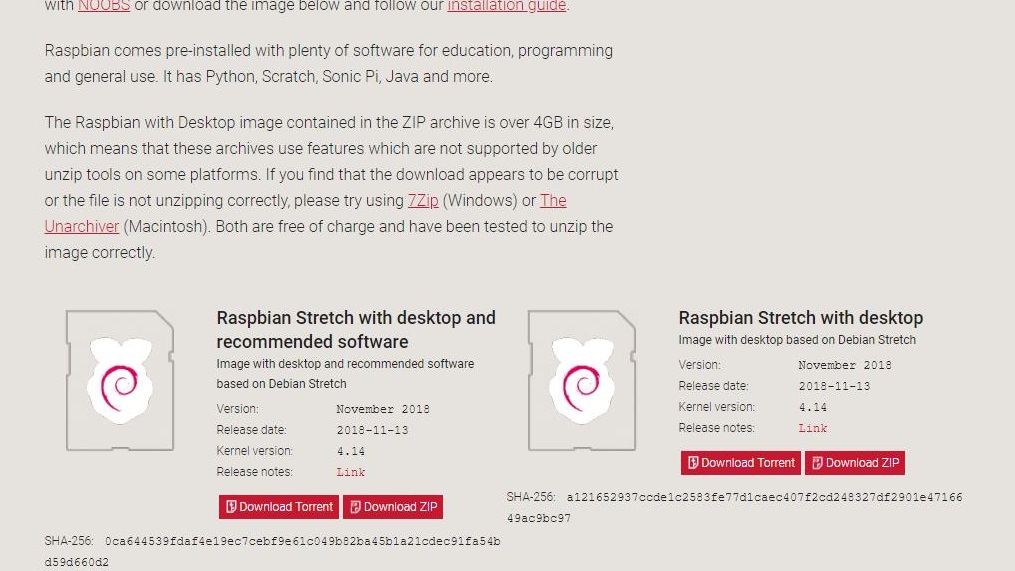
1. Install the latest version of Raspbian Stretch
You should already have the Steam app installed on your Windows computer, but for this guide we need the latest version of Raspbian Stretch with desktop.
This is a lighter version of the operating system that features a minimal amount of applications, making it ideal for this task.
Download the latest version of Raspbian Stretch and then the Etcher application to easily write the image to a blank micro SD card of around 8GB in size.
Get daily insight, inspiration and deals in your inbox
Sign up for breaking news, reviews, opinion, top tech deals, and more.
Writing the card will take a few minutes, but once created eject and insert it into your Raspberry Pi and power up.
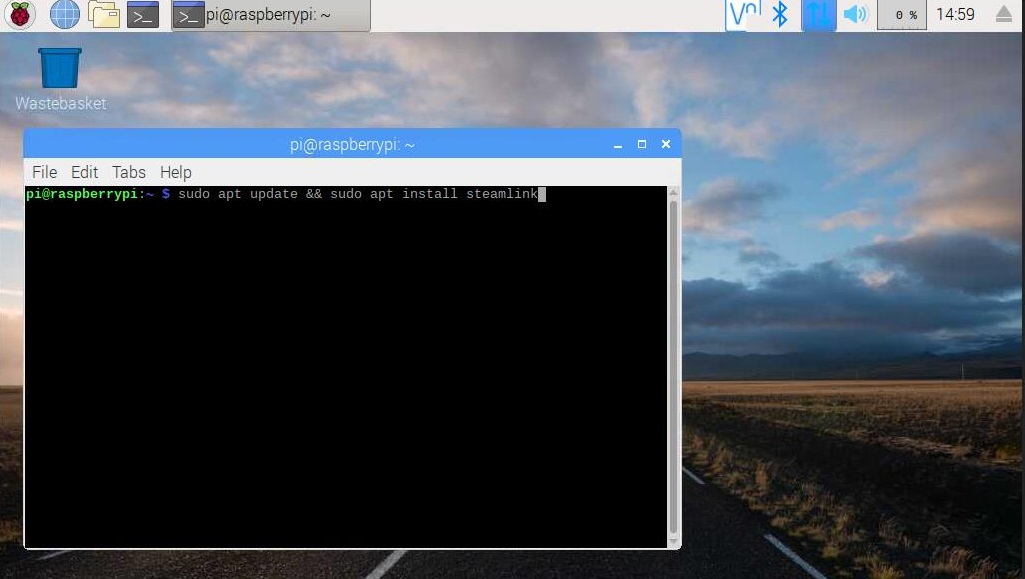
2. Install Steam Link
The Raspberry Pi will boot to the desktop, and from there we need to open a terminal.
There is an icon in the top left of the screen, so click that to open the terminal. In the terminal we shall enter a command to update the list of available software downloads, and if that is successful it will then install the Steam Link app. In the terminal type:
$ sudo apt update && sudo apt install steamlinkOnce installed we can close the terminal and then click on the Steam Link desktop icon to launch the application.
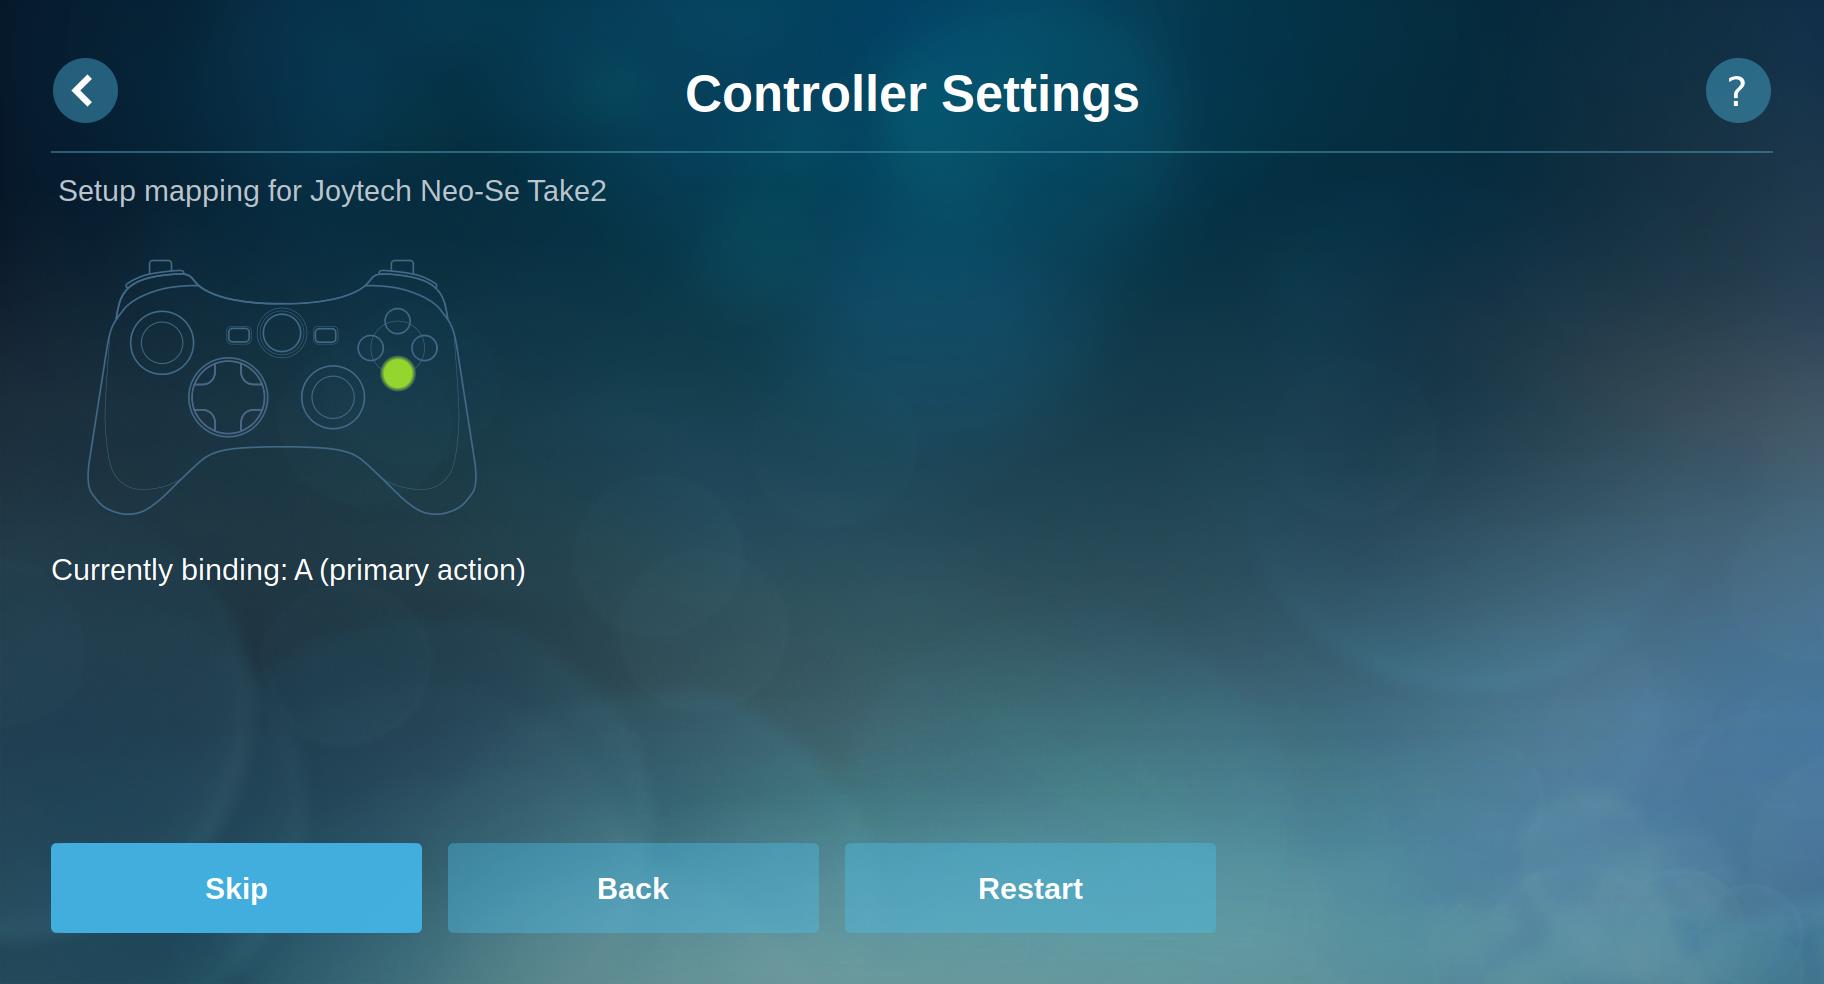
3. Configure your controllers
Steam Link officially supports only a few controllers. Chiefly the Xbox 360 and Xbox One pads, and pads for PlayStation 4.
This means that if you have these pads, then you can easily play your games. But first we need to ensure that our controller buttons are mapped correctly.
Follow the onscreen instructions and when complete move on. Once configured, select Connect to Computer and it should auto-detect your PC running Steam. Clicking on the PC link will trigger a pin code to appear on the Raspberry Pi. Remember this pin and enter it on the Steam PC.
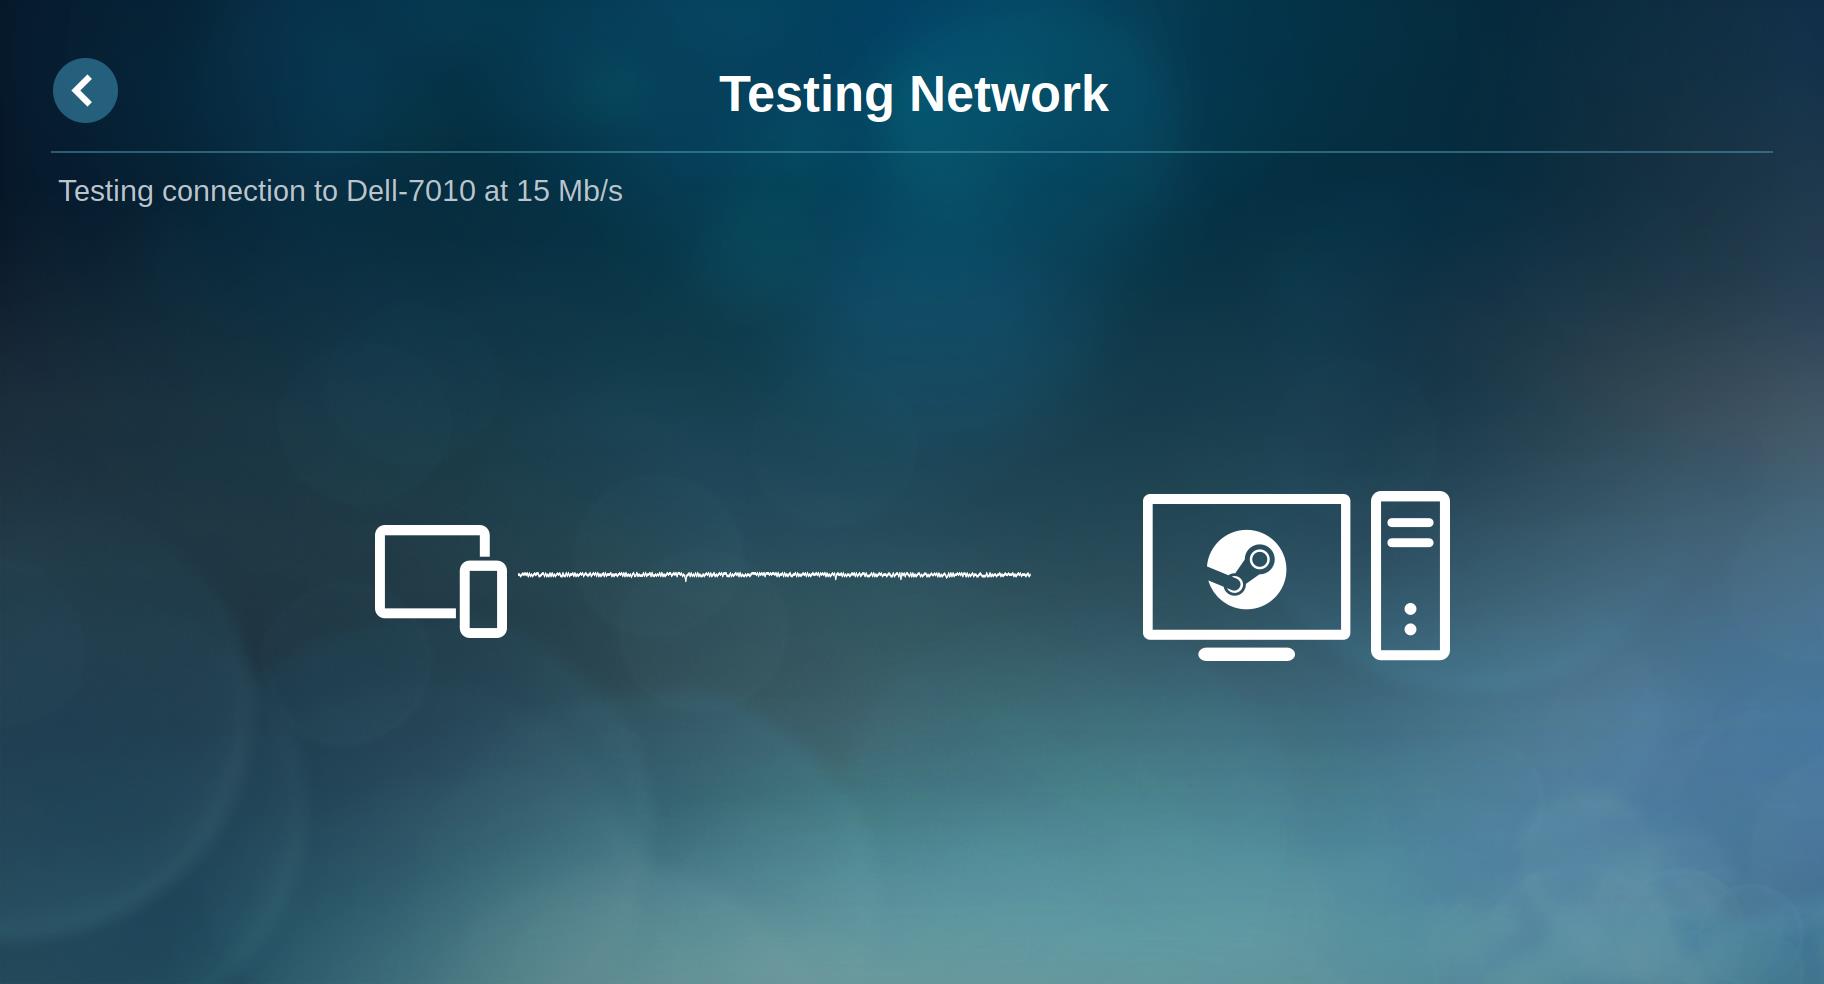
4. Perform a network test
A network test will now take place, and for the best experience Steam requires you use an Ethernet cable.
If you are using a Raspberry Pi 3B+ then you can also use 5GHz Wi-Fi, but the best speeds and lowest latency is with Ethernet. For Raspberry Pi 3B users you will need to use Ethernet as the WiFi on the 3B is not 5GHz and is quite slow in comparison.
Click on 'Start Playing' to run Steam Link, but take heed as at the step in the process you may be asked to install a driver on the Steam PC. This is a required step in order to continue.
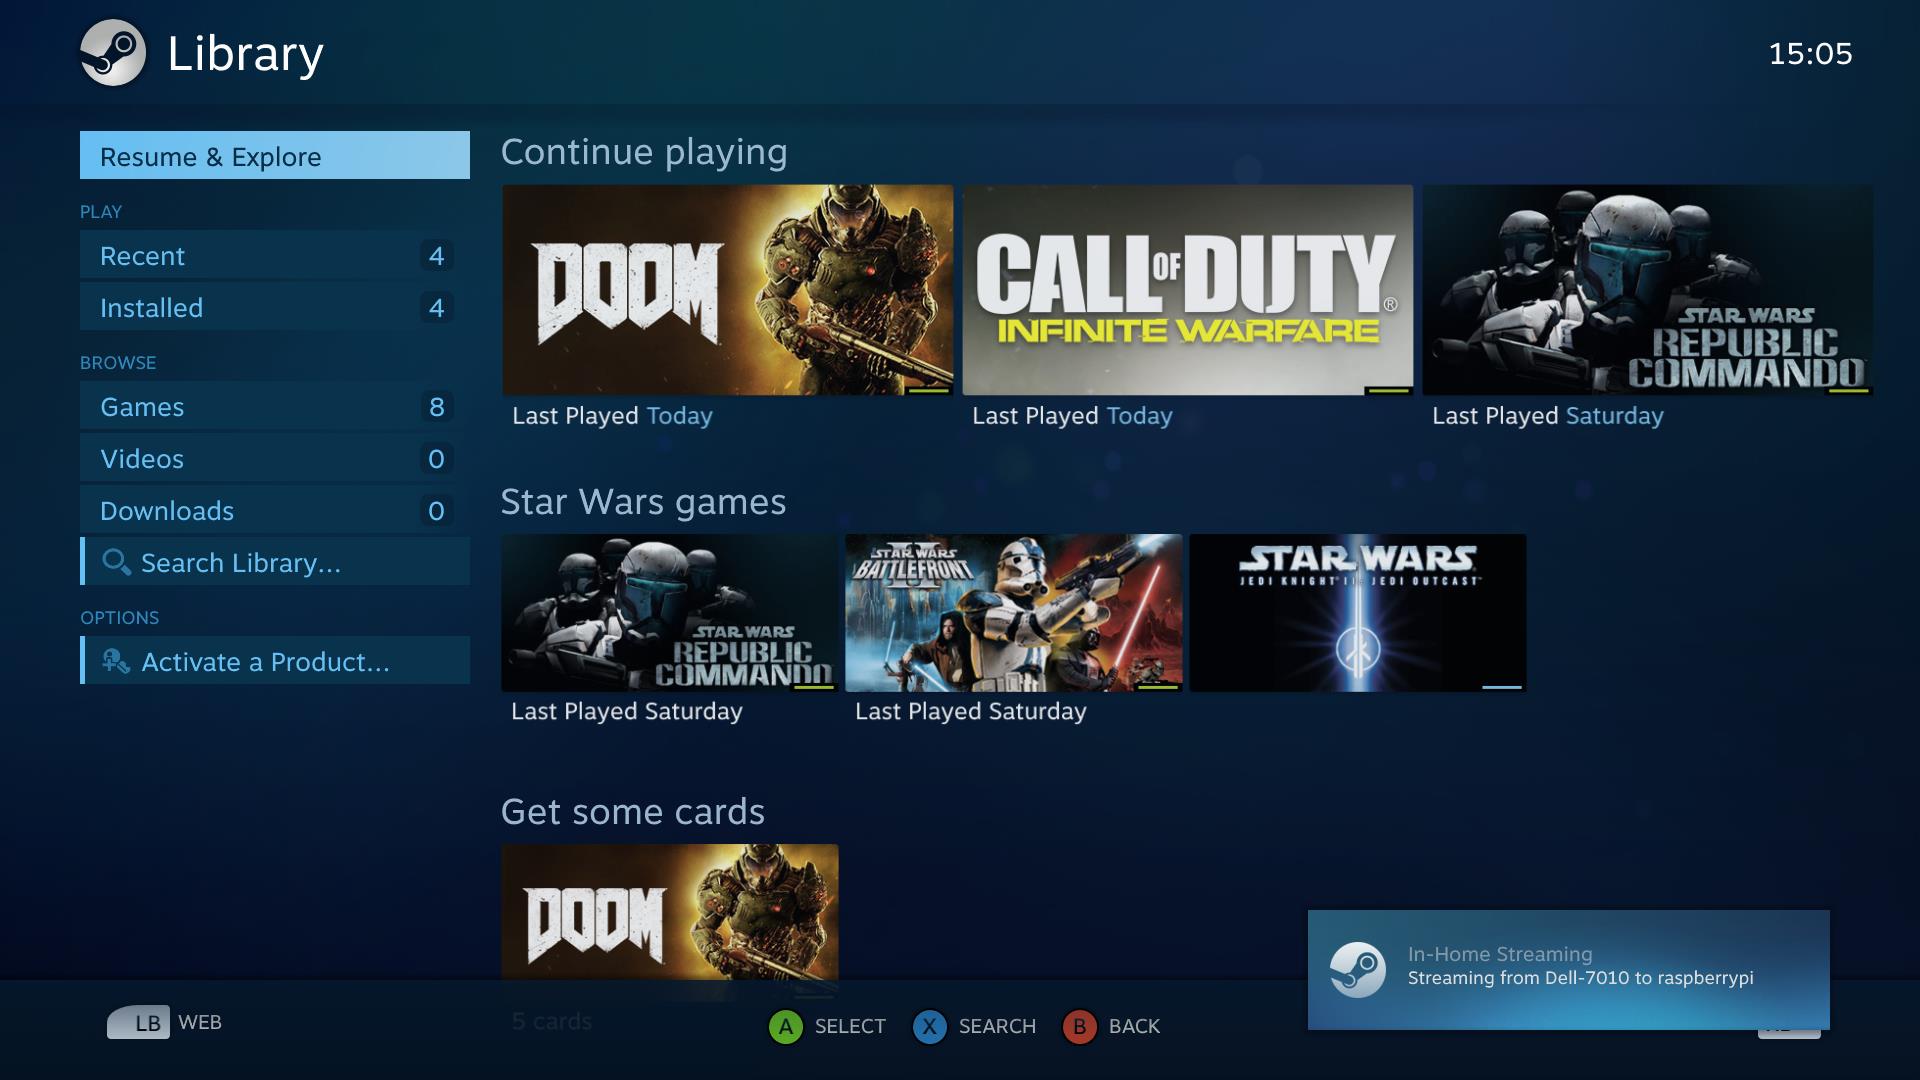
5. View your library
You'll now see the Steam interface which allows you to play games from your library, surf the web, buy games in the store and take part in the Steam community. All from the comfort of our sofa thanks to the Raspberry Pi.
At this point you can pop the Raspberry Pi in a case, and connect it up round the back of your television.
But before you do that, you can tweak your settings to get the most from your new streaming box! First of which is your network settings. For this we need to go back to the Steam Link “Steam Link” screen.
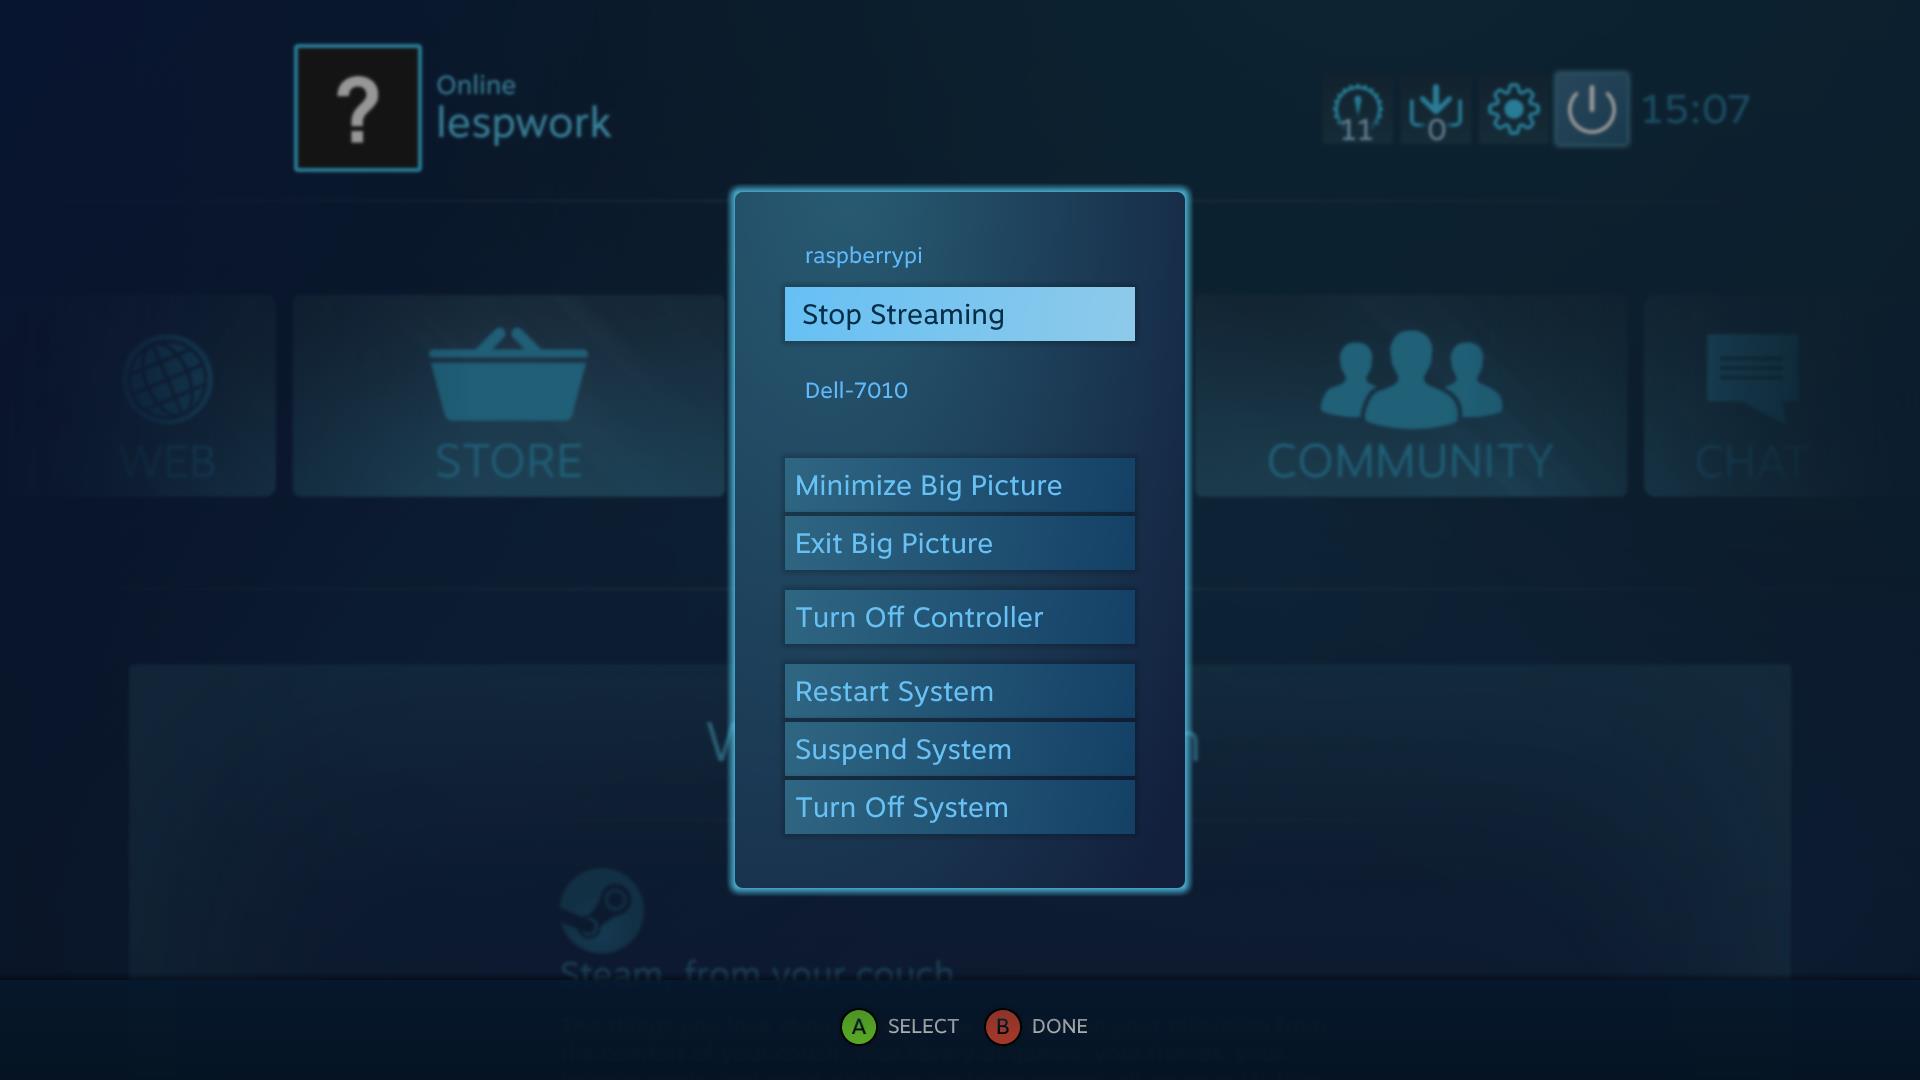
6. Adjust your streaming settings
To reach the Steam Link screen you need to click on the Power icon in the top right, and select 'Stop Streaming'.
From there we can access the 'Settings' option and then go to 'Streaming'.
In 'Streaming' we can change the quality of the stream. The best option to start with is 'Balanced' but if you are experiencing lag then change this to 'Fast'.
Now would also be a good time to run a network test, to check that the changes improve your speeds. If not, then tinker with the settings until you pass the network test with flying colors.
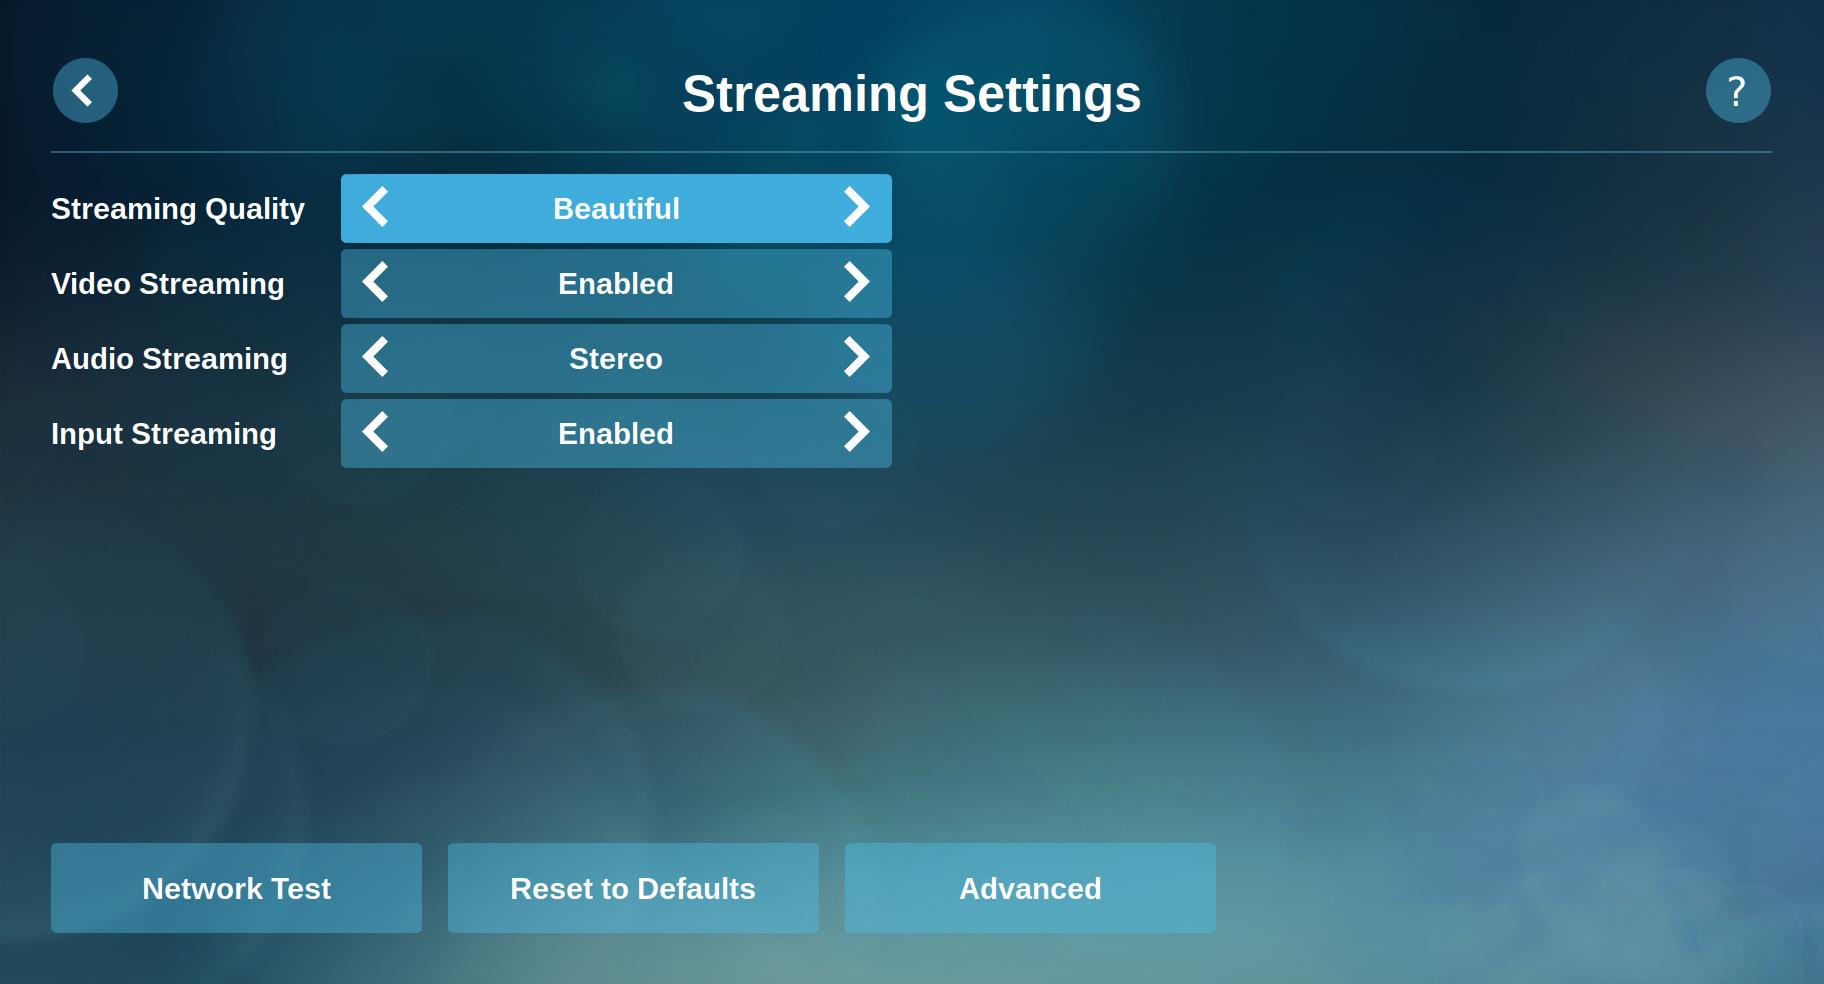
7. Advanced streaming settings
Advanced users can access the 'Advanced Streaming Settings' and dial in their settings for the best experience.
From this screen you can force the resolution to 1080p, or even 4k. For those of us with poor networks, you can even set the resolution to 720p to see if that helps your games.
The best way to alter these settings, if needed, is to change one value at a time. Then test the outcome of the change to see if it improves the game. If not change it back and then try something else. Tinkering is a slow, but rewarding, skill.
8. Get Steam Link to auto start
Once happy with the install, we shall now create a script to autostart Steam Link on the Raspberry Pi.
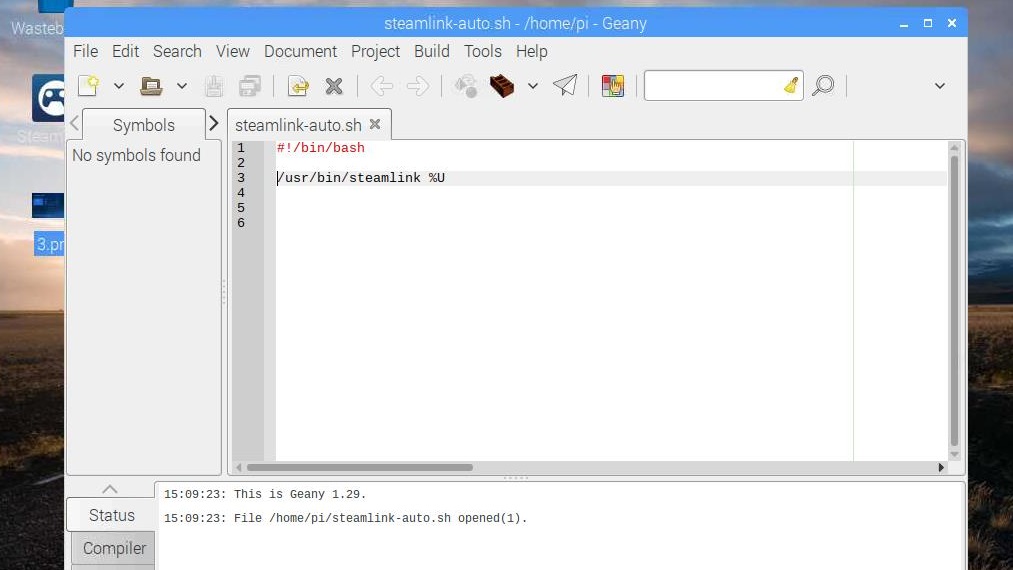
For this we need a text editor, and we suggest Geany, which can be found in the programming menu.
Our script has only two lines. The first line tells the script where to find our interpreter to run the code:
#!/bin/bashThe second line will call the Steam Link application:
/usr/bin/steamlink %USave the file as steamlink-auto.sh in the directory /home/pi. Now open a terminal as we need to run a command to make that file executable.
9. Make your code executable
In the terminal type the following to make the file executable:
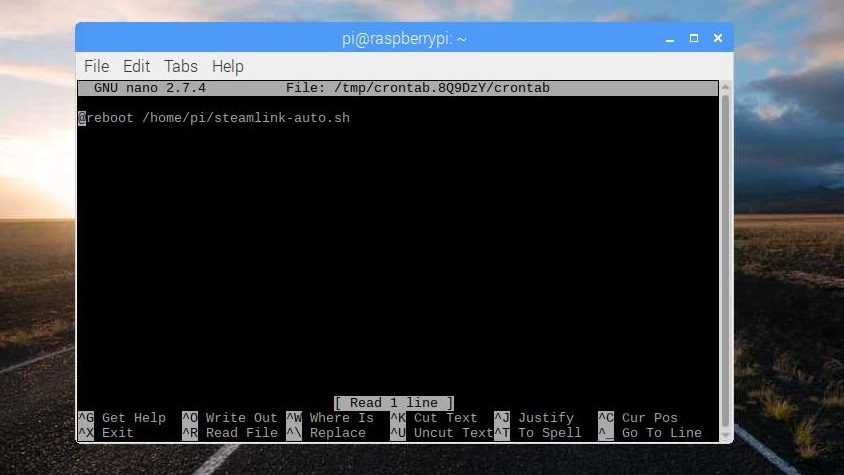
$ chmod +x steamlink-auto.shIn the same terminal session type this next line to edit the startup script:
$ crontab -eIf prompted to pick a text editor, choose nano!
In the editor type the following at the end of the file to run our code on boot:
@reboot /home/pi/steamlink-auto.shNow press CTRL + O, then Enter, then press CTRL + X to save and exit.
You can now close the terminal window. But in order to test the code, you need to reboot. The menu item for this is in the main Raspbian menu.
10. Get streaming!
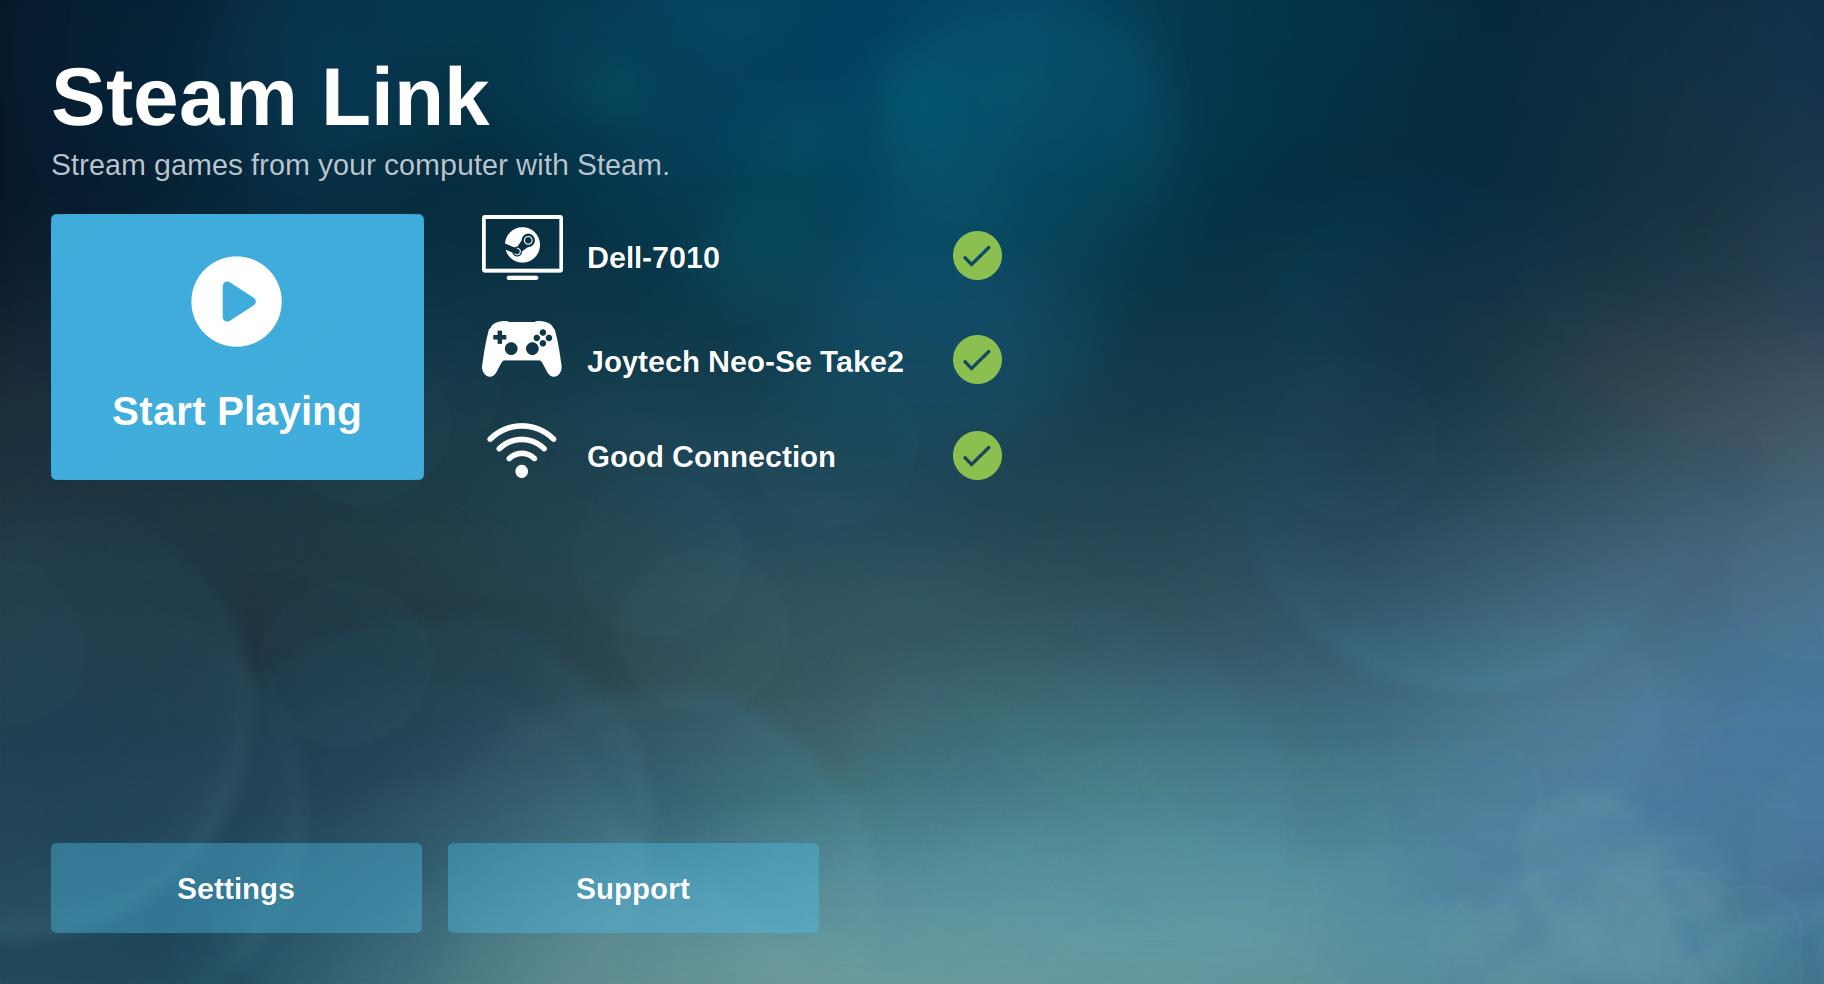
With any luck your Raspberry Pi will reboot and instead of the desktop you will see the Steam logo appear.
The Steam Link app will auto load and go straight to the connection screen, where your PC is ready to be connected to. From here you can use Steam as if you were sat at your PC.
If this step fails to work, go back to step 8 and 9 to check that your code and actions match those steps.
- Check out our collection of Raspberry Pi projects