How to use Sidecar in macOS Catalina
How to use your iPad as a second screen
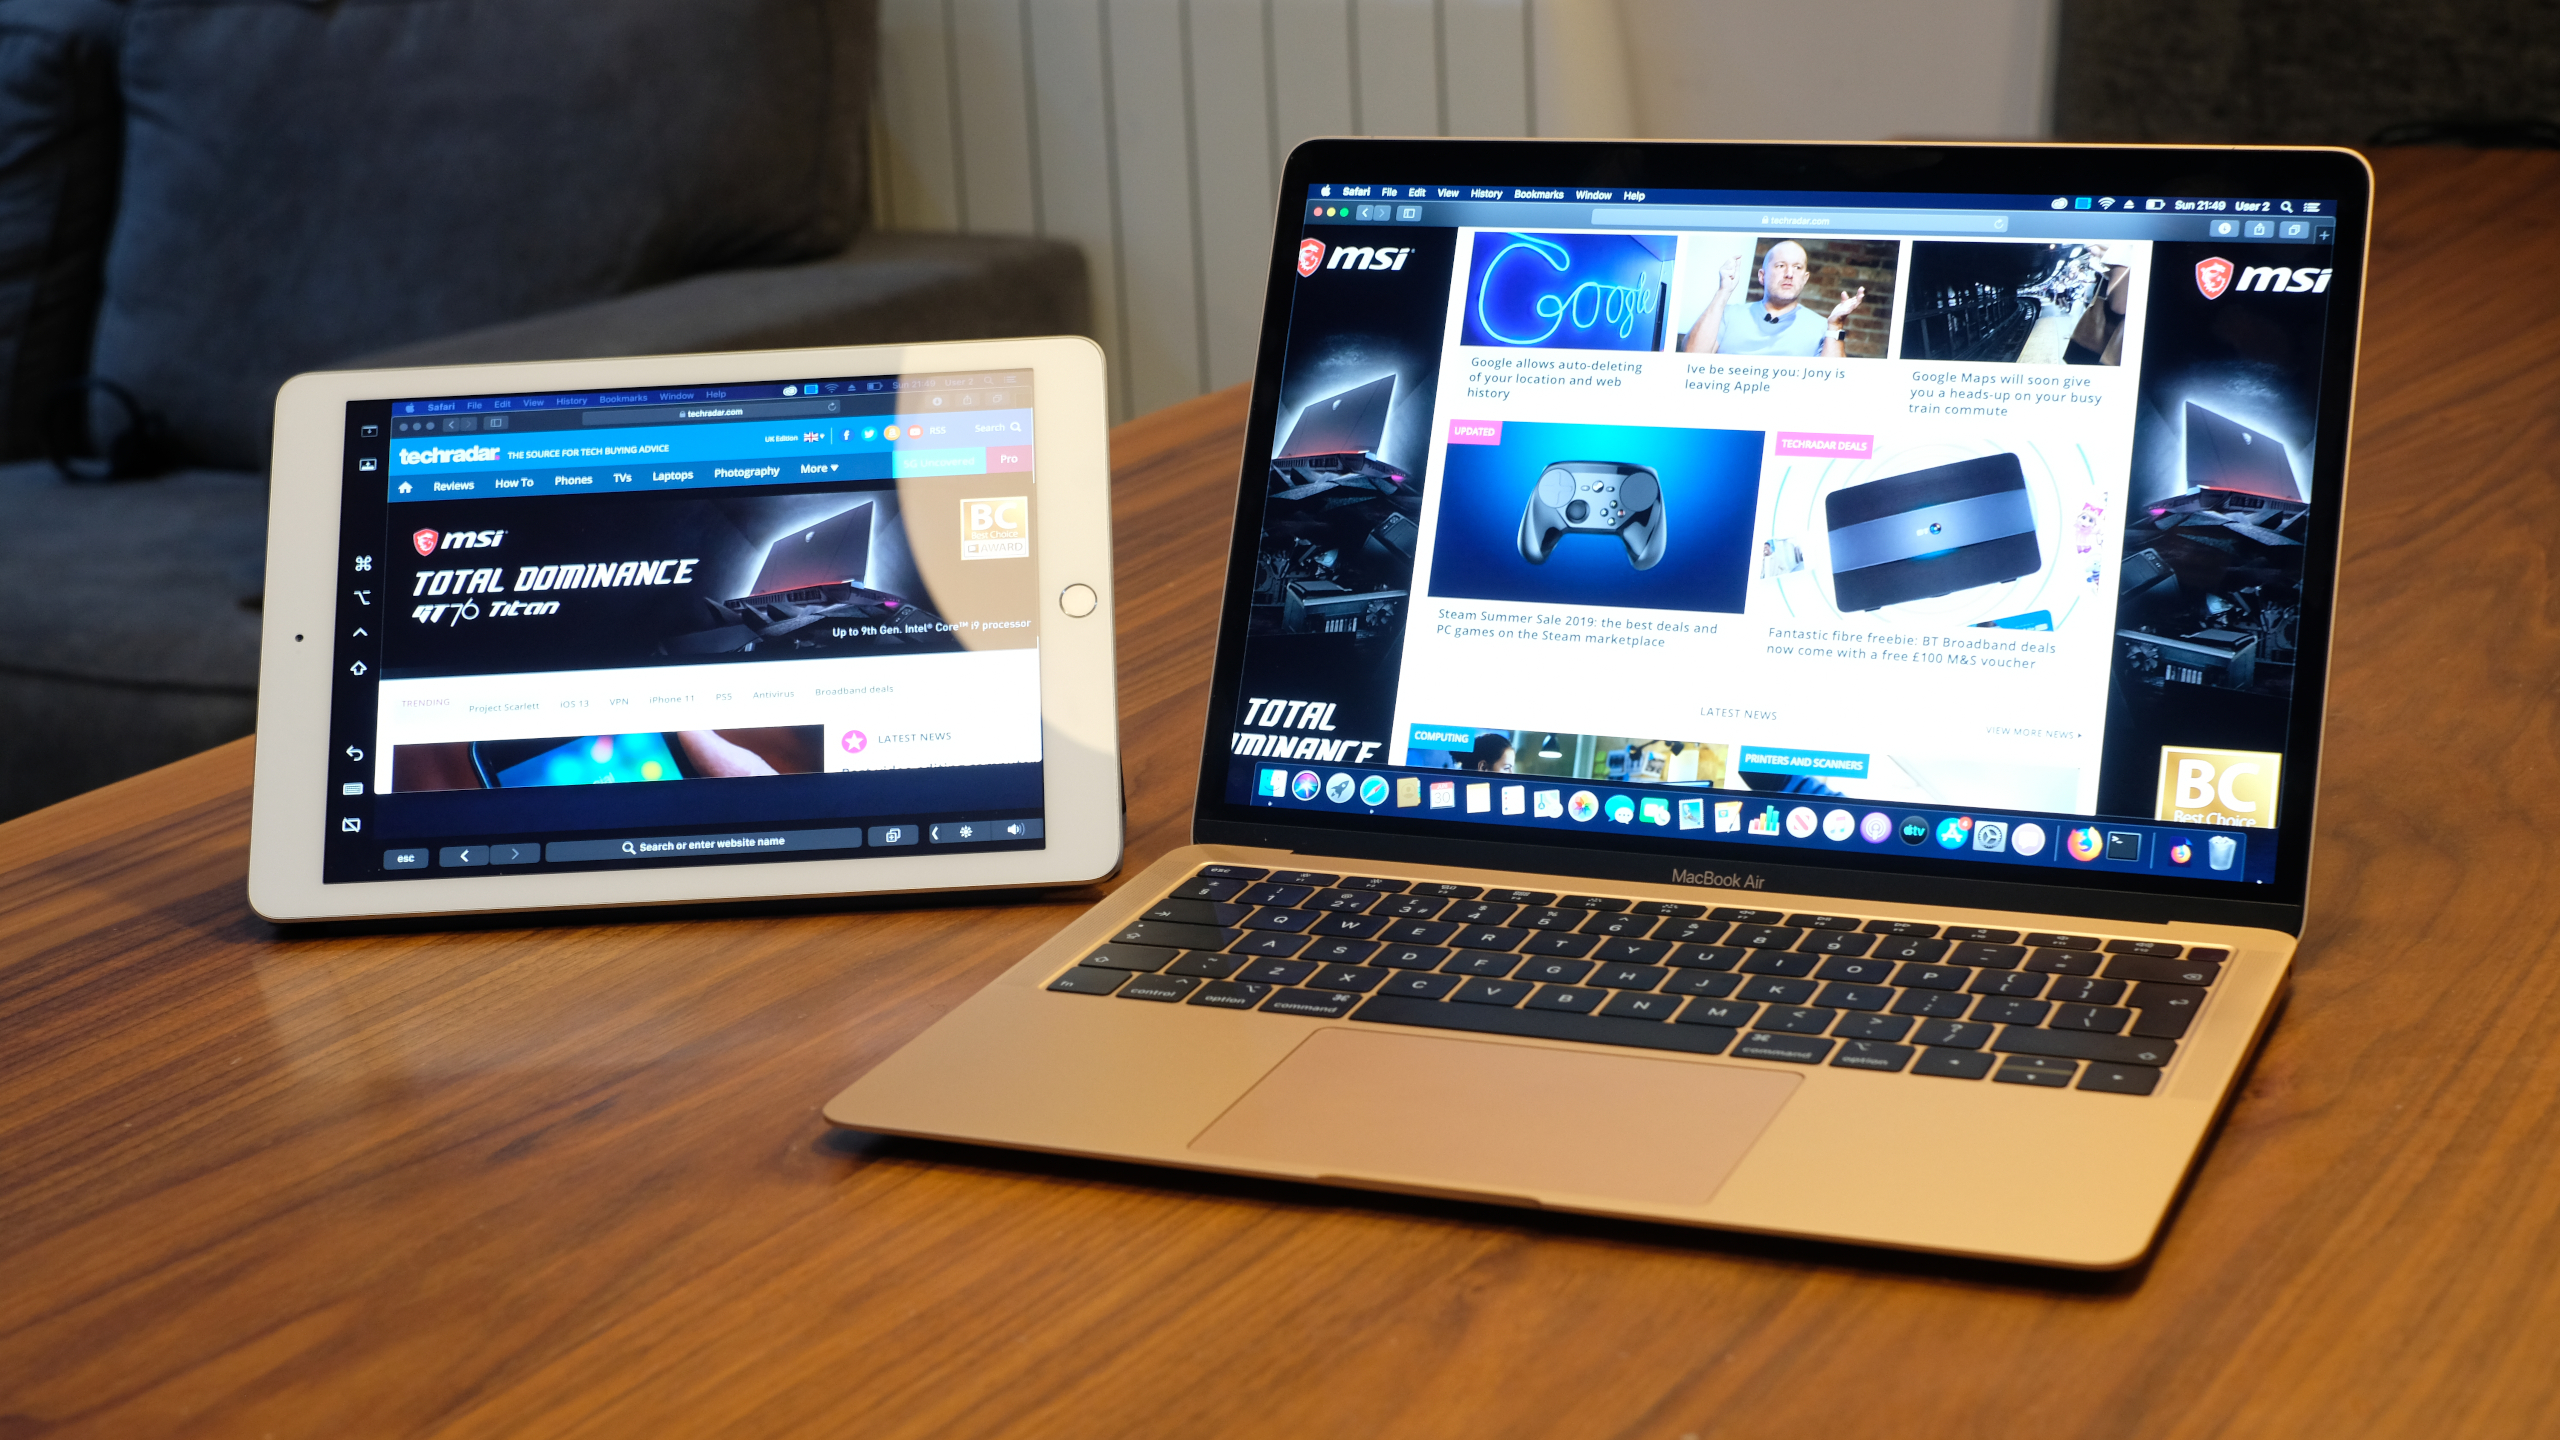
macOS 10.15 Catalina is coming later this year, and one of its most impressive new features is the ability to use an iPad as a second display for a Mac. Called Sidecar, it’s one of the 5 best macOS Catalina features baked into Apple’s new OS – especially for productivity fans.
Sidecar effectively turns any iPad into a portable monitor, one with a powerful internal battery, allowing apps and multiple windows to be dragged onto its screen and interacted with using a mouse, keyboard or Apple Pencil.
You can use it with a cable connected between your Mac and iPad (which charges the latter), or without one. The tech uses a combination of Wi-Fi and Bluetooth, so you’ll be able to put 10 meters of distance between the two devices before the connection drops.
Better yet, Sidecar is natively coded into the latest version of macOS and iPadOS, which makes Apple’s implementation of the screen-sharing tech the smoothest we’ve seen yet. It’s even good enough to use an iPad as a drawing canvas when using full-fat desktop apps.
Without further ado, read on to discover how to set up and use Sidecar on macOS Catalina.
Before we start
Sidecar has impressed us in the short time we’ve been using it, but it’s worth knowing what you’ll be getting yourself into should you take the plunge. First off, you’ll need to be running a relatively recent Mac – keep reading for a list of compatible models.
It’s also worth noting that, for the time being at least, Sidecar is limited in one area. It runs with pixel doubling hard-enabled on all iPad models, meaning you’ll get an effective screen real-estate of 1,024 x 768 on a 9.7-inch iPad with Retina display, and 1,366 x 1,024 on a 12.9-inch Pro, to give two examples.
Get daily insight, inspiration and deals in your inbox
Sign up for breaking news, reviews, opinion, top tech deals, and more.
It’s not terrible (and everything looks beautiful), but if you’re a spreadsheet fan, you probably won’t want to ditch that portable 1080p monitor just yet. SwitchRes, our go-to display resolution switcher, failed to load when we installed it on Catalina – so custom resolutions are (quite literally) off the menu for the time being.
Finally, if you like Sidecar’s premise but aren’t prepared to take the leap, two solutions called Luna Display and Duet Display use similar display-beaming tech and have been around for ages. That means they come with extra features, such as Windows compatibility, but on the downside aren’t free, nor are they as smooth as they lack native macOS support.
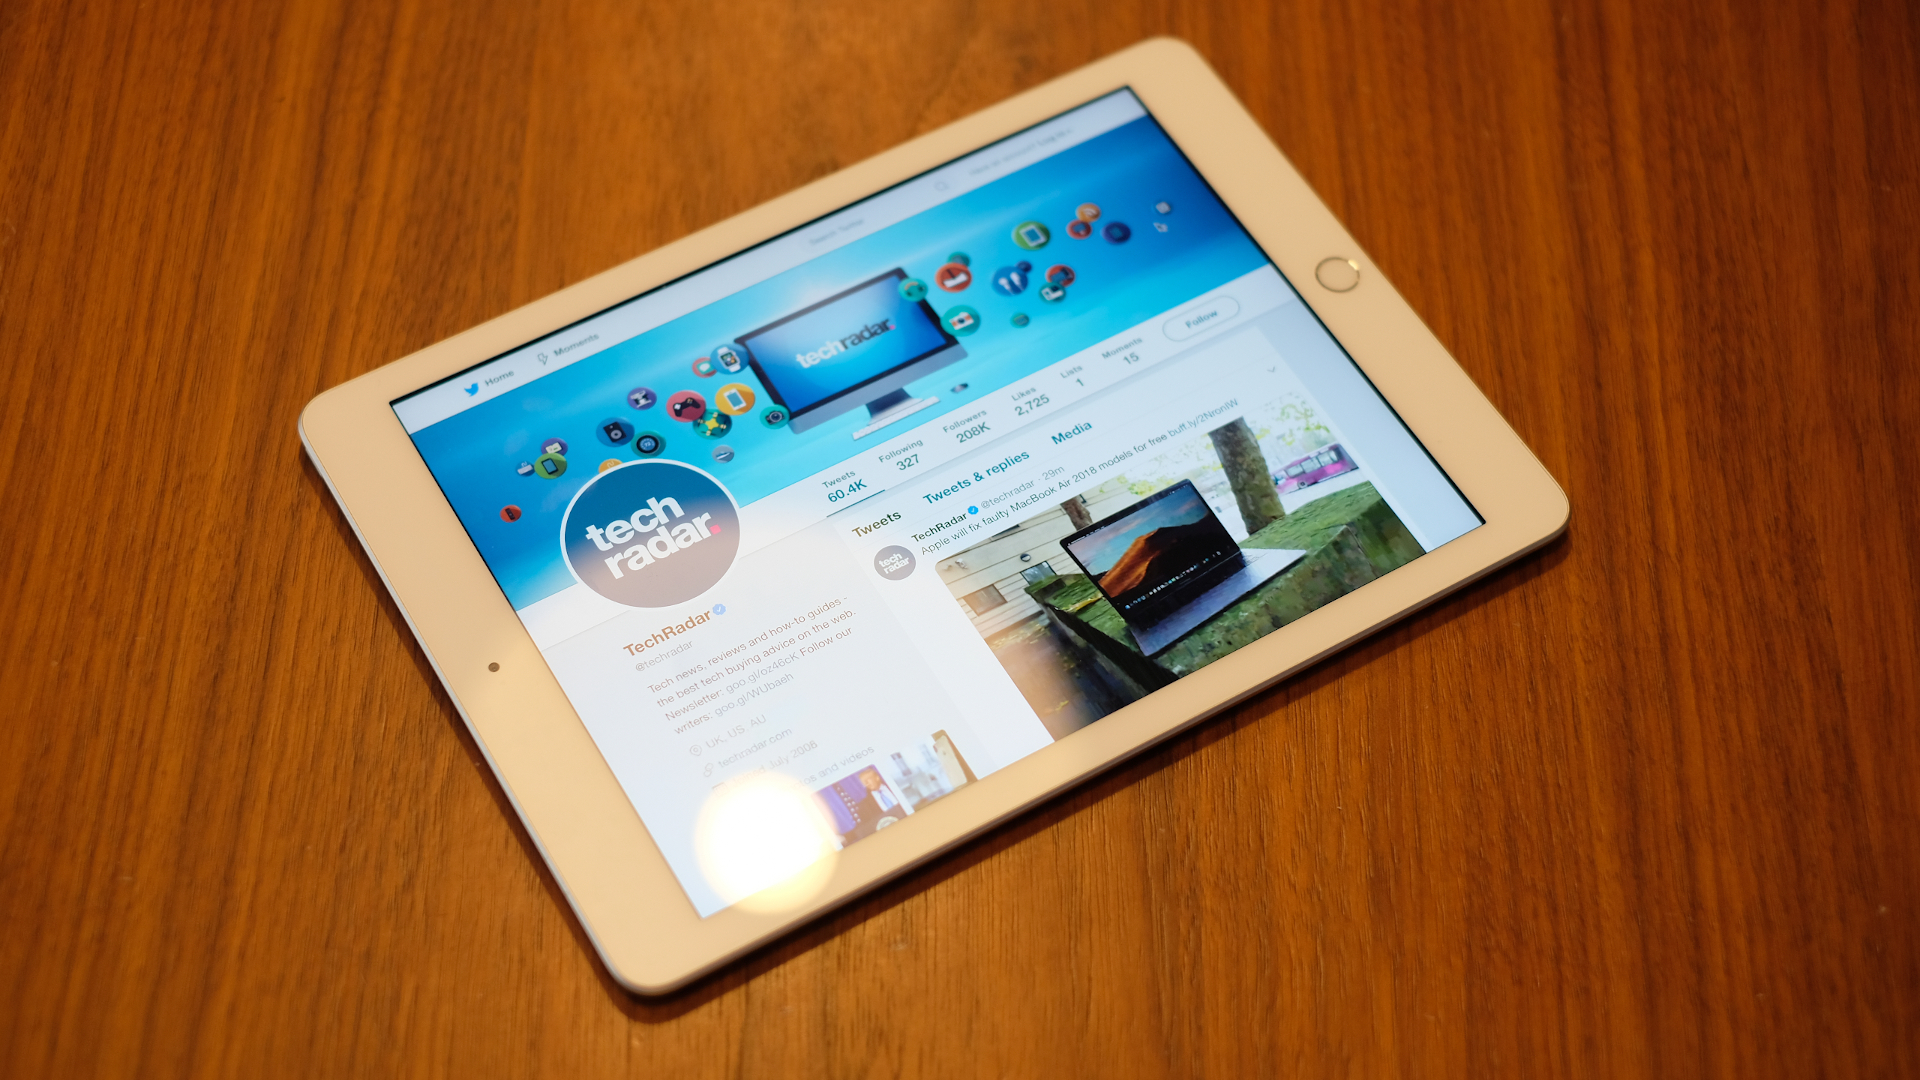
1. Make sure you're running a recent Mac
Sidecar won’t work on any old MacBook, at least not without a Terminal “hack” which we’ll get to. Apple hasn’t officially stated which Macs do or don’t work, but consensus on the internet is that you’ll be good with one of these:
- iMac 27-inch (Late 2015 or newer)
- MacPro (2016 or newer)
- Mac mini (2018)
- Mac Pro (2019)
- MacBook Air (2018)
- MacBook (Early 2016 or newer)
If you don’t own one of the above, all is not lost. Reddit user u/dotmax has discovered that you can use Sidebar on older Macs by running a Terminal command.
However, people who have done so have reported image quality issues – likely caused by older hardware – so be warned. Now might be a good time to read our ultimate guide to backing up your Mac.
First, head to your Dock or Utilities folder and open Terminal. Then enter the following command and hit return:
defaults write com.apple.sidecar.display AllowAllDevices -bool true; defaults write com.apple.sidecar.display hasShownPref -bool true; open /System/Library/PreferencePanes/Sidecar.prefPaneThis will cause a Sidecar icon to appear in the System Preferences pane, and from there you can get started.
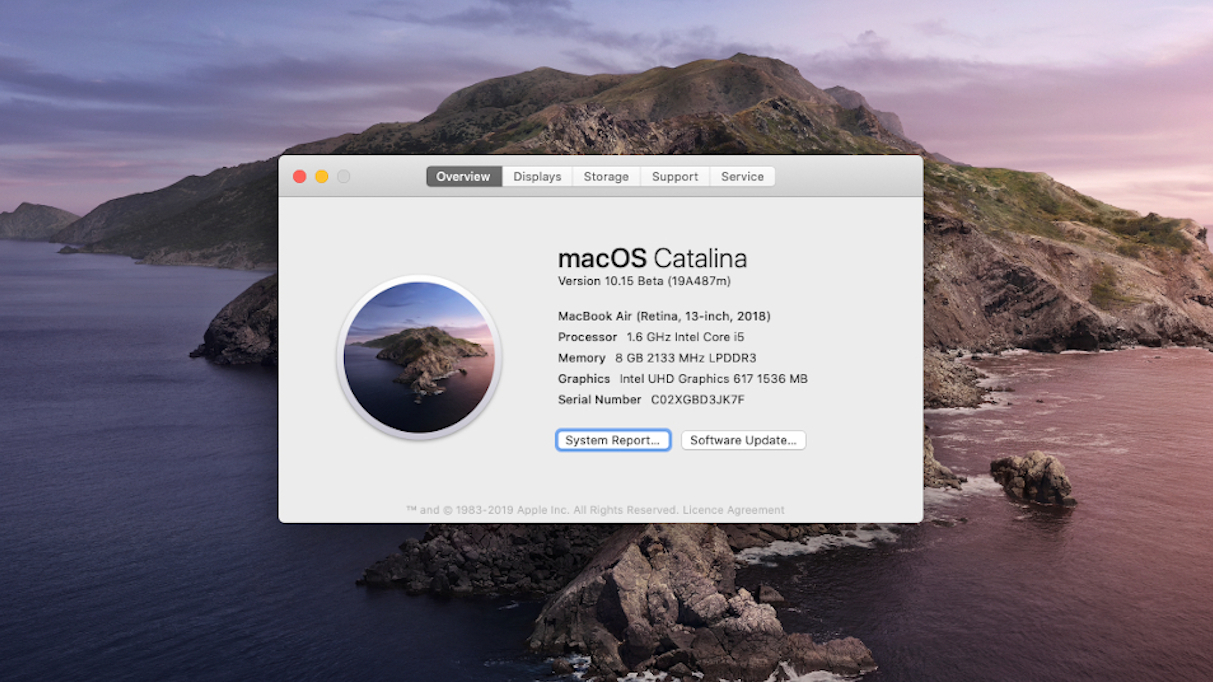
2. Upgrade your Mac and iPad
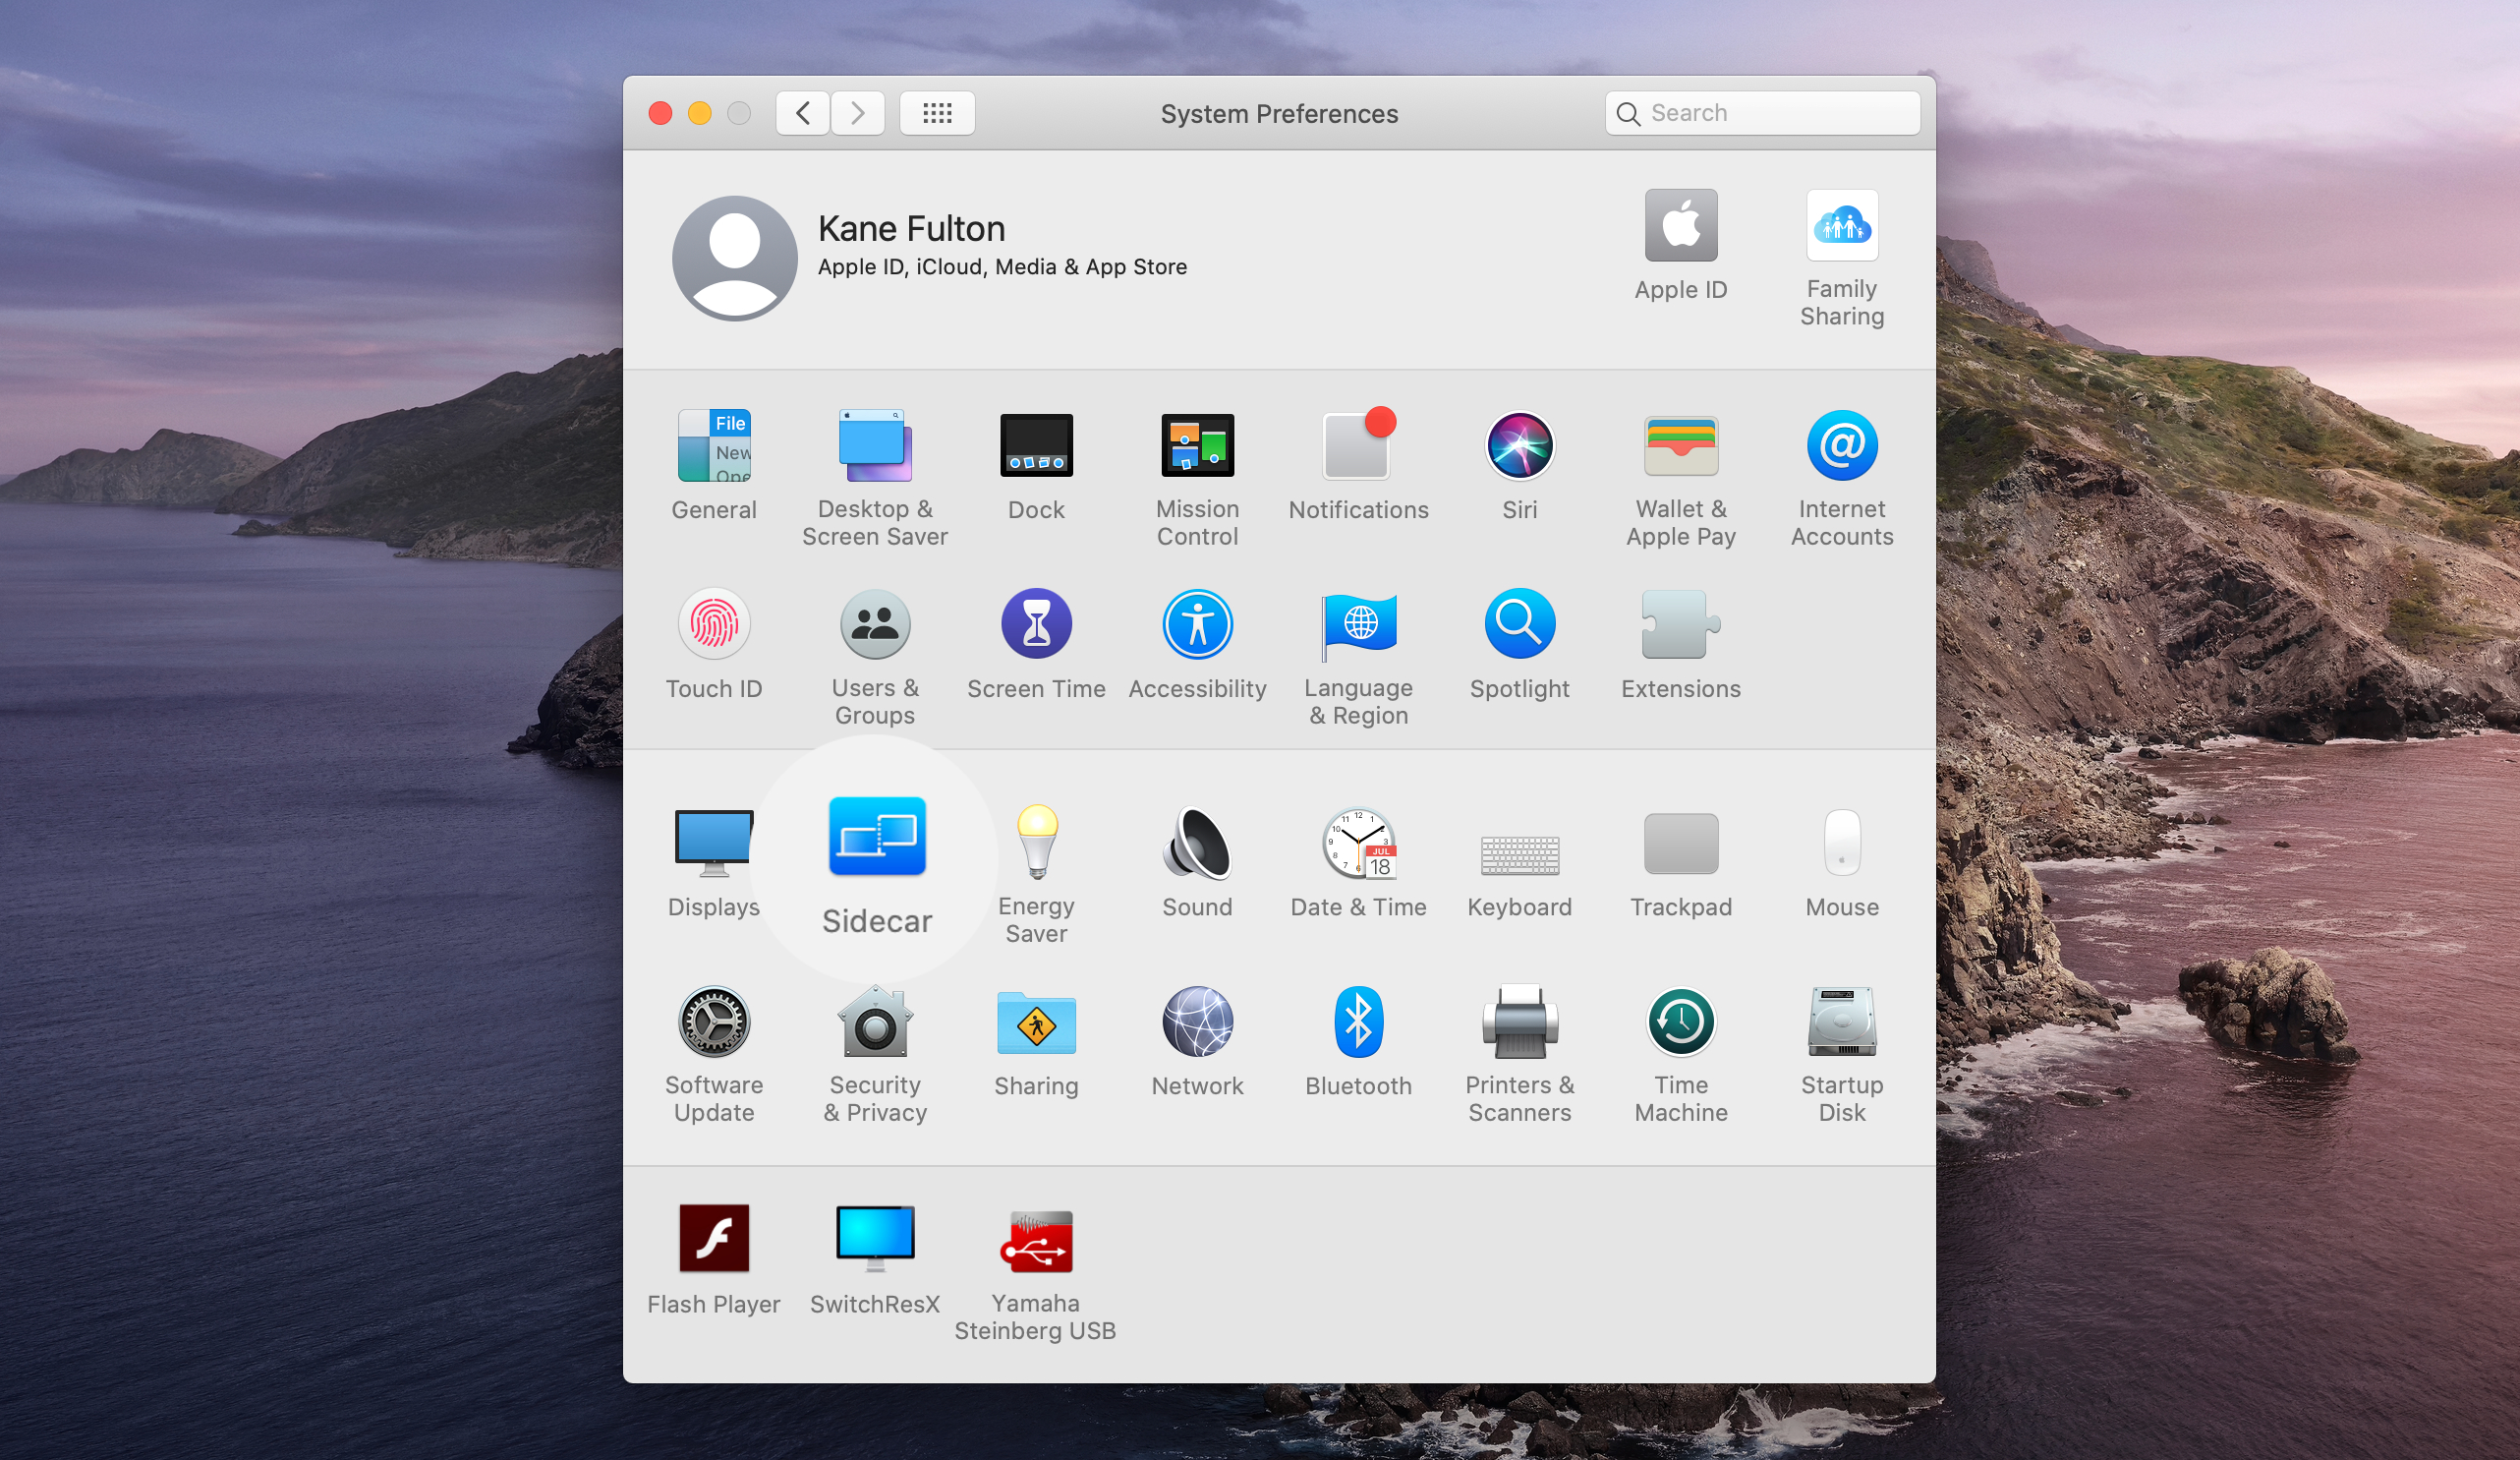
3. Open System Preferences on your Mac
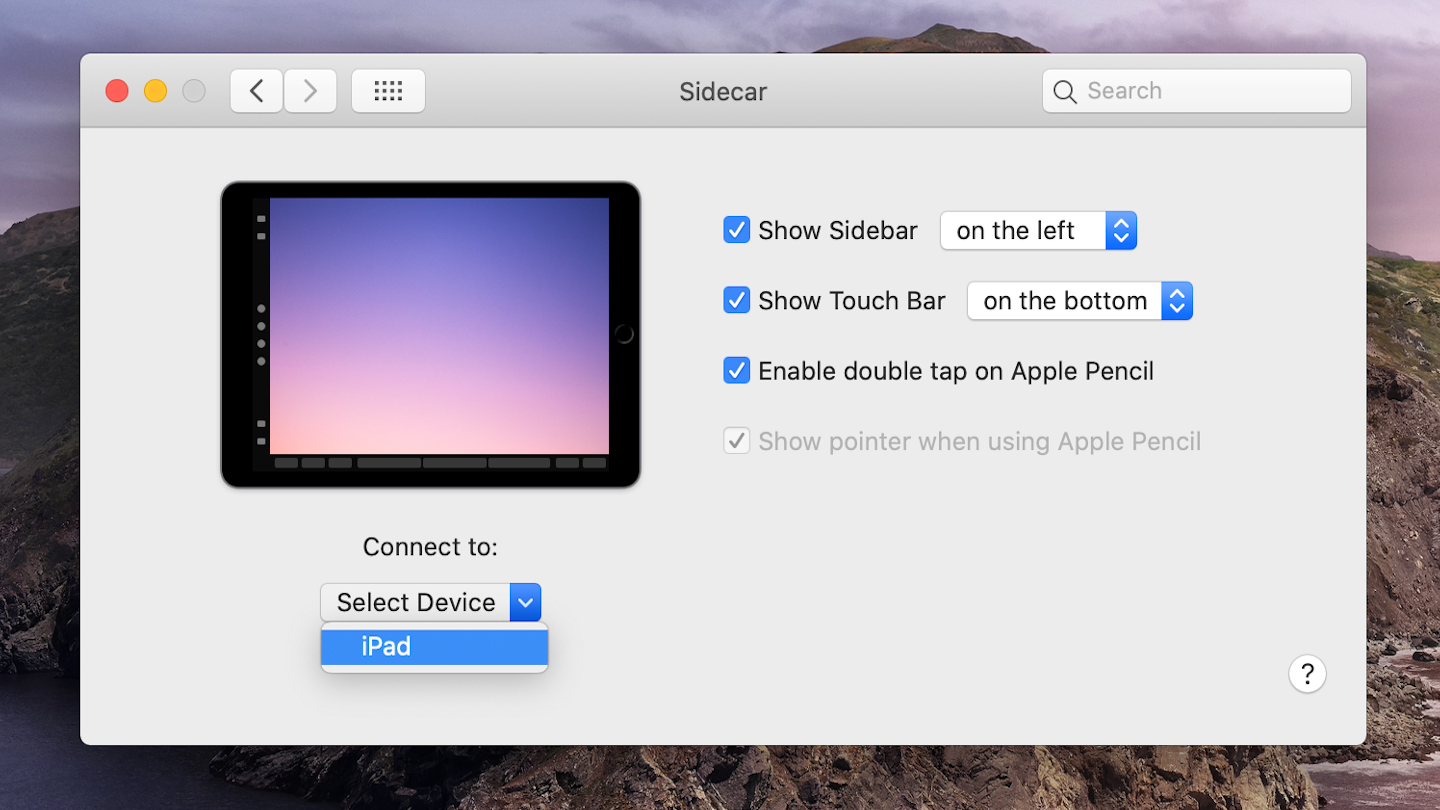
Once both your Mac and iPad are updated, click 'System Preferences' in the Dock. There you’ll see a square blue icon on the left-hand side called Sidebar. Give it a click.
4. Configure your settings and launch Sidecar
Here you can turn on settings including whether to show Sidecar’s Sidebar (yes, that’s its official name) on the left of the screen, the right, or not to show it at all.
The Touch Bar, which gives you access to a variety of on-screen controls, can be placed at the top or bottom of the screen (or turned off), and you can opt to enable double tap and show a pointer if you’re using an Apple Pencil.
5. Launch Sidebar
Once you’ve selected your settings, click the drop-down under ‘Connect to’ and select your iPad from the menu.
You’ll now see the screen temporarily flash as your Mac connects to your iPad and Sidecar activates. And you’re done.
Other features
Once you’ve got Sidecar working, there are a few more features you can try – some of which are more useful than others.
Sidecar’s Touch Bar houses on-screen controls that let you toggle features such as LaunchPad and Mission Control, while adjusting brightness, volume and audio levels. It’s a neat option if you don’t already own a Touch Bar-equipped MacBook.
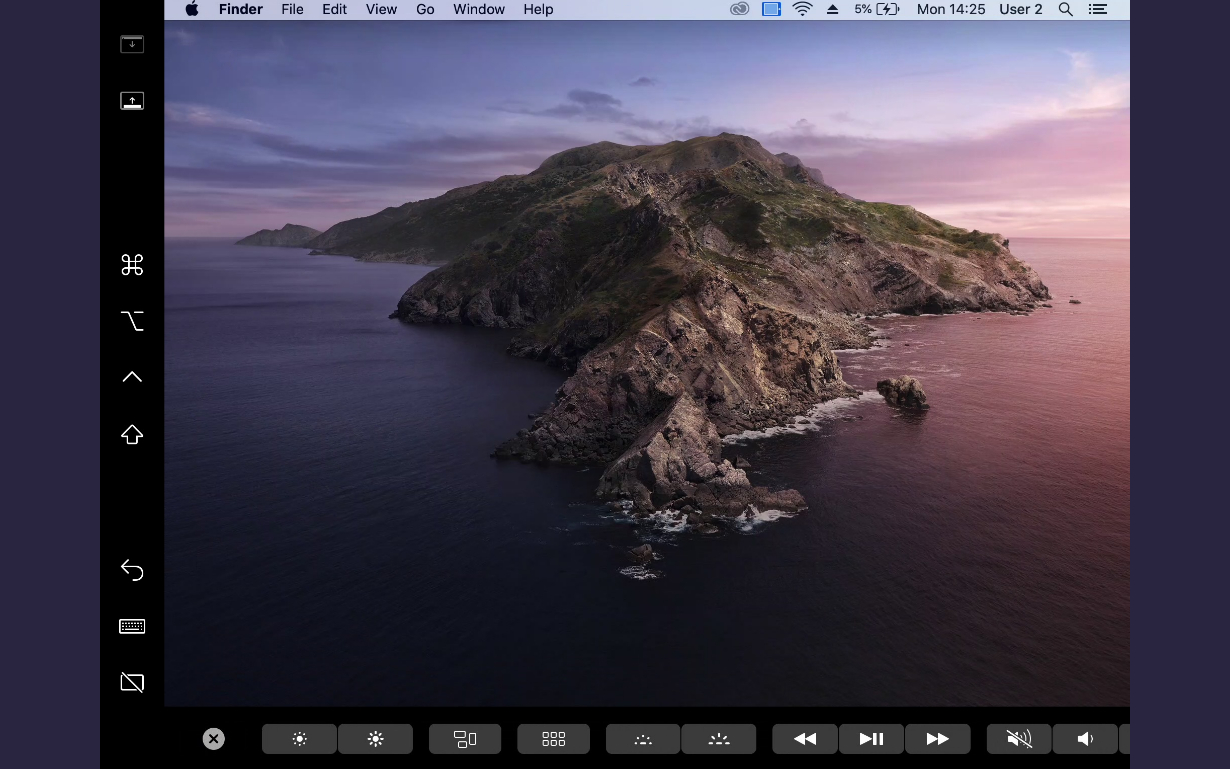
Giving the keyboard icon a tap (second from the bottom in the Sidebar) brings up an on-screen keyboard that you can use to type into text boxes on your iPad when you’re away from your Mac’s keyboard.
Pausing over a letter activates a SwiftKey-style typing mode which is officially a new iOS 13 feature called ‘QuickPath Typing’, rather than something introduced in Sidecar. However, we can’t get it to actually type anything at this moment in time.
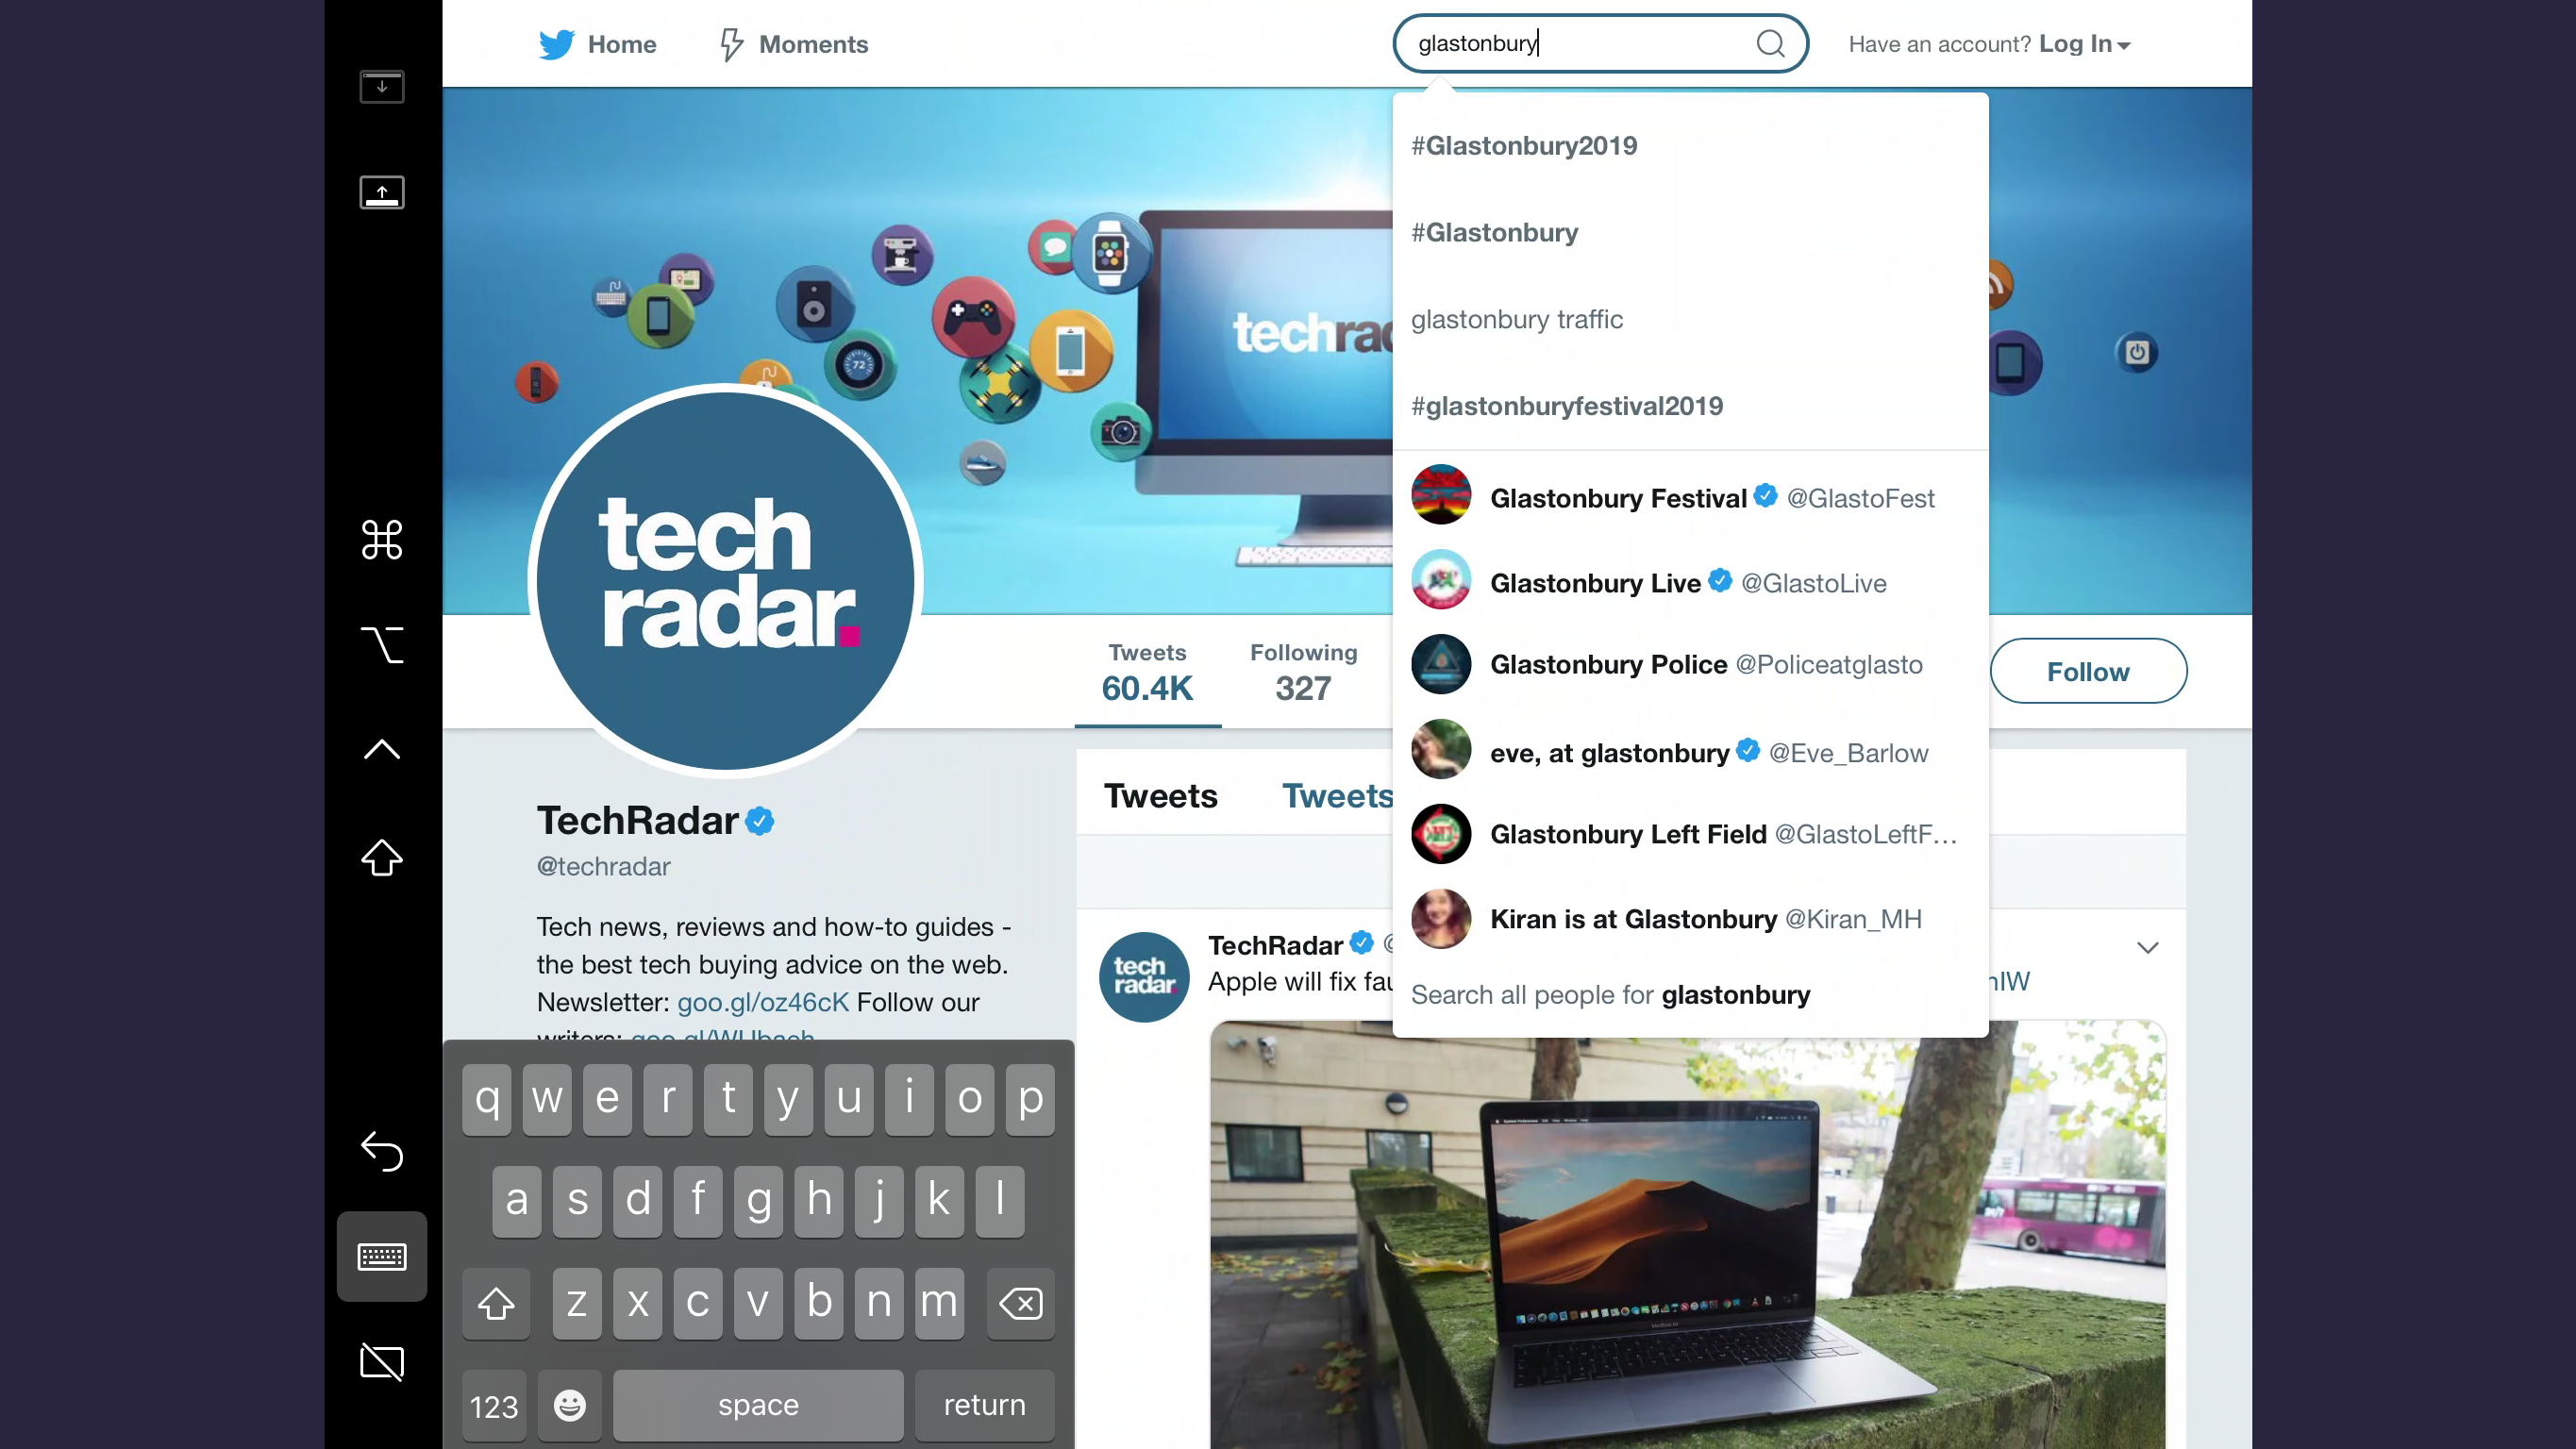
Apple has also placed several modifier icons in Sidebar, allowing you to use Command, Option, Control and Shift modifiers in conjunction with the on-screen keyboard.
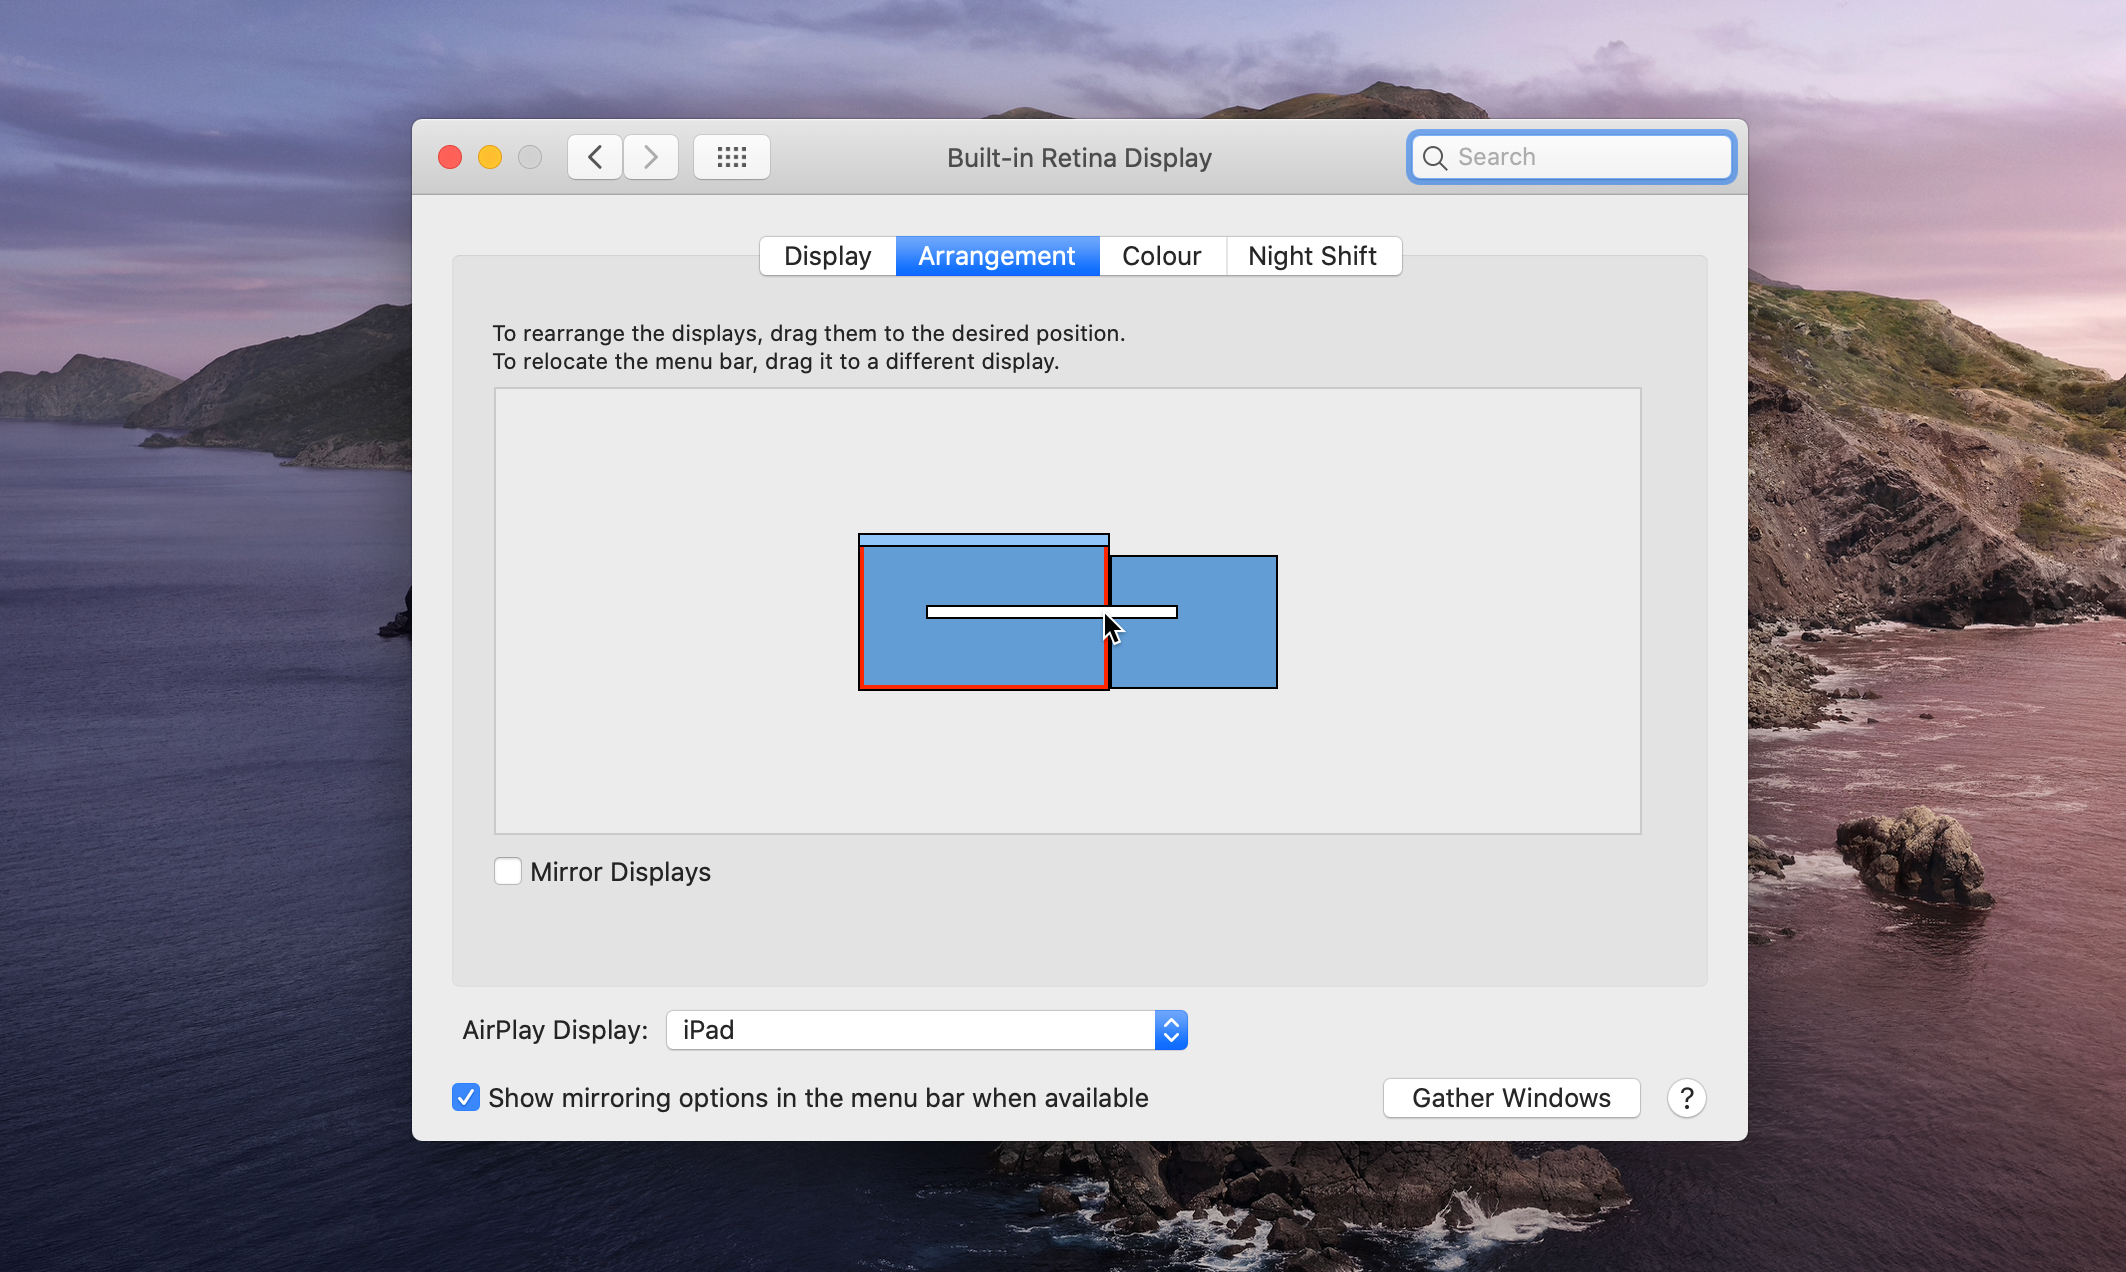
Finally, you can swap the position of the iPad’s display from left-to-right (or vice versa) by clicking 'System Preferences' and then 'Displays'.
Click and drag a display to move it to the opposite position. You can also click and drag the macOS menu bar to move it from one device’s display to the other (which also makes it the main display).
- The 50 best Mac tips, tricks and timesavers
