How to take photos of stars, star-trails and the ISS
Join the long exposure club
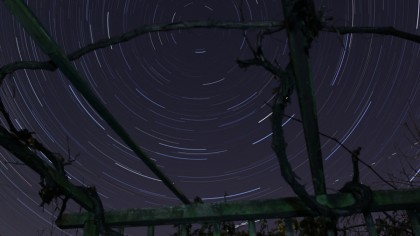
How to take photos of stars
Think astrophotography is for experts who stay out all night in deserts and national parks with expensive lenses? Although you do need a DSLR or a compact camera with manual settings – a smartphone just won't do – it's possible to take images of the International Space Station (ISS) and stars, and even create hypnotic concentric circles of star-trails using a basic lens and some simple techniques.
In this guide we'll show you the equipment, software and knowledge you need to take spectacular photos of celestial bodies – including man-made ones – in the night sky.
1. Gear & location
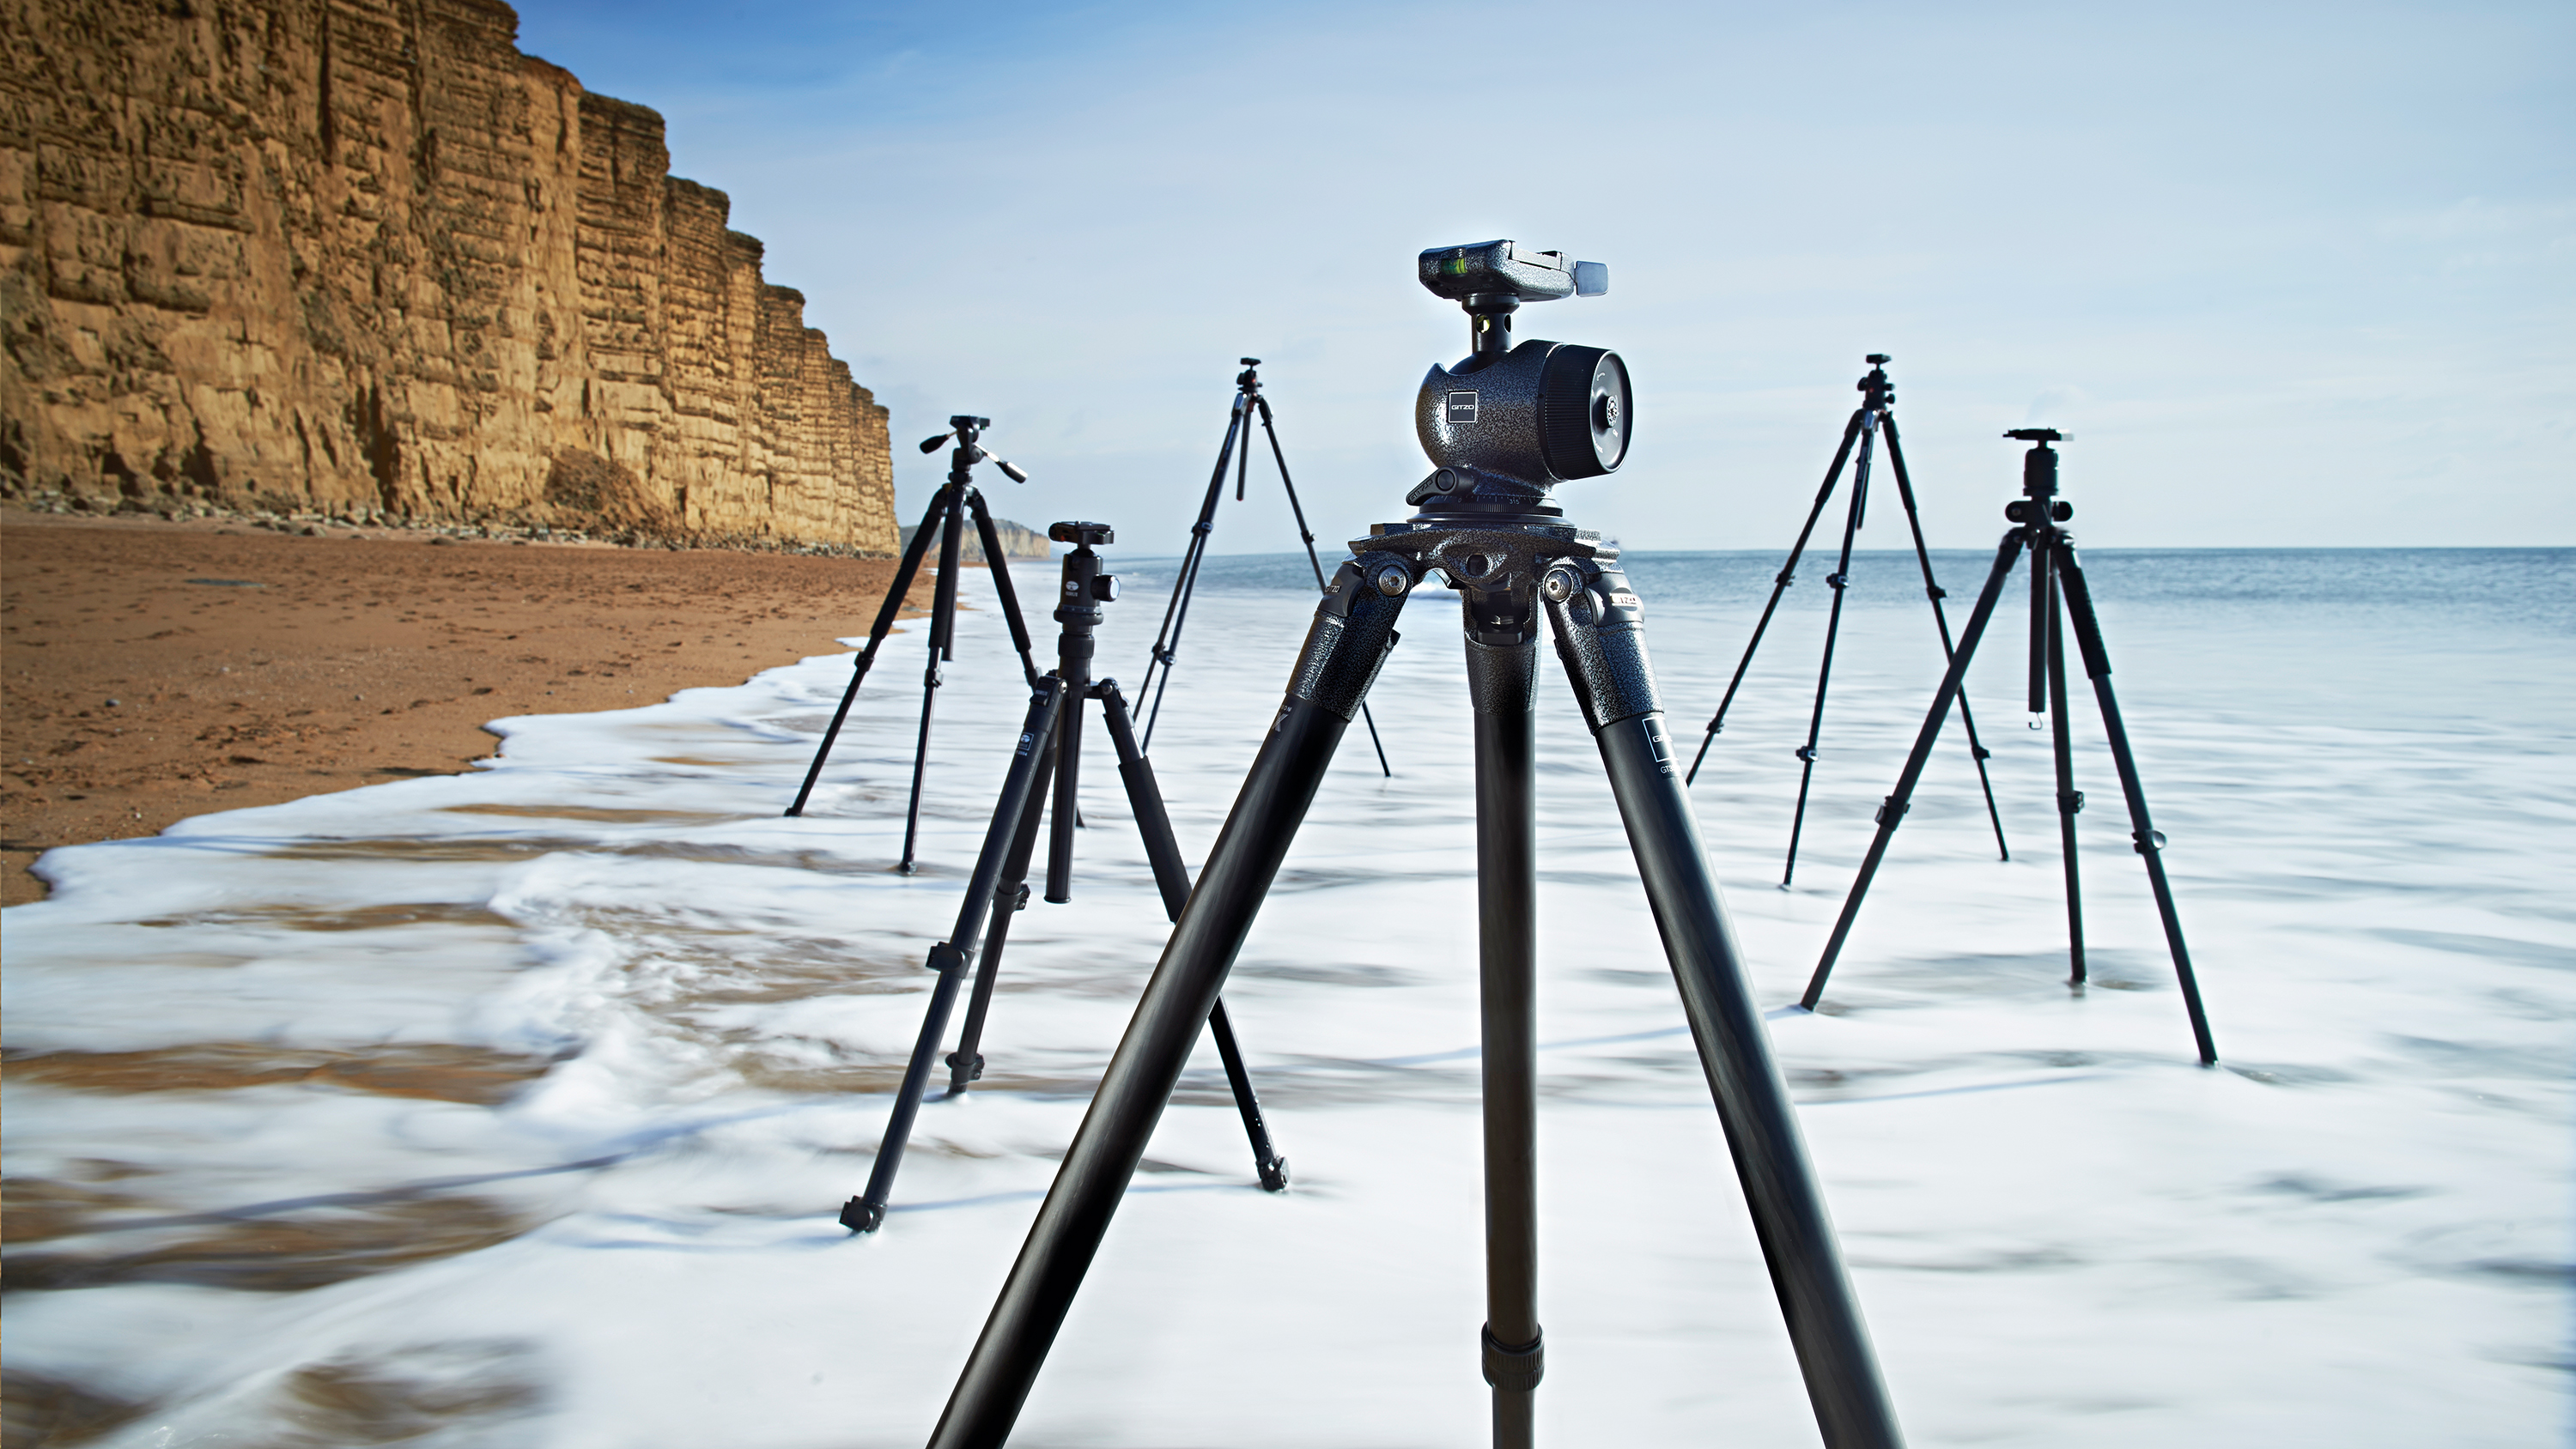
Taking images of the night sky requires three things: a DSLR (or compact camera with manual exposure), a tripod, and dark, clear skies. You might think the latter is hard to find, but even in the most light polluted cities it's possible to photograph stars – and the super-bright ISS is visible from everywhere. If you do want the blackest sky possible then get yourself into a rural area about 40km from a major town or city, or even better, an International Dark Sky Reserve or Park.
Whatever your location, since you're going to be opening the shutter for long periods, position the camera away from direct lights, such as streetlights or car lights. If you're in your back garden or yard, switch off all lights at the back of your house, and disable any motion-sensing lights. Using a shutter release cable, remote control or your camera's self-timer function will reduce blur.
2. Wait for the ISS
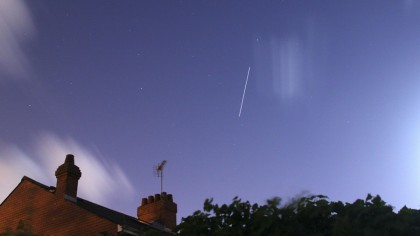
Fancy photographing six astronauts in flight? It's easy to produce an ISS trail if you know how. Finding the ISS is the easy bit. First visit NASA's Spot The Station for imminent flybys at your location (which could be a few weeks away… or could be tonight). Since the ISS always appears in the west and crosses the sky to sink in the east – most visibly near sunset or sunrise – position your camera accordingly, using the compass on your smartphone if you don't know your cardinal points.
20 minutes before the flyby, and with your camera in manual mode and a wide-angle lens on infinity focus, take some test exposures for 30 seconds, using ISO 100 and with the aperture at f/2.8 or so (depending on the lens). When you see the ISS, open the shutter. When the shot is complete and you've captured an ISS trail, swivel the camera and do the same again as the ISS drops into the camera's field of view. An open landscape such as a park is great for this.
3. Understand the night sky
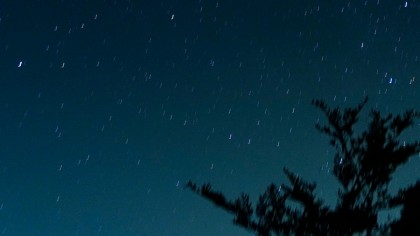
As Earth rotates, the stars appear to move, rising in the east and sinking in the west as the night progresses. It may seem a slow process, but take a 30-second exposure and zoom in on the viewfinder, and you'll see that the stars have actually blurred already.
What you don't want is moonlight bleaching out the night sky. To avoid that, check the phases of the Moon with an app like Luna Solaria. If you're under a Moon-less dark sky, you might even capture the Milky Way, too.
4. Photographing the Milky Way
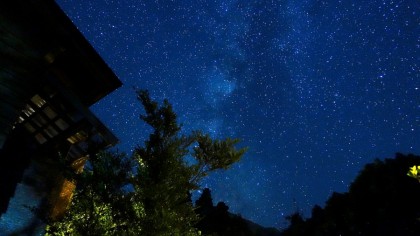
When it comes to photographing the Milky Way, it's all about keeping the shutter open long enough to allow the light to enter the camera, but not so long that the stars blur. Using the widest angle lens you have, set the aperture (f-stop) to as low (wide) as possible to let in the starlight.
With the manual focus on infinity, open the shutter for 5 seconds, 10 seconds, 20 seconds and so on until you get something you're happy with. Zoom in on the LCD screen to see if it's sharp. If it's blurred, nudge the focus to just shy of infinity, and take another shot. If it's too light, shorten the exposure time and put the ISO on 100. If it's too dark, open the shutter for longer and increase the ISO. Adjust the white balance to Tungsten to help the stars look more natural, and even colourful.
5. How to find Polaris, the North Star
The night sky in the Northern Hemisphere appears to revolve around a central point; Polaris, the North Star. Why? It sits directly above the North Pole, so the Earth's axis appears to point directly at it.
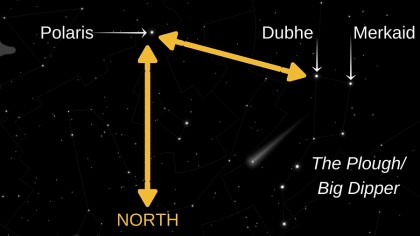
If you want to shoot a star-trail where the stars draw circles around Polaris, you need to find it. You can use a compass app or a planetarium app like Sky Safari to help, though you can quite easily find the Plough/Big Dipper in the night sky without tech.
Find the two stars at the far end of the bowl, and go from Merak at the bottom to Dubhe at the top of the bowl. Then continue this imaginary line on for about four times the distance. The lonely looking star you come to is Polaris, which is the point your star-trails will circle around. For those in the Southern Hemisphere, look for a point roughly between the Southern Cross and bright star Achernar.
6. Stack a star-trail
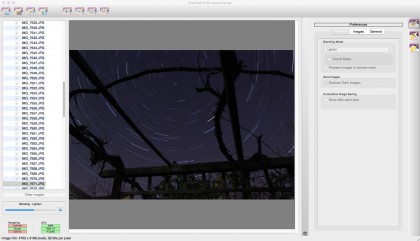
Take test shots of the night sky until you're happy, then leave the camera exactly where it is. Take an exposure every 30 seconds or so for an hour or more (the longer the better – two hours looks awesome).
Many cameras will do this automatically using a time-lapse mode, or similar. Free software – StarStaX for Mac and Startrails for Windows (both less fiddly than using Photoshop) – will then combine all your images together to create a star-trail (if you take a "dark frame" with the lens cap on, it will also remove dead pixel marks).
If you have a Canon DSLR camera with no timelapse mode, consider a cheap timelapse timer/remote like the Canon TC-80N3 or the very inexpensive Alpine Labs Michron, which can be programmed via a smartphone app.
7. Choosing the foreground
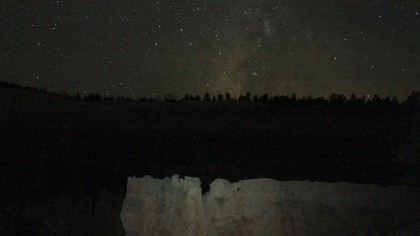
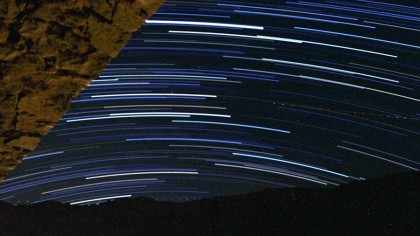
Although images of the stars in the night sky or of a star-trail that shows the Earth's rotation are both impressive on their own, something in the foreground will make it even better.
Interesting houses, barns, rock formations or trees work well; experiment with illuminating your subject with a flashlight for a short period (if you're taking multiple exposures, you can always remove these frames if you're not happy with them).
8. Capturing the movement of the stars
You also don't have to point your camera at Polaris. Turn 180 degrees and photograph the night sky to the south and you'll capture the apparent movement of the stars above the Earth's equator. Over the course of a long exposure (or multiple exposures), the stars will form sensational semicircular trails.
Producing star-trails can quickly become an obsession – and a whole new (if time consuming!) way to approach landscape or travel photography.


Welcome to TechRadar's Space Week – a celebration of space exploration, throughout our solar system and beyond. Visit our Space Week hub to stay up to date with all the latest news and features.

Jamie is a freelance tech, travel and space journalist based in the UK. He’s been writing regularly for Techradar since it was launched in 2008 and also writes regularly for Forbes, The Telegraph, the South China Morning Post, Sky & Telescope and the Sky At Night magazine as well as other Future titles T3, Digital Camera World, All About Space and Space.com. He also edits two of his own websites, TravGear.com and WhenIsTheNextEclipse.com that reflect his obsession with travel gear and solar eclipse travel. He is the author of A Stargazing Program For Beginners (Springer, 2015),