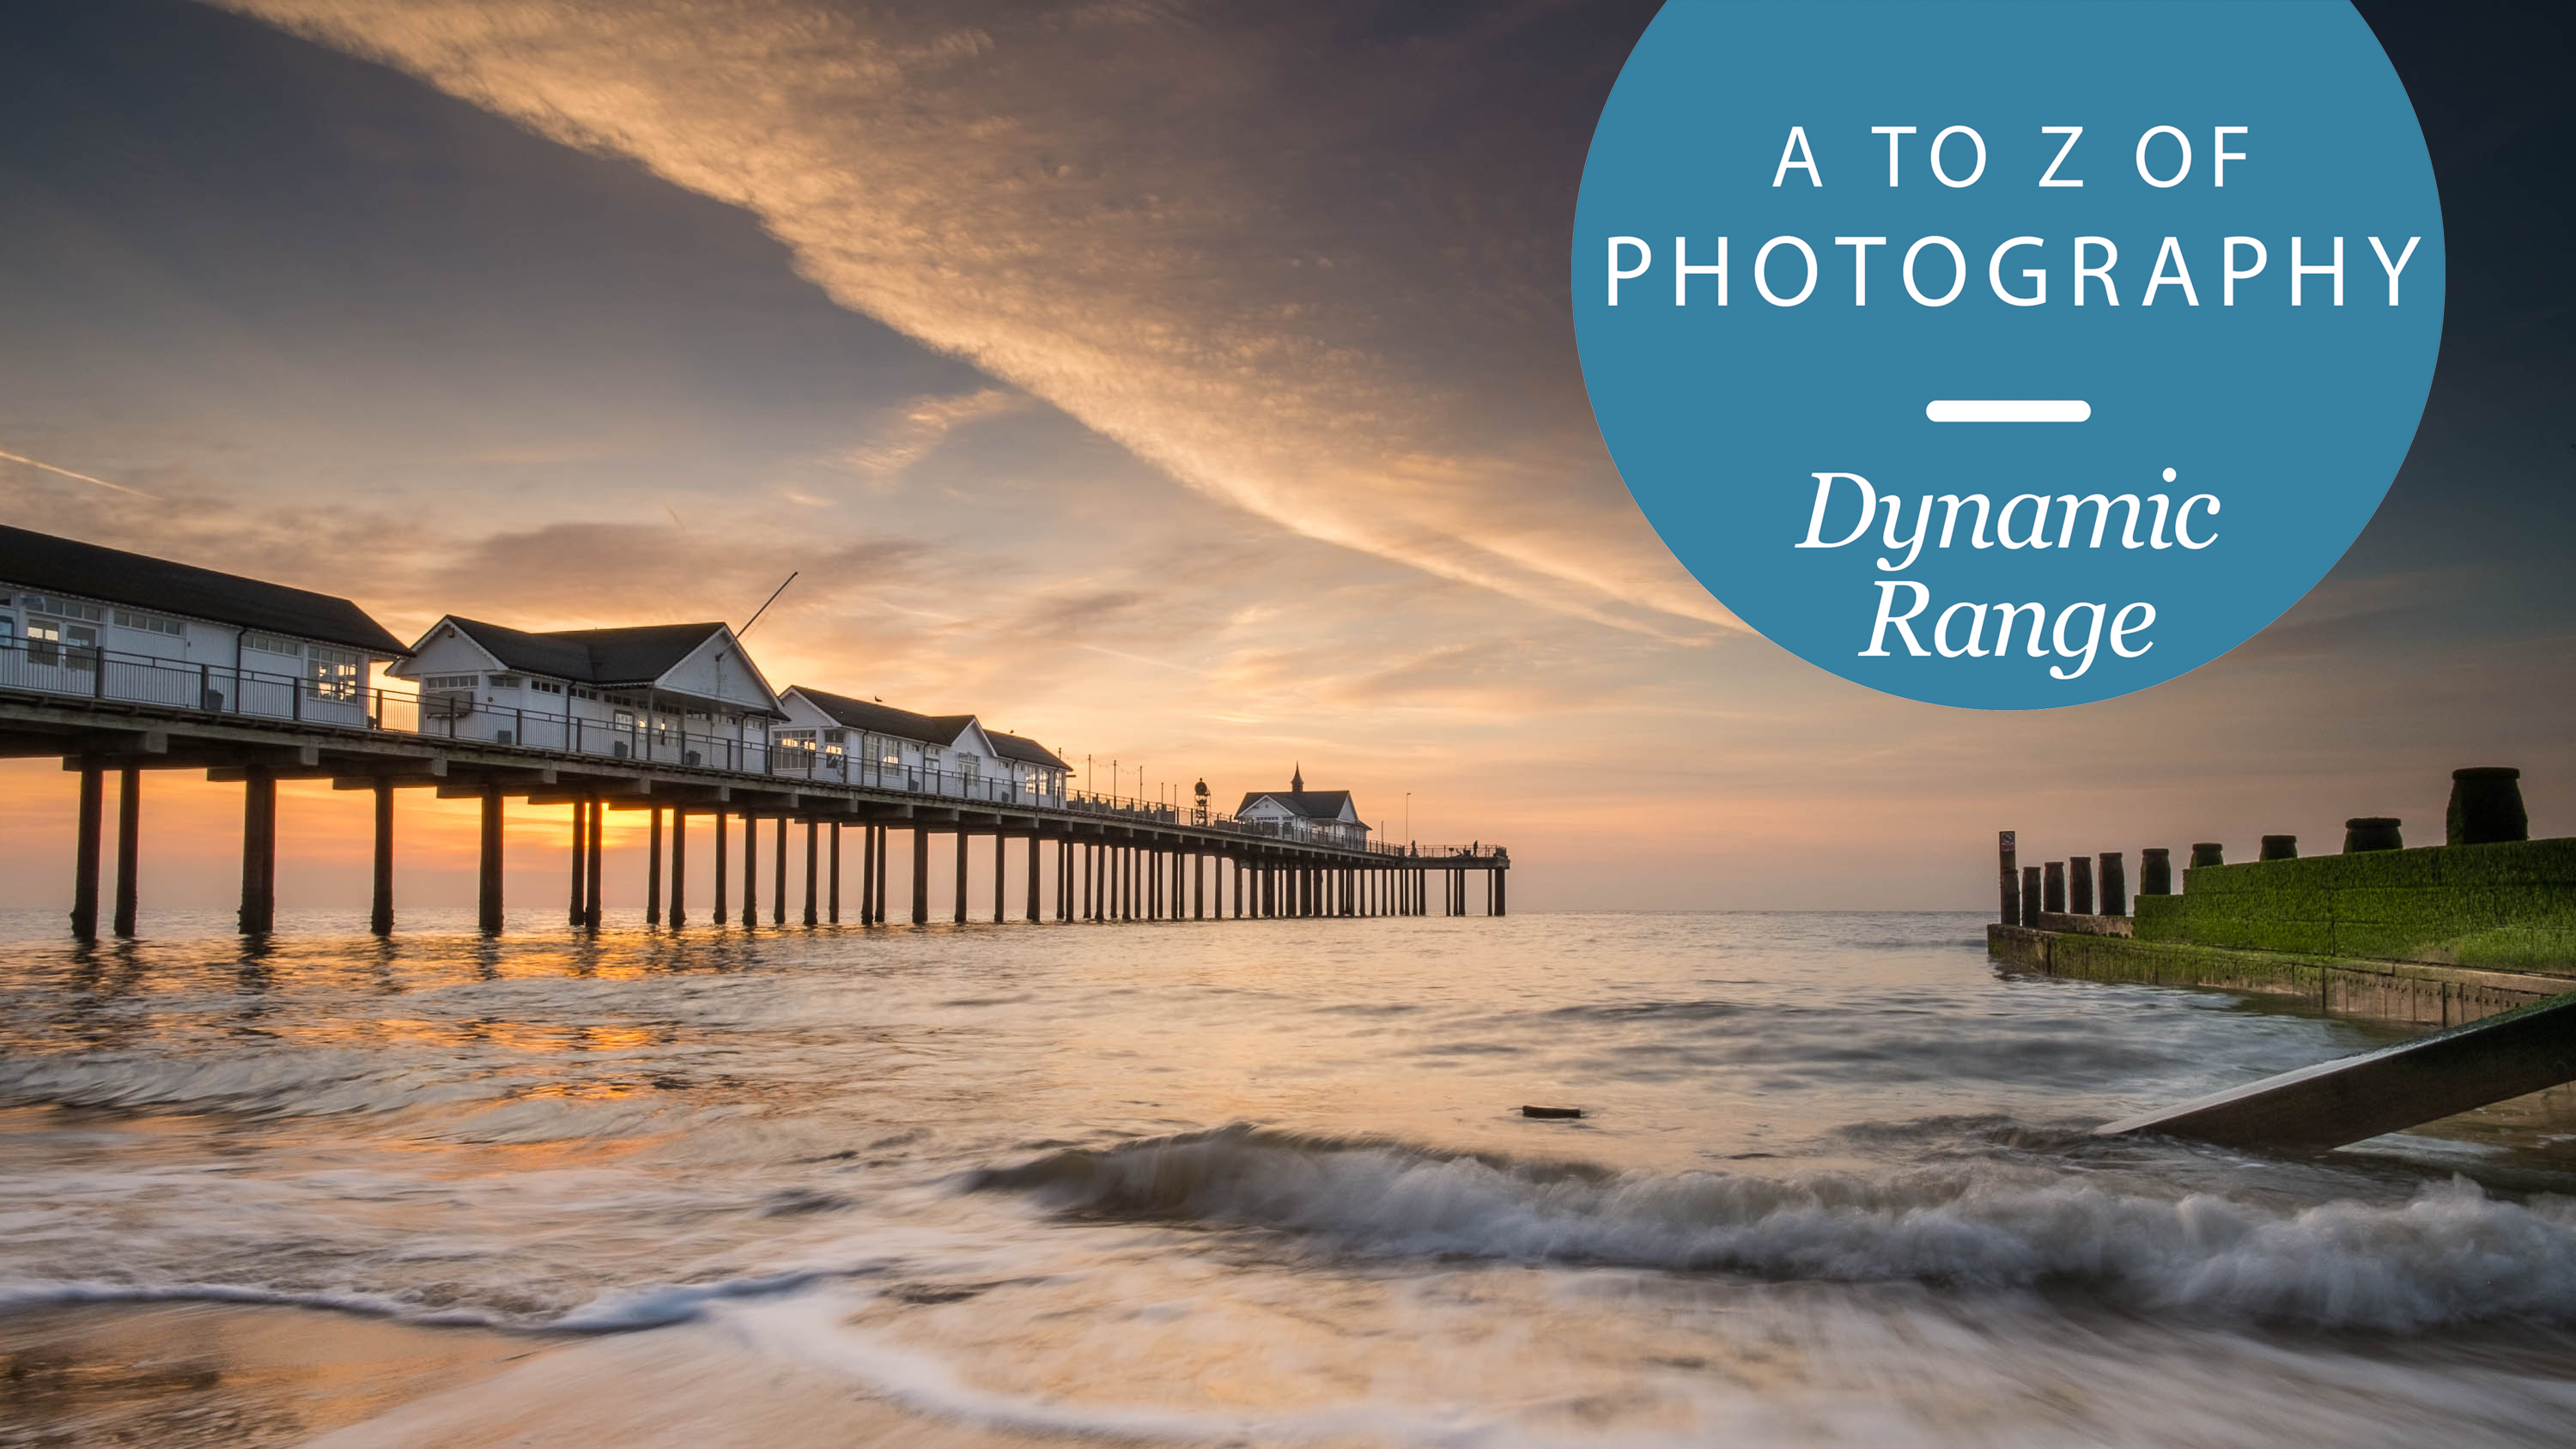
Ever taken a photo at sunrise or sunset, only to find that either the sky looks washed out, or that the foreground is a dark and dingy mess with no detail visible whatsoever?
In high-contrast scenes such as these, the brightest and darkest parts of the scene are much more extreme than on a typical overcast day, and while your camera's sensor can capture a wide range of brightness values, there is a limit.
In this case, the dynamic range (the range of light intensities from the darkest shadows to the brightest highlights) of the scene is wider than what the sensor can capture in a single shot.
A sunrise or sunset is what's known as a wide dynamic range scene
A sunrise or sunset is what's known as a wide dynamic range scene, displaying a significant difference in exposure between the highlight and shadow areas in the frame. A scene with a narrow dynamic range has much more subtle differences between highlight and shadow areas, and as such, it's easier for a camera's sensor to record the full range of tones.
Camera sensors and dynamic range
When you take a shot, not only do you have to consider the dynamic range of the scene; because camera sensors vary so much in size and design, not all cameras can capture the same level of dynamic range.
Larger sensors, so those typically found in DSLRs and mirrorless cameras, usually offer a broader dynamic range than a compact camera with a smaller sensor, while to make things a little more complex, sensor design also plays its part. A camera from one manufacturer with an 24MP APS-C sensor can perform better than one from another manufacturer with an identical resolution.
Modern cameras perform a lot better than earlier-generation cameras, and as long as the difference in brightness between the darkest and lightest areas of a scene fall within the sensor's dynamic range, you'll be able to record detail in both areas simultaneously quite happily.
Get daily insight, inspiration and deals in your inbox
Sign up for breaking news, reviews, opinion, top tech deals, and more.
Use your histogram

You're not always going to want to shoot scenes with a narrow dynamic range, so to assess if you're camera's sensor can cope with the high-contrast, wide dynamic range scenes you're photographing, you'll want to use your camera's histogram.
You can bring up your camera's histogram in Live View for a real-time preview to see whether the dynamic range of the scene (represented by the histogram) fits within the dynamic range of the sensor (represented by the width of the graph). Alternatively, you can take a look at the histogram in playback mode when reviewing your images.
The crucial thing here is to pay attention to the edges of the graph. If these are 'clipped' (touching either edge) by the histogram, chances are you've lost detail in either the shadows or highlights.
Dark areas correspond with the left of the graph, and if this is clipped, those areas in the image will appear pure black, while the right side is for the image's highlights. Should this be clipped, highlight areas of the image will be bright white and devoid of detail.
In a lot of cases, if either the shadows or the highlights are clipped, adjusting the exposure will shift the histogram to the left or right and resolve the issue.
Battling wide dynamic range
There will be other times, though, when dealing with a scene that has a very wide brightness range, that however carefully you expose the image, the histogram is so wide that one end or the other is still clipped.
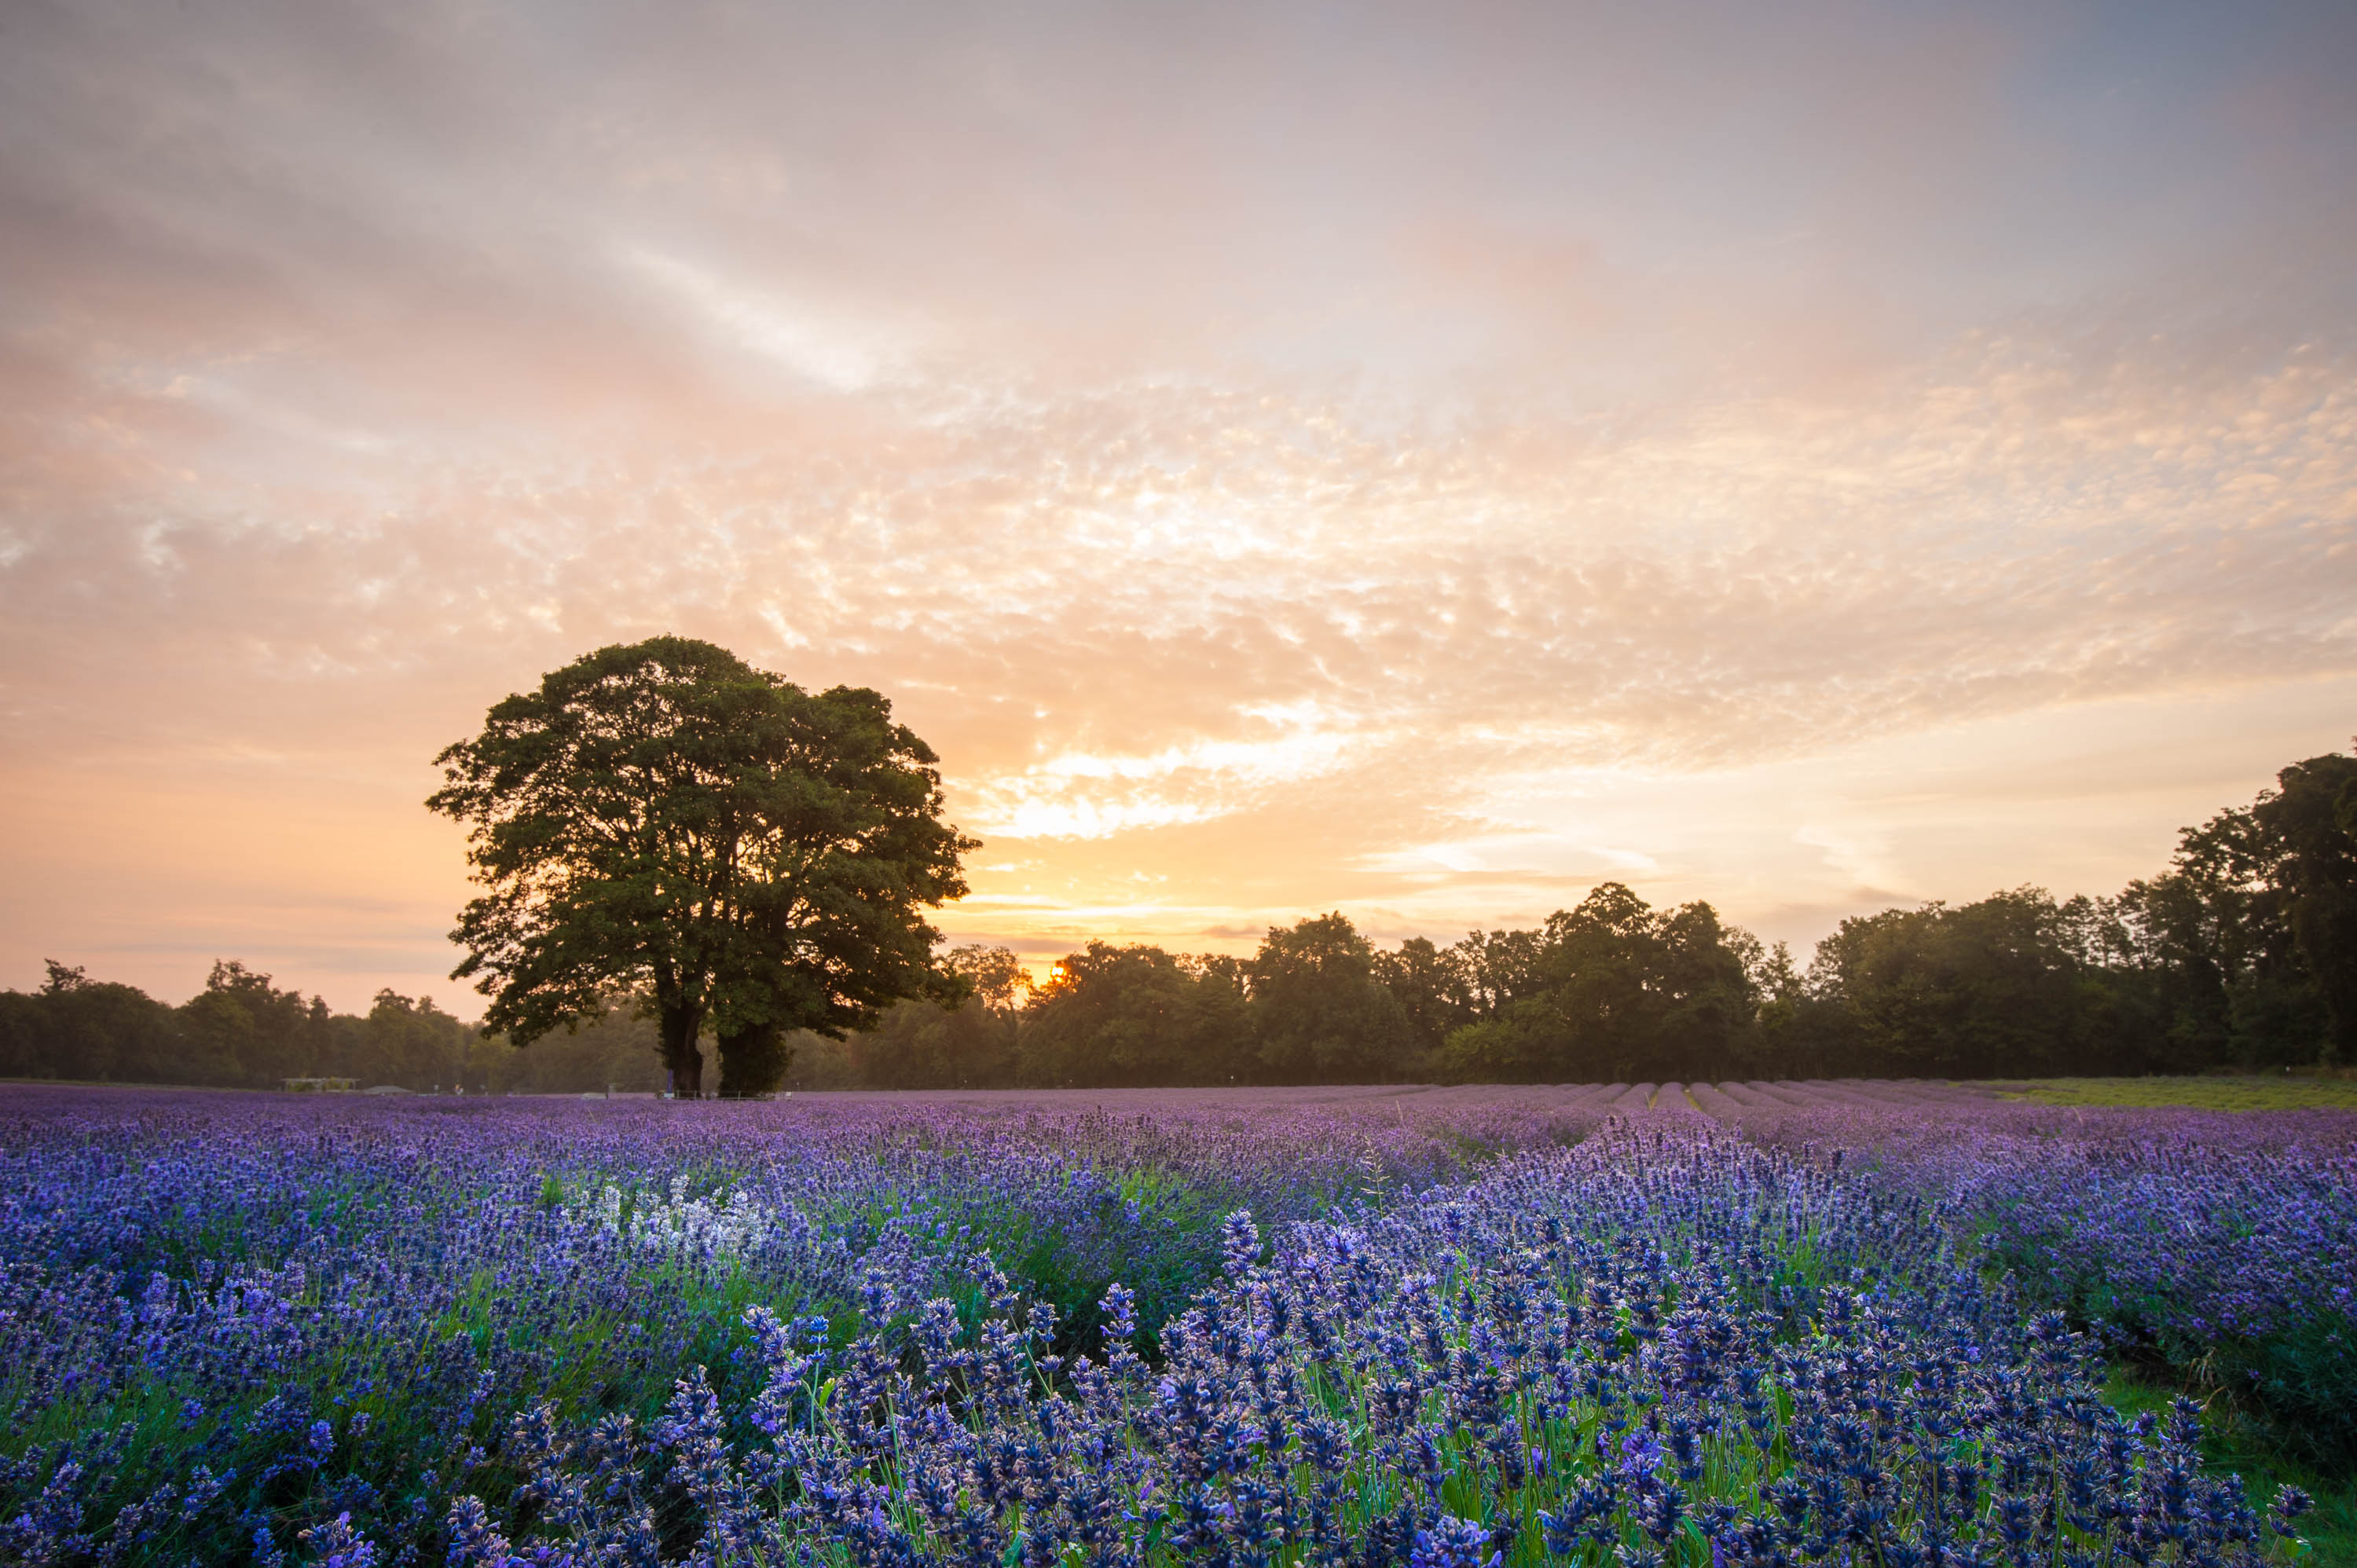
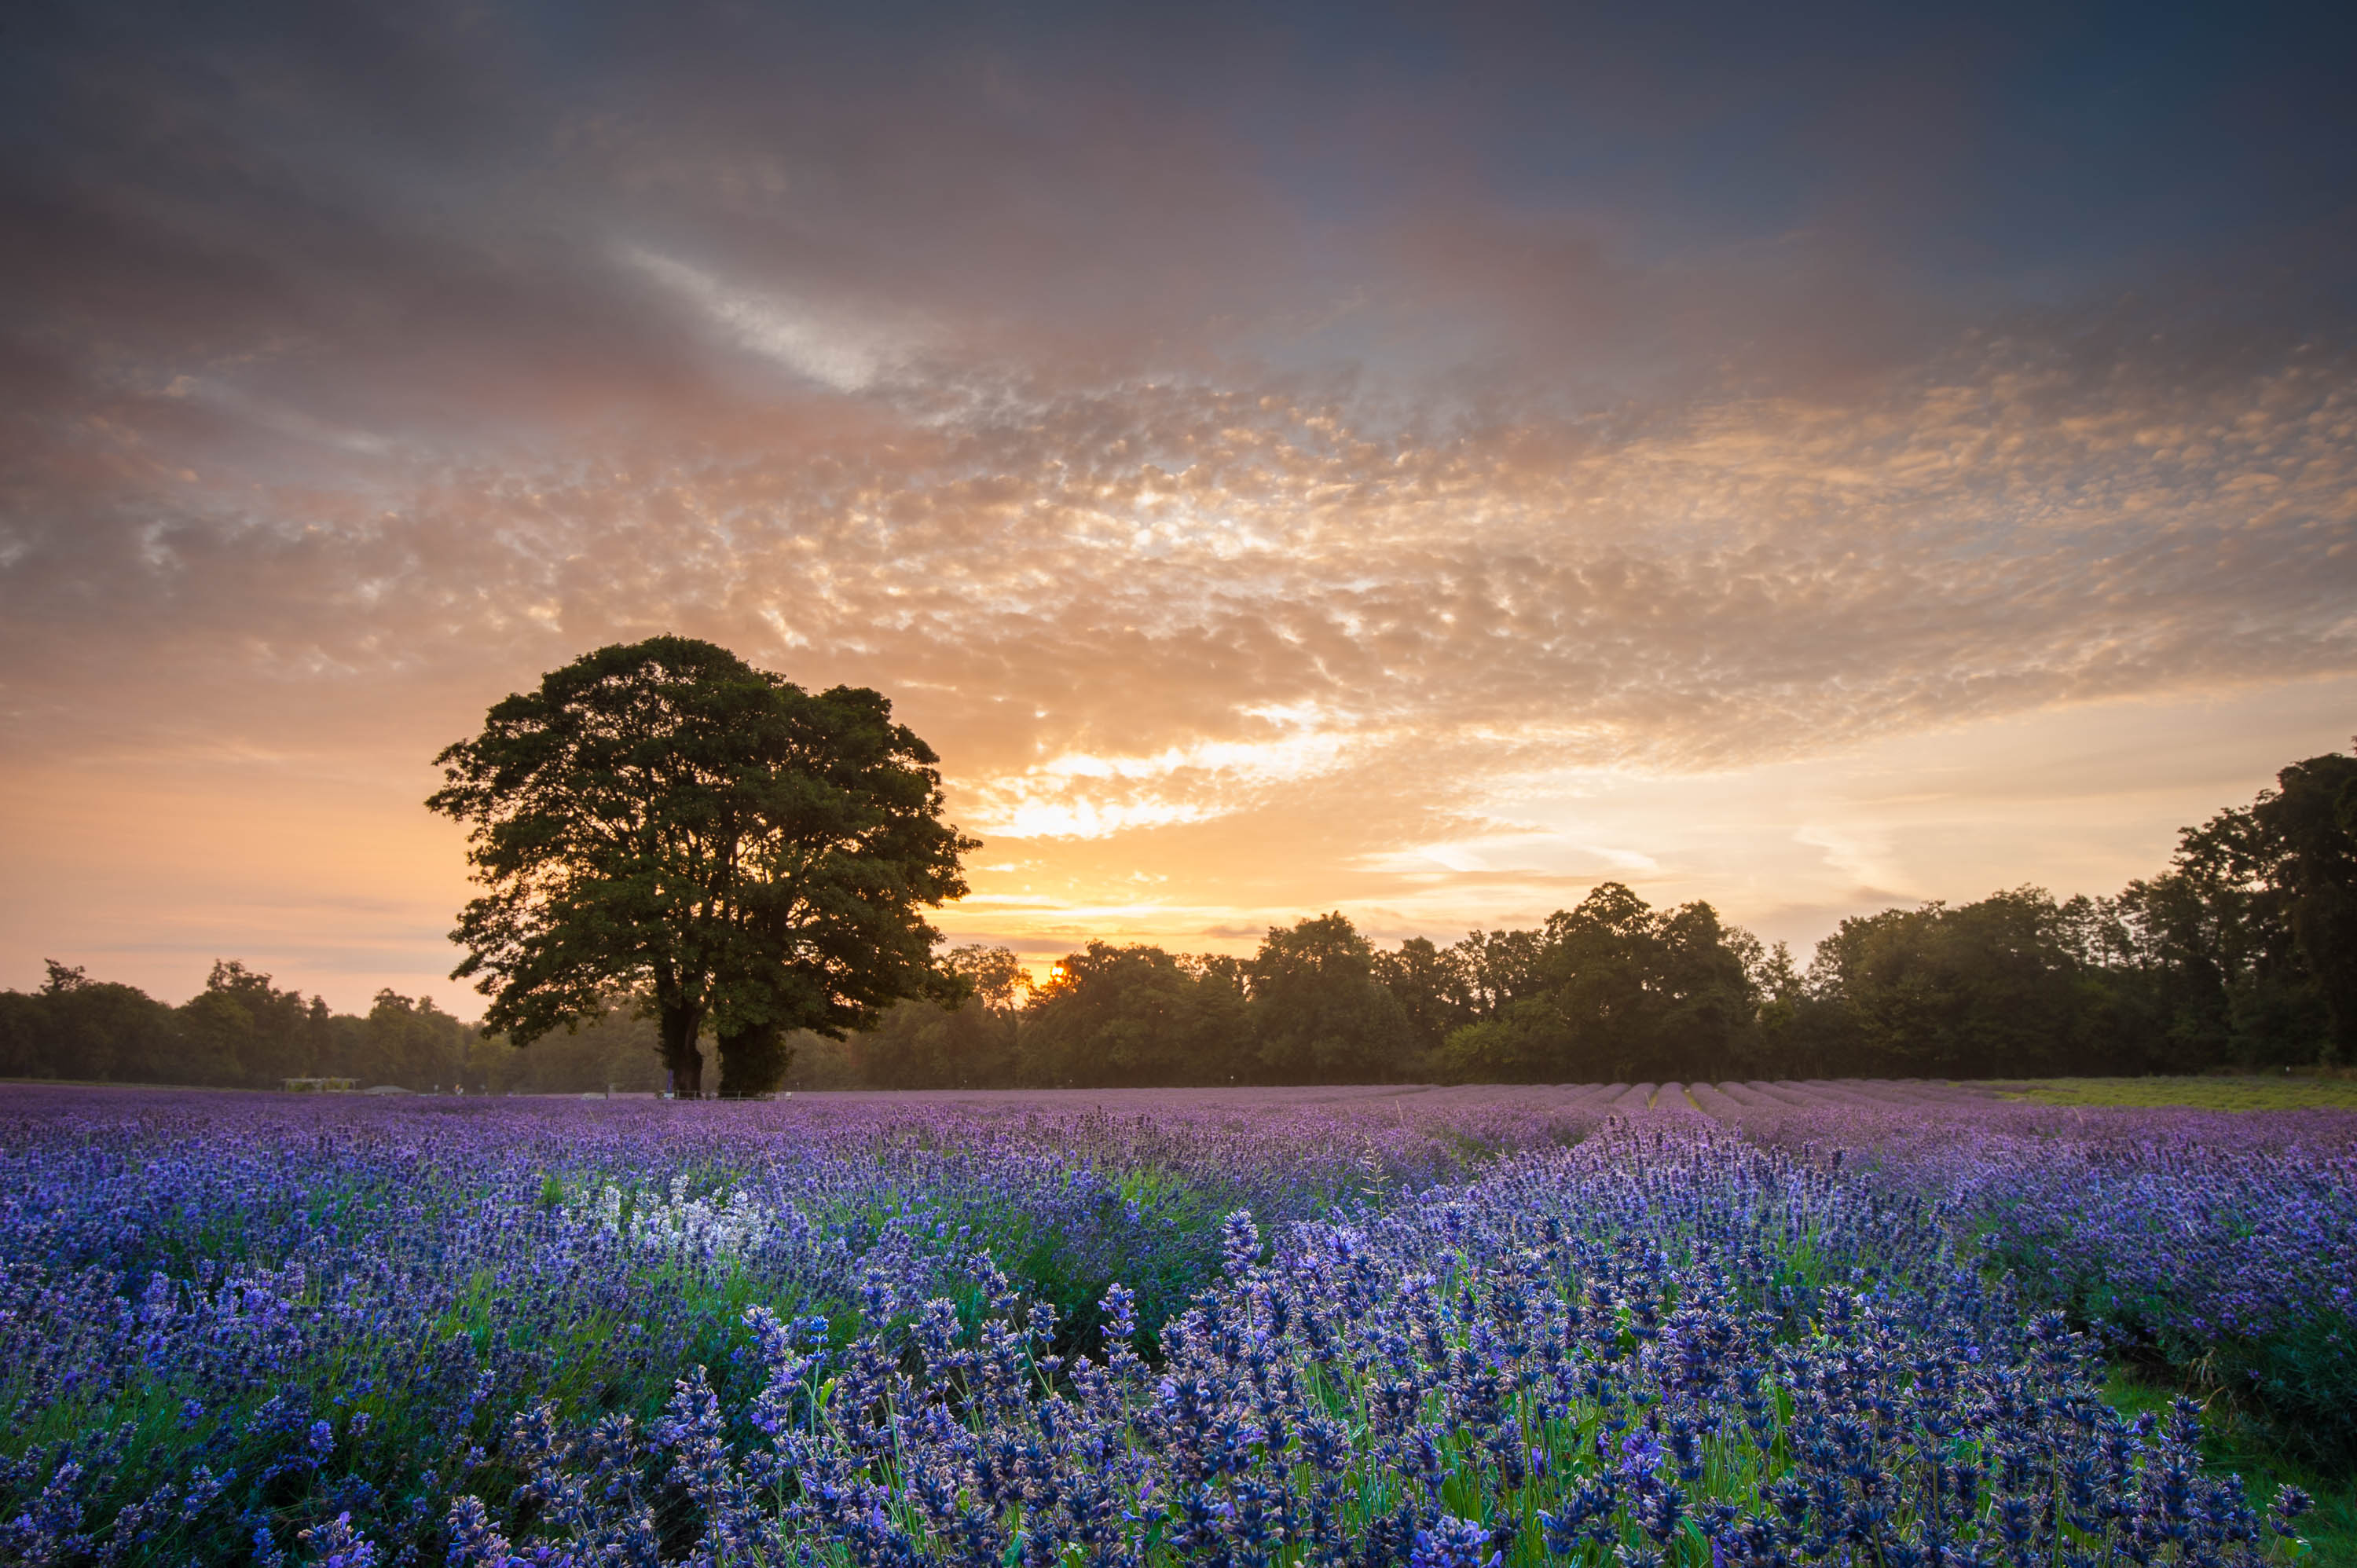
Luckily though, there are ways to overcome this. If you're dealing with extreme lighting in a landscape where the sky is a lot brighter than the foreground, a graduated neutral density filter is a great way to balance the scene so that your camera can record the full dynamic range without sacrificing the drama of the shot.
With backlit portraits, meanwhile, where you risk your subject becoming a featureless silhouette, you might want to add a blip of fill-in flash, or use a reflector to bounce light back on to your subject to overcome this.
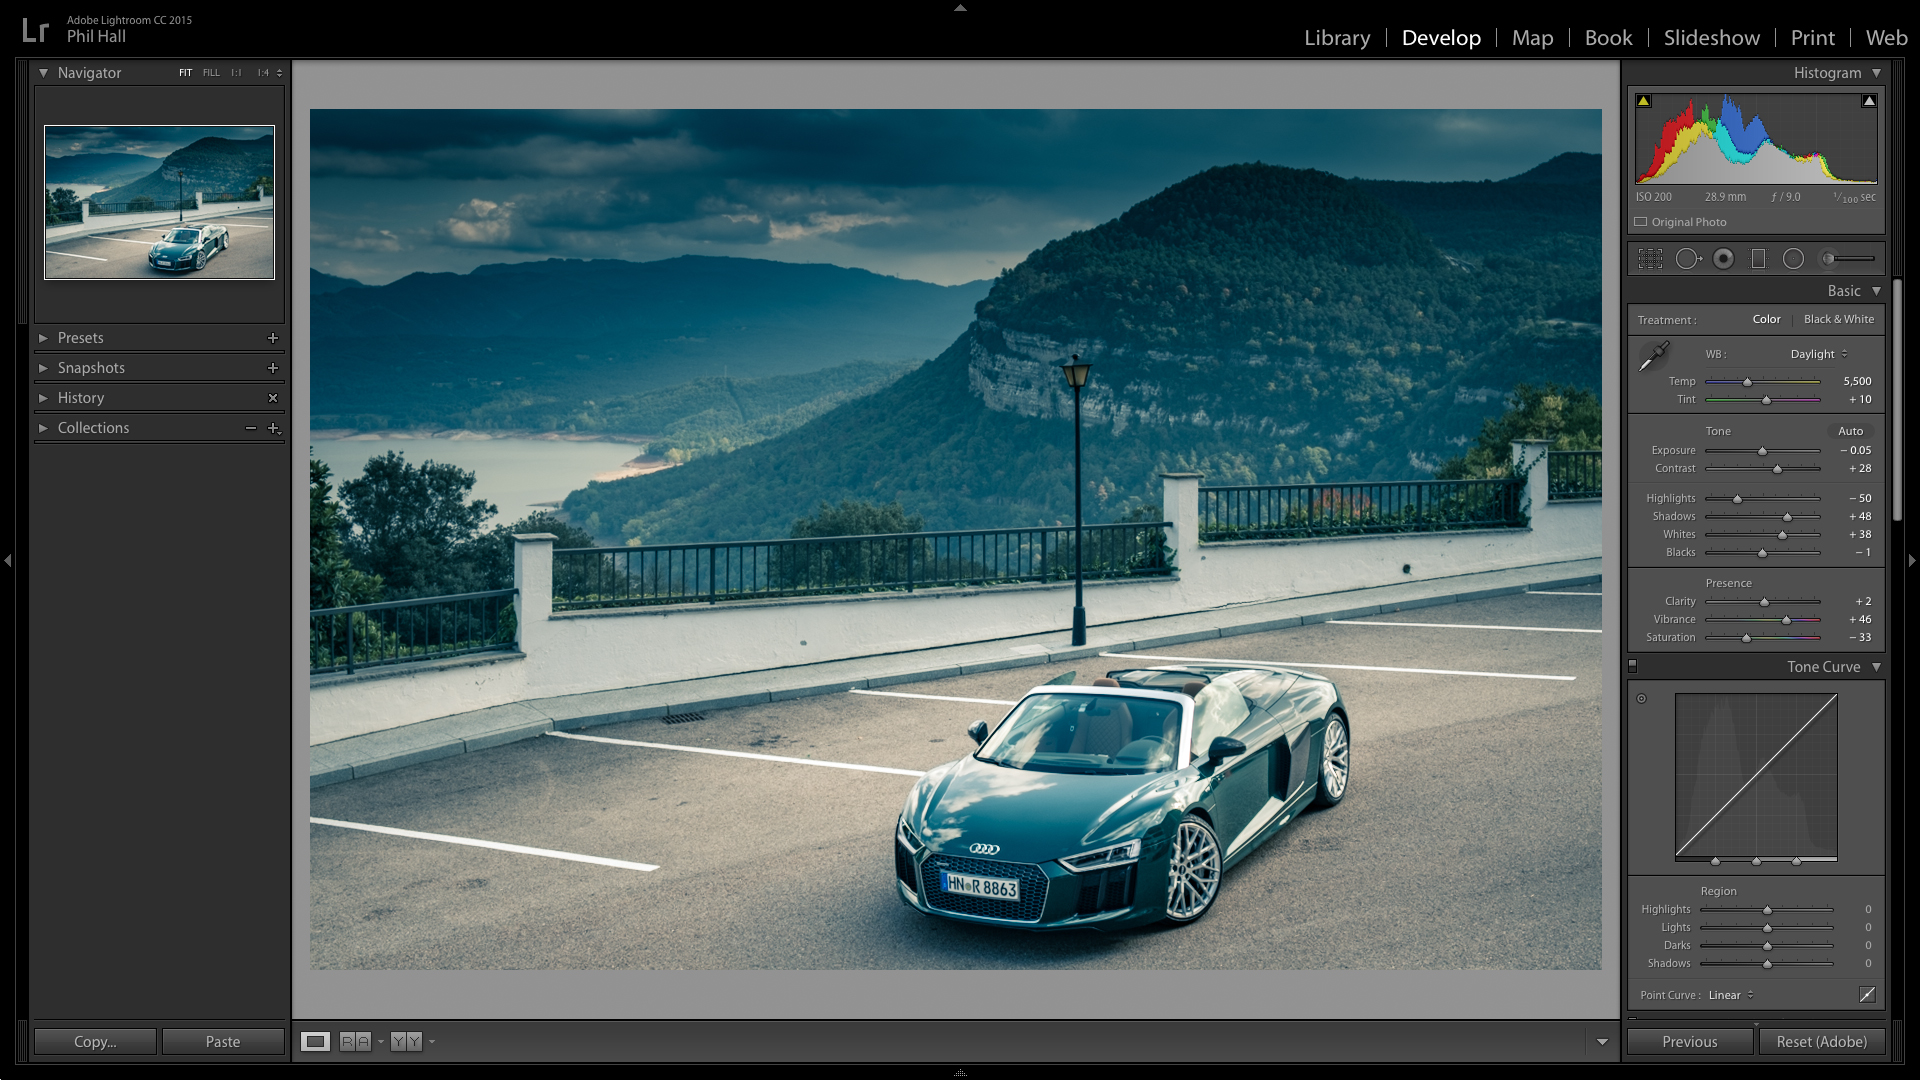
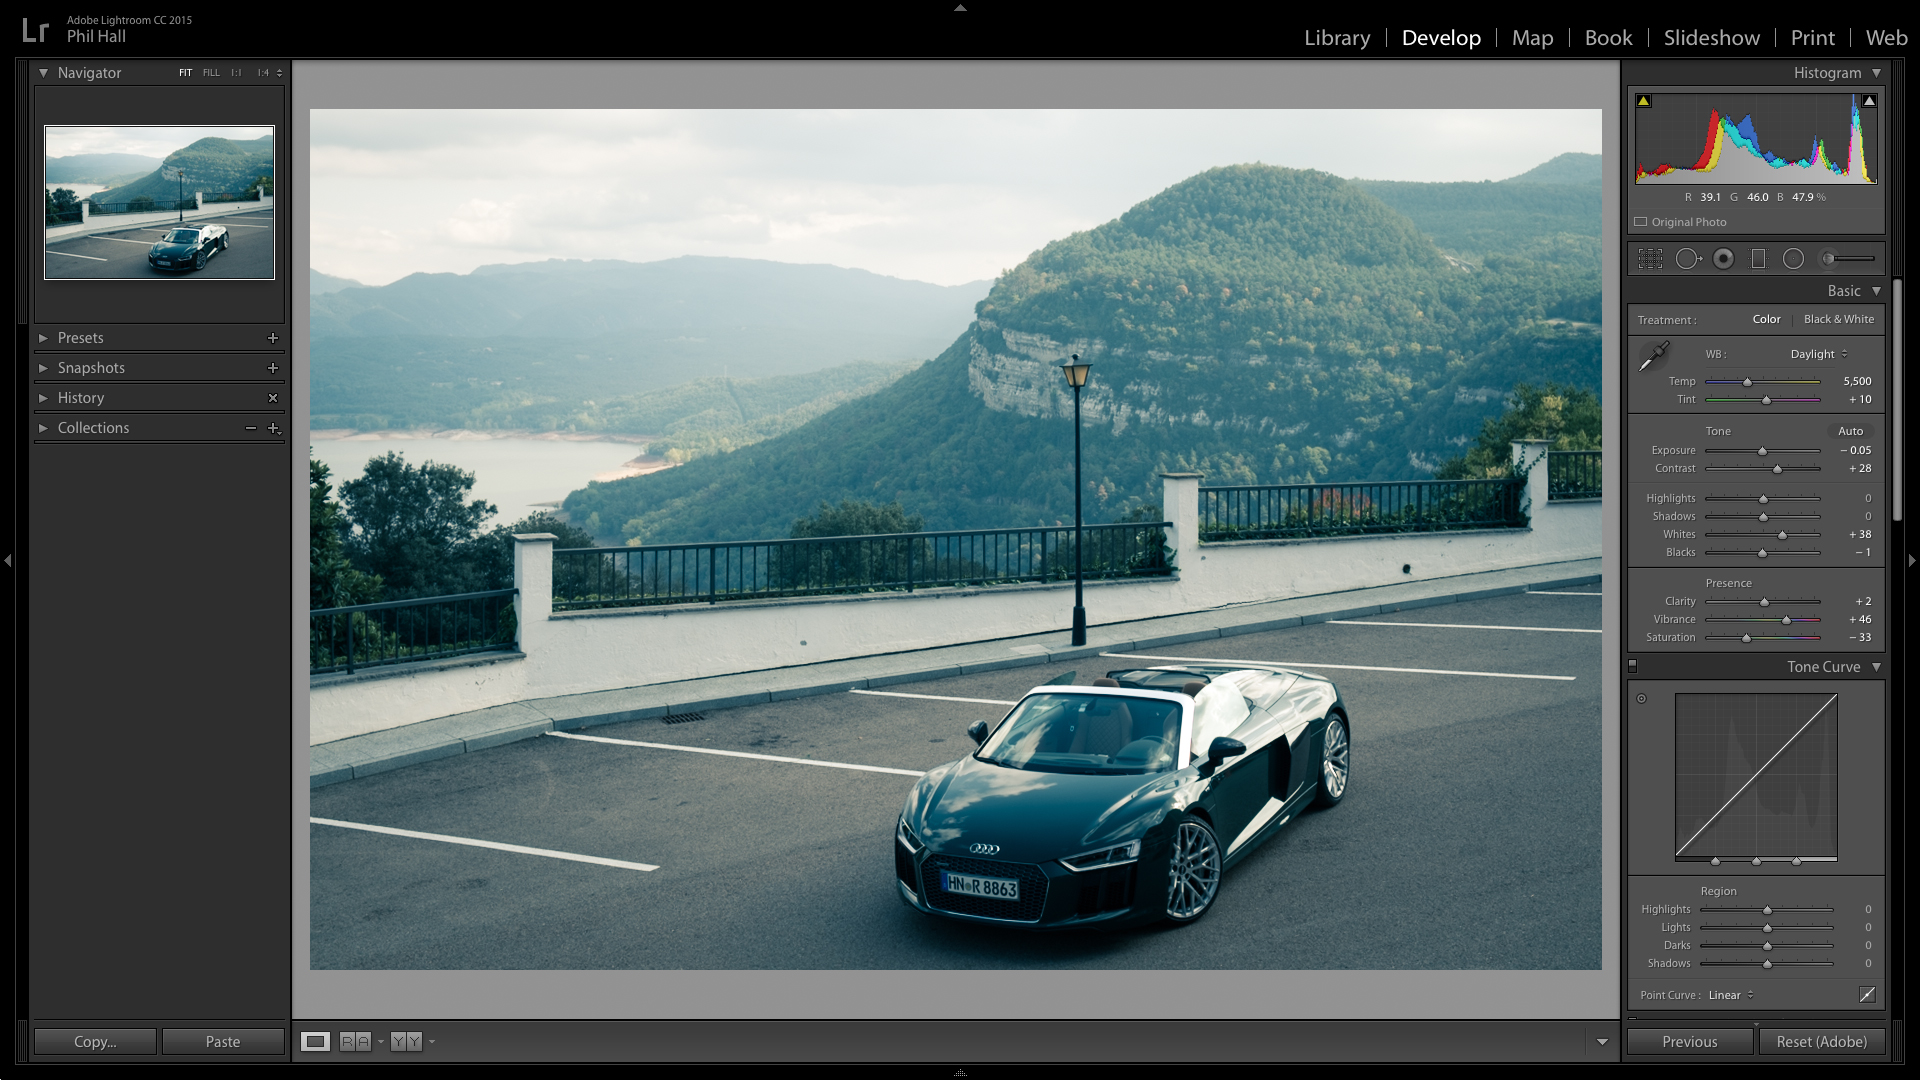
One of the best things you can do to avoid the risk of blown highlights and blocked-out shadows is to shoot in raw. Raw data isn't subjected to the processing that JPEGs undergo as standard, so contains much more information that you can extract later in programs such as Lightroom.
Using the Highlight and Shadow recovery sliders in Lightroom for instance, it's possible to recover what appears to be lost detail, while you can lighten and darken specific areas with the Graduated Filter and Adjustment Brush.
Push the shadows too far though and you'll see image noise begin to encroach on the image. The severity of this does depend on the sensor used to capture the shot, with some cameras offering more latitude than others and allowing to you push the recovery further before the image starts to deteriorate.
Remember though to use these processing tools in moderation, as images can look hyper-real and unnatural if you go too far with your editing.
Phil Hall is an experienced writer and editor having worked on some of the largest photography magazines in the UK, and now edit the photography channel of TechRadar, the UK's biggest tech website and one of the largest in the world. He has also worked on numerous commercial projects, including working with manufacturers like Nikon and Fujifilm on bespoke printed and online camera guides, as well as writing technique blogs and copy for the John Lewis Technology guide.
