TechRadar Verdict
No other 3D printer comes close to the Original Prusa i3 MK3S's balance of features, quality and price. There are options to buy as a kit or as an expert built ready to go machine. Whatever way you decide to buy, there's no doubting the quality of the M3KS and the prints it produces.
Pros
- +
Quiet
- +
Easy to remove prints
- +
Upgrade options
- +
USB or SD
Cons
- -
Open print platform
- -
Single filament as standard
- -
Home built design
Why you can trust TechRadar
Today if you talk about 3D printers then there's one company that stands out from the rest, and that's Prusa Research.
It's founder Joseph Prusa, who gives the company its name, is not only the brain behind the operation but also the figurehead, and a common sight on the 3D printing circuit.
What he and his company has managed to do is to bridge the gap between the Open Source community and commercial enterprise.
Prusa, the man and machine, do things differently with tweaks and innovation at the core of the technology. That means that if you invest in a model today, there's a high likelihood that it can be upgraded in the future, as all Prusa machines before have done.
The new printer, Original Prusa i3 MK3S, like the previous generations is available in a selection of formats, free as printable parts and a shopping list, as a kit that you build yourself or as an expert built system that can be unboxed and is ready to use.
I've built a few in the past, and this time Prusa has sent the factory-built version. I have to say the quality of finish, especially with the wiring routing, is a world apart from my usual wiring mess.
One observation from the outset is that the Original Prusa i3 MK3S while being the latest iteration of the printer looks much the same as previous generations, it's only under closer scrutiny that you realise that it's a very different beast.
I'm looking at the S model, which is a minor update to the MK3, so this review relates to the Original Prusa i3 MK3 with the S update.
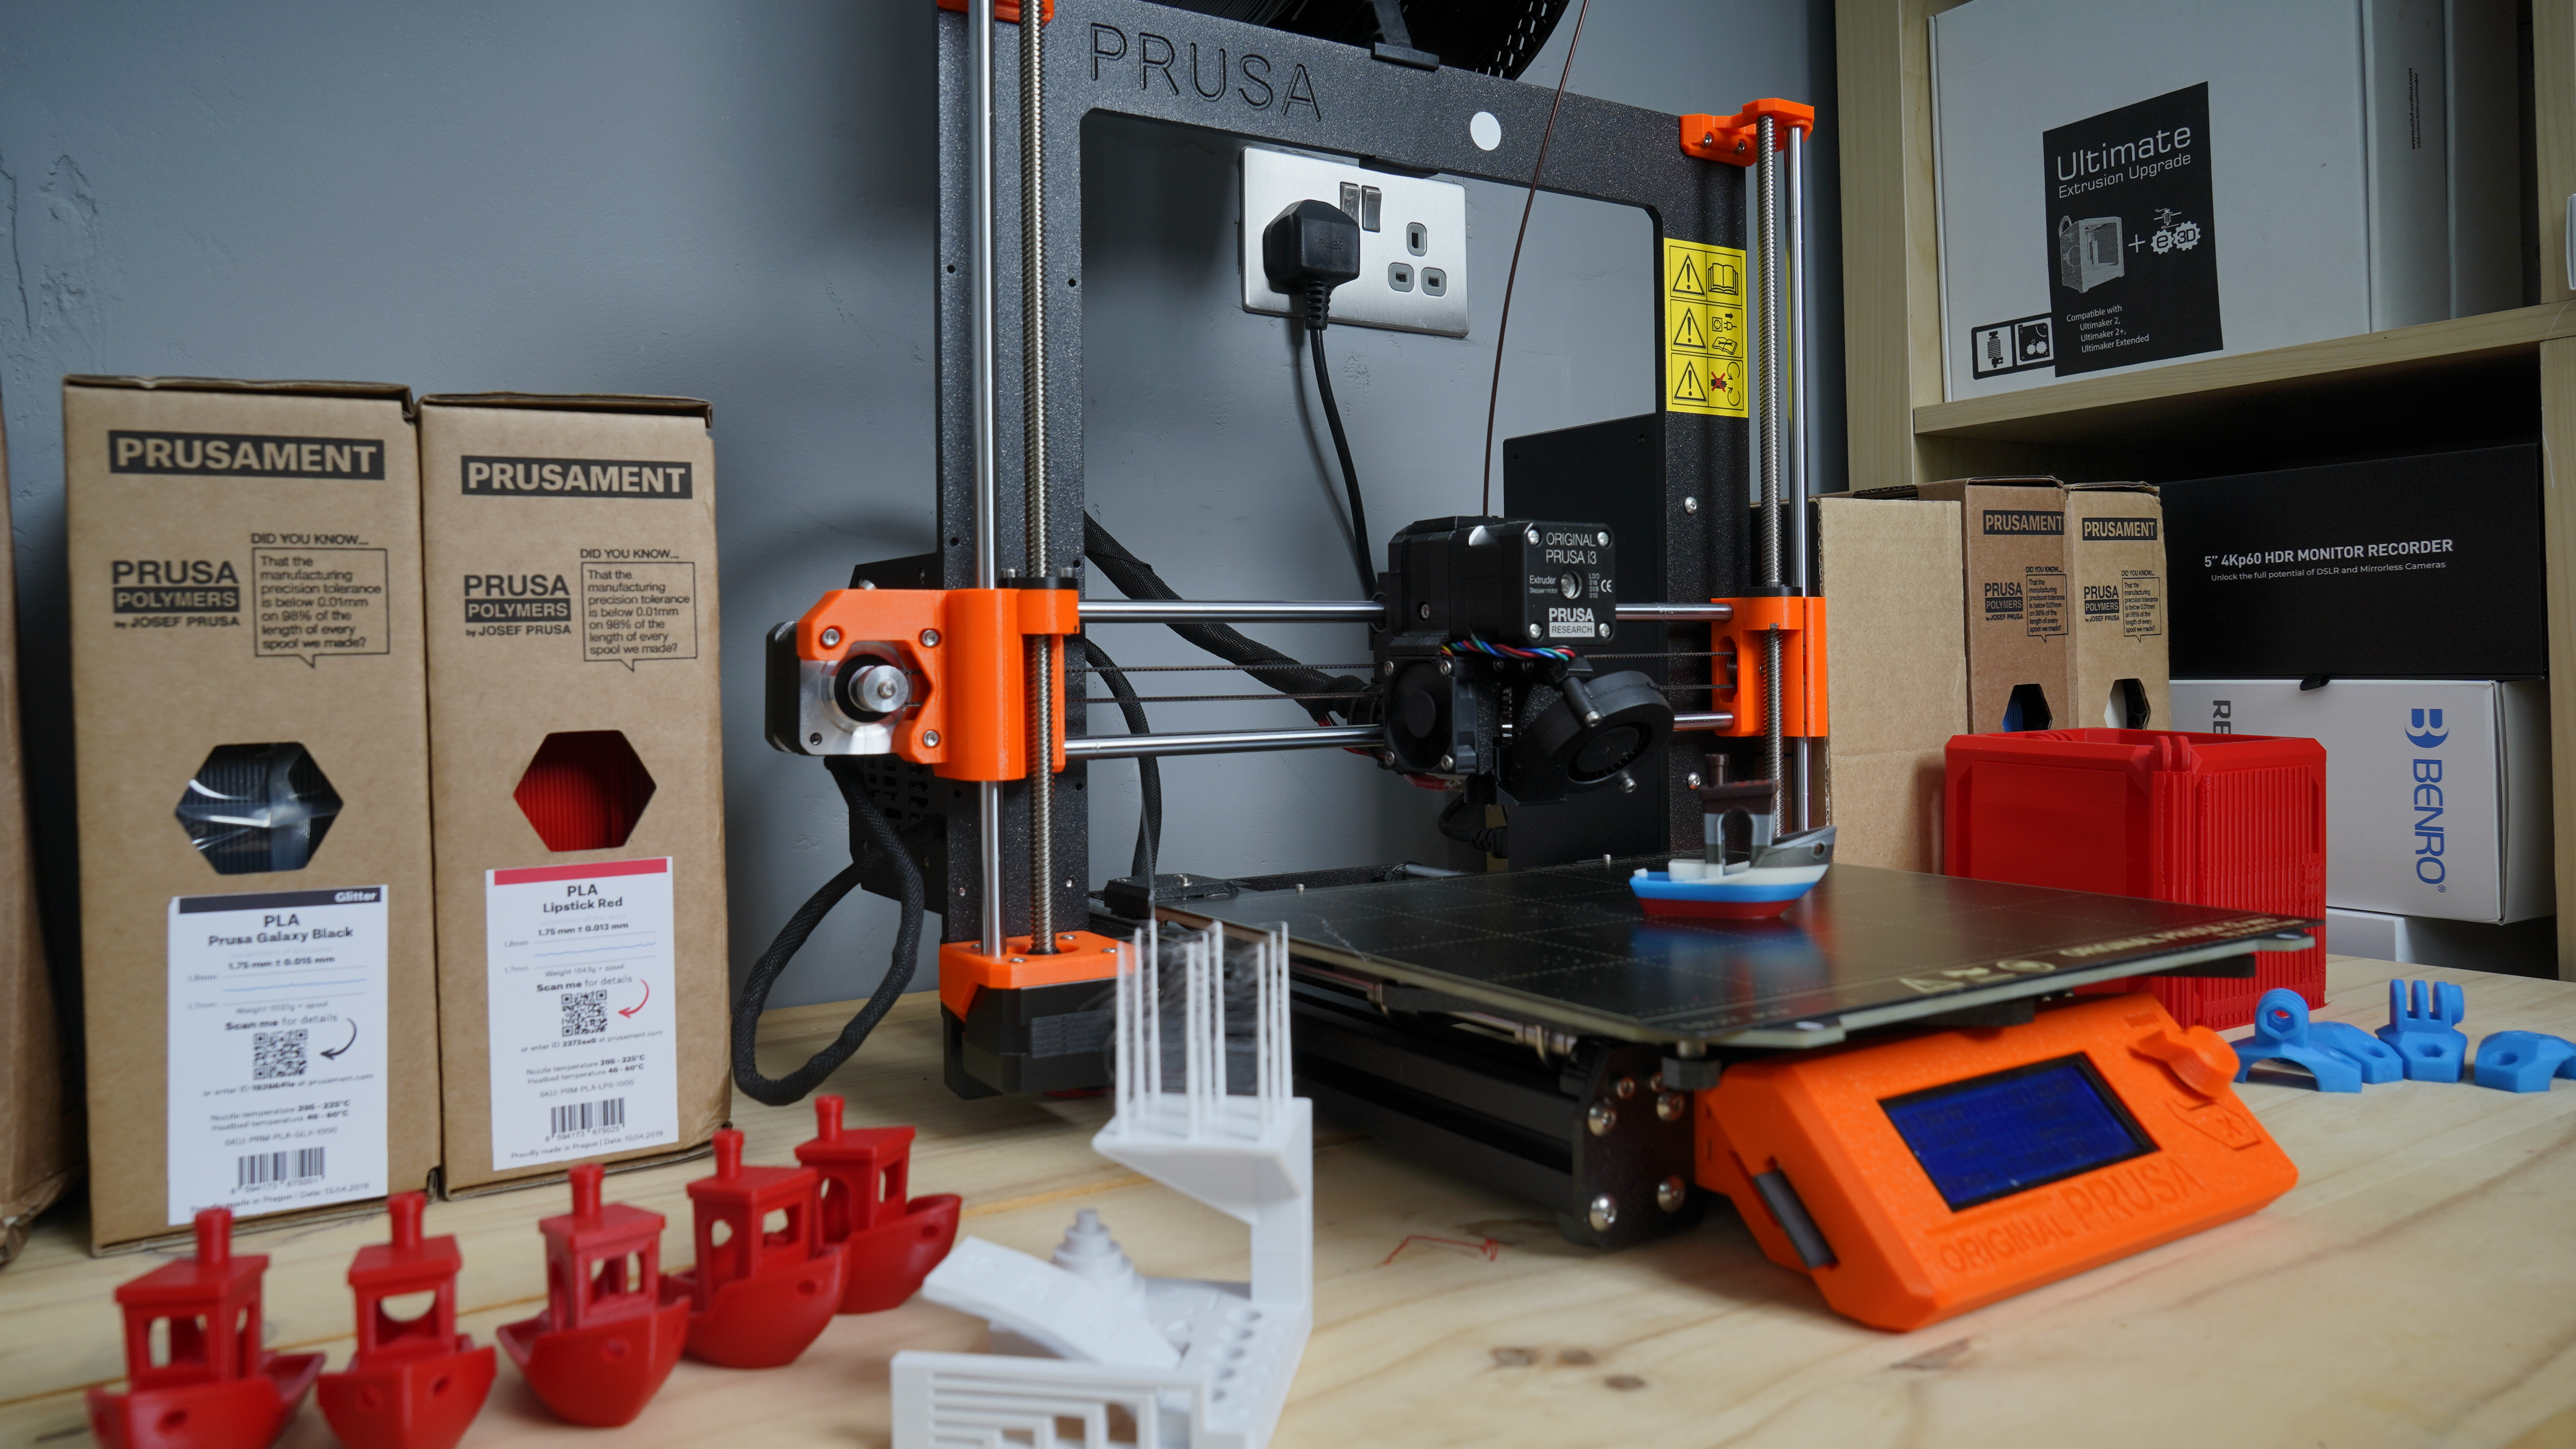
Design
3D printers as they stand are not design classics. While the 3D print technology has bounded along the product design hasn't. Although there are a few manufacturers such as the Cel-Robox and MakerBot who have got product designers involved in the aesthetics.
Part of the reason is that the 3D community likes to tinker, and the industry has grown from the Open Source community. Prusa of all the companies has stayed close to the original community and still feeds much of the research and development back.
As such, the MK3S, as with previous generations, has an open design and look. It wouldn't look at all out of place in a garage or workshop and looks less at home in a style-conscious design studio.
Looks can be deceptive, and you shouldn't underestimate the design - the Original Prusa i3 MK3S is one of the best printers on the market when it comes to print quality, but it's also the most versatile if you're prone to a little tinkering.
The printer is there to use, develop, enhance and make your own; the Prusa is the only widely available printer left that enables you to do this.
Features
Let's take a look at what makes the Original Prusa i3 MK3S a little different from the vast majority of other printers.
Firstly there are the options, parts for the printer can be printed from files downloaded from the Prusa site and then with a bit of time and effort you can collect together all the bits you need to build your own.
It's dubious if you'll save yourself any money, but if you're at a loss for a project, then it's a good challenge and more than possible.
The fact that there is a kit option is one of the most prominent features; it's what got me and so many others into 3D printing in the first place. Build it, and you can see how it works.
I've now built and designed my own 3D printer so having one turn up pre-built is a huge plus point for me but knowing that I can tinker at some point, which I inevitably will, I can upgrade the extruder if there's a need, mess with the firmware, and well, that's all part of the fun.
What's new
Although the MK3S looks much like the MK2 and original, there are some significant differences, and the MK3S has been designed and upgraded based on user feedback. The S model is a slightly souped-up version of the MK3.
The Extruder has had a few design tweaks over the previous version that make it easier to use and service, Prusa has also addressed a minor issue with resonance. This issue has been overcome by shifting the nozzle closer to the X-axis which along with the upgraded fan helps to improve print quality.
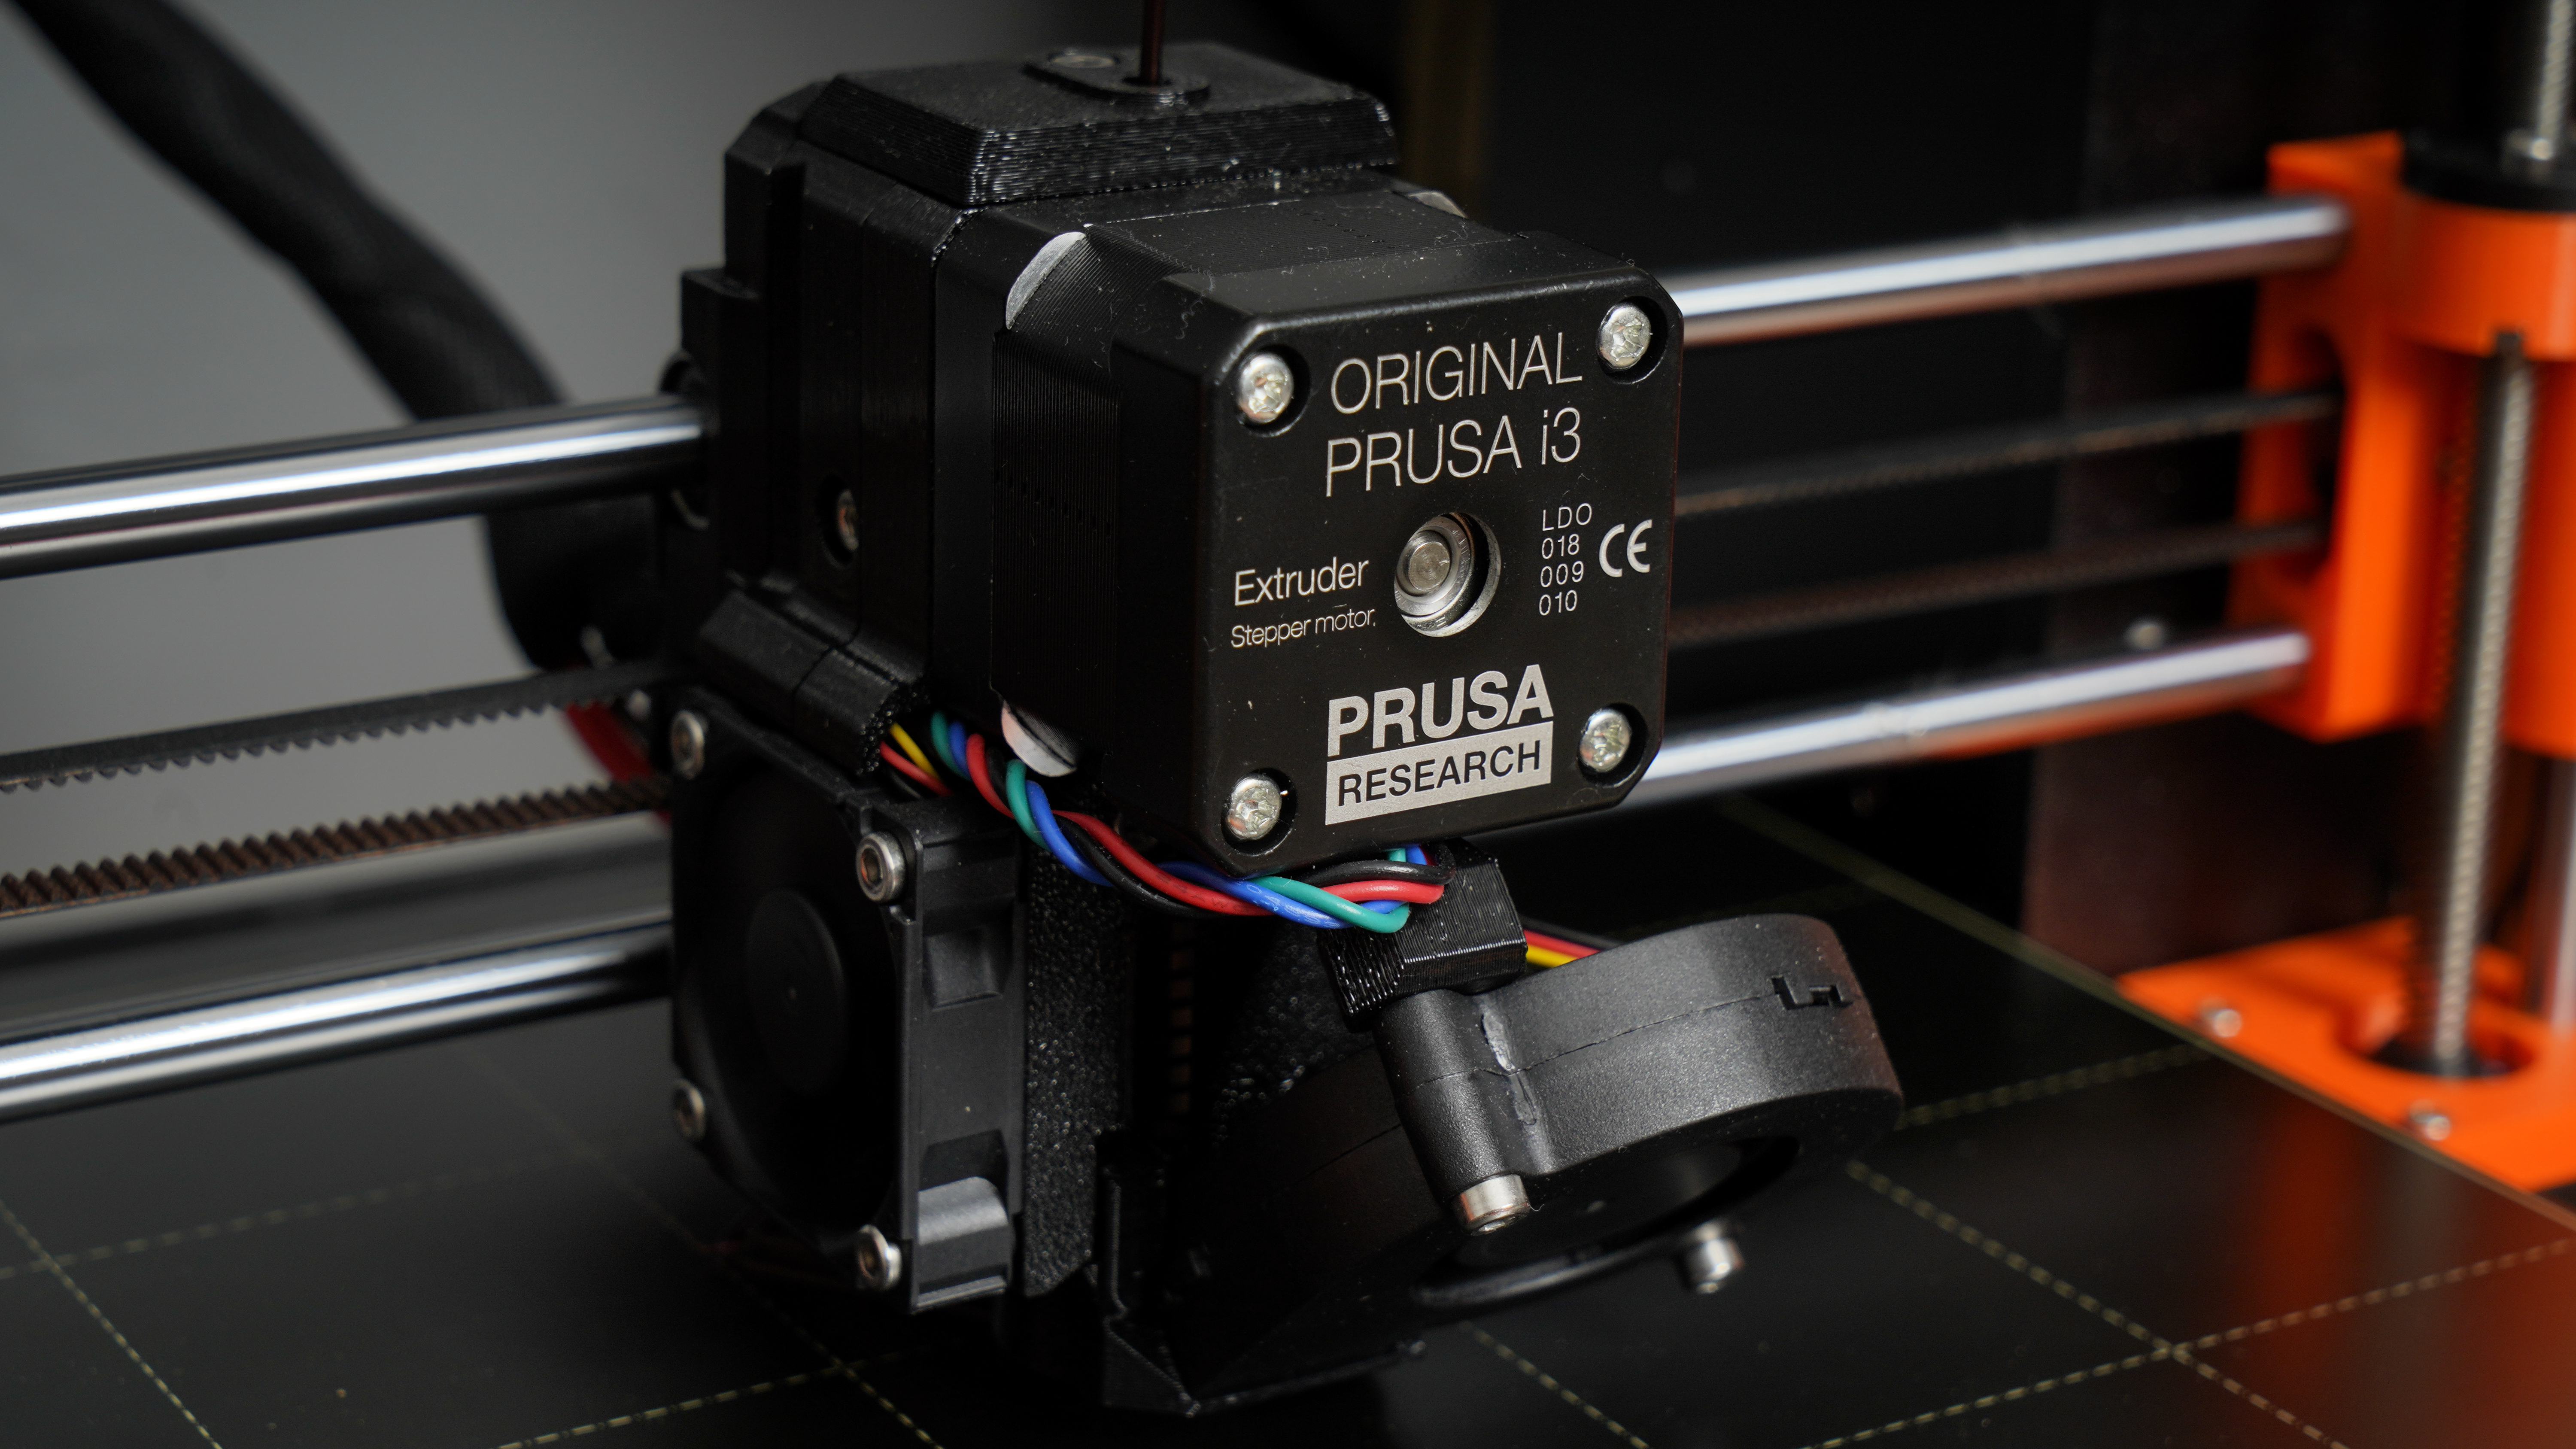
Another enhancement is the hybrid filament sensor; this combines a mechanical switch and optical sensor. This gets around issues that were caused when printing with transparent and some reflective filaments. The optical and mechanical sensor used in combination improves reliability when these filaments are loaded and ejected.
Notable features
These new features may seem small but join those improvements that were already rolled out with the MK3, and these were far more significant.
The Original Prusa i3 MK3S is one of the cheapest 3D printers on the market when it comes to a balance of print quality and reliability. The design has a lot to do with it, but there's no scraping on the quality of the parts.
E3D Hotend: This use of quality parts is highlighted by the E3D nozzles. Designed by a team in the UK these all metal hotends are known to be about the best in the industry and are widely used. The MK3S utilises the E3 V6.
Bondtech Drive Gears: The hot-end is nothing without the steady flow of filament, and the extruder provides a steady filament feed with the upgraded Bondtech drive gears. These grip the filament from either side to help reduce slip and increase the pushing force. This type of gearing is especially useful for flexible filaments which are notoriously difficult to print with.
Automatic filament loading: Traditionally filament loading could be troublesome, but here pop the filament into the extruder, and a sensor detects it and sucks it into the machine. Once in you then just need to select the filament type.
Steel Spring Head bed: Removing prints from the print platform can be a real issue, the original i3 featured a glass plate and bull clips holding it in place. That improved with the MK2 and now there's a magnetic HeatBed with an alloy PEI coated spring steel sheet.
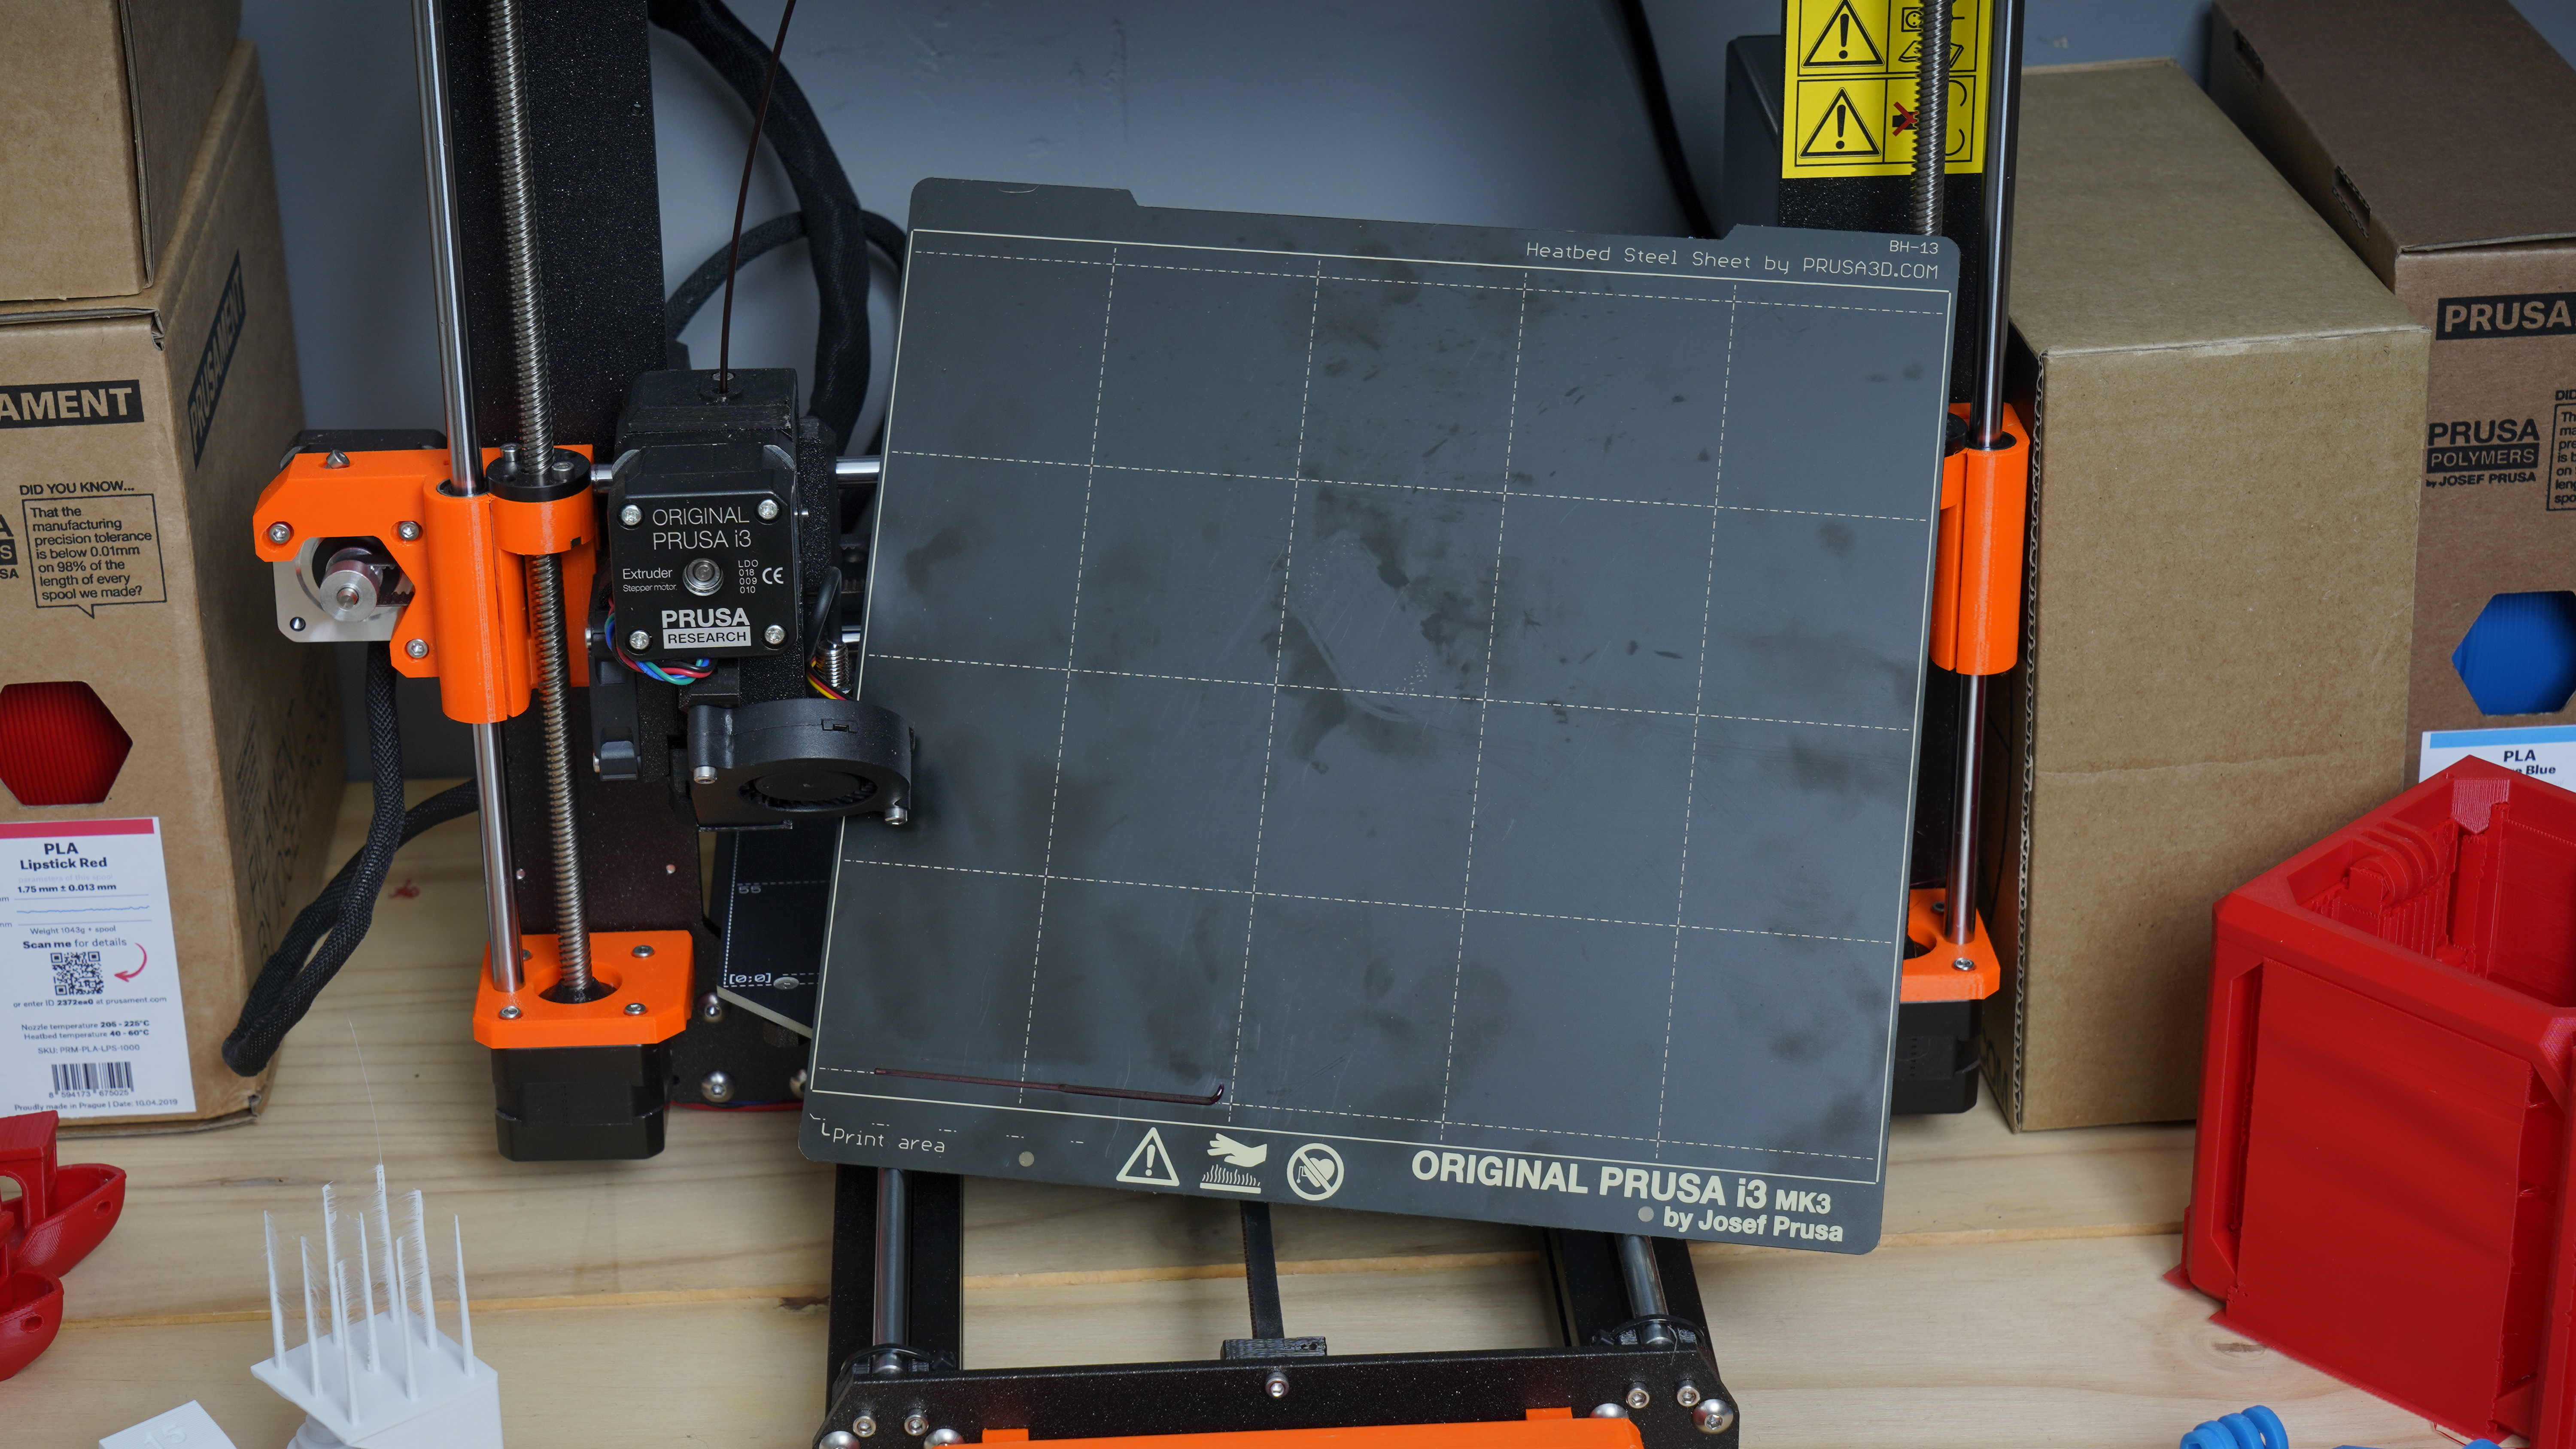
This is quick and easy to remove, and a quick flex of the sheet enables the print to be removed with ease. The MK3S ships with a smooth PEI sheet but there's also a textured powder coated version available for greater adhesion for materials such as nylon.
Extruded aluminium frame: Rigidity of the original i3 depended on the quality of the build with construction based around long threaded bolts. The design and build have taken an enormous leap forward with aluminium extrusion introduced in the MK3 and is used for the Y-axis and high-quality lead screws.
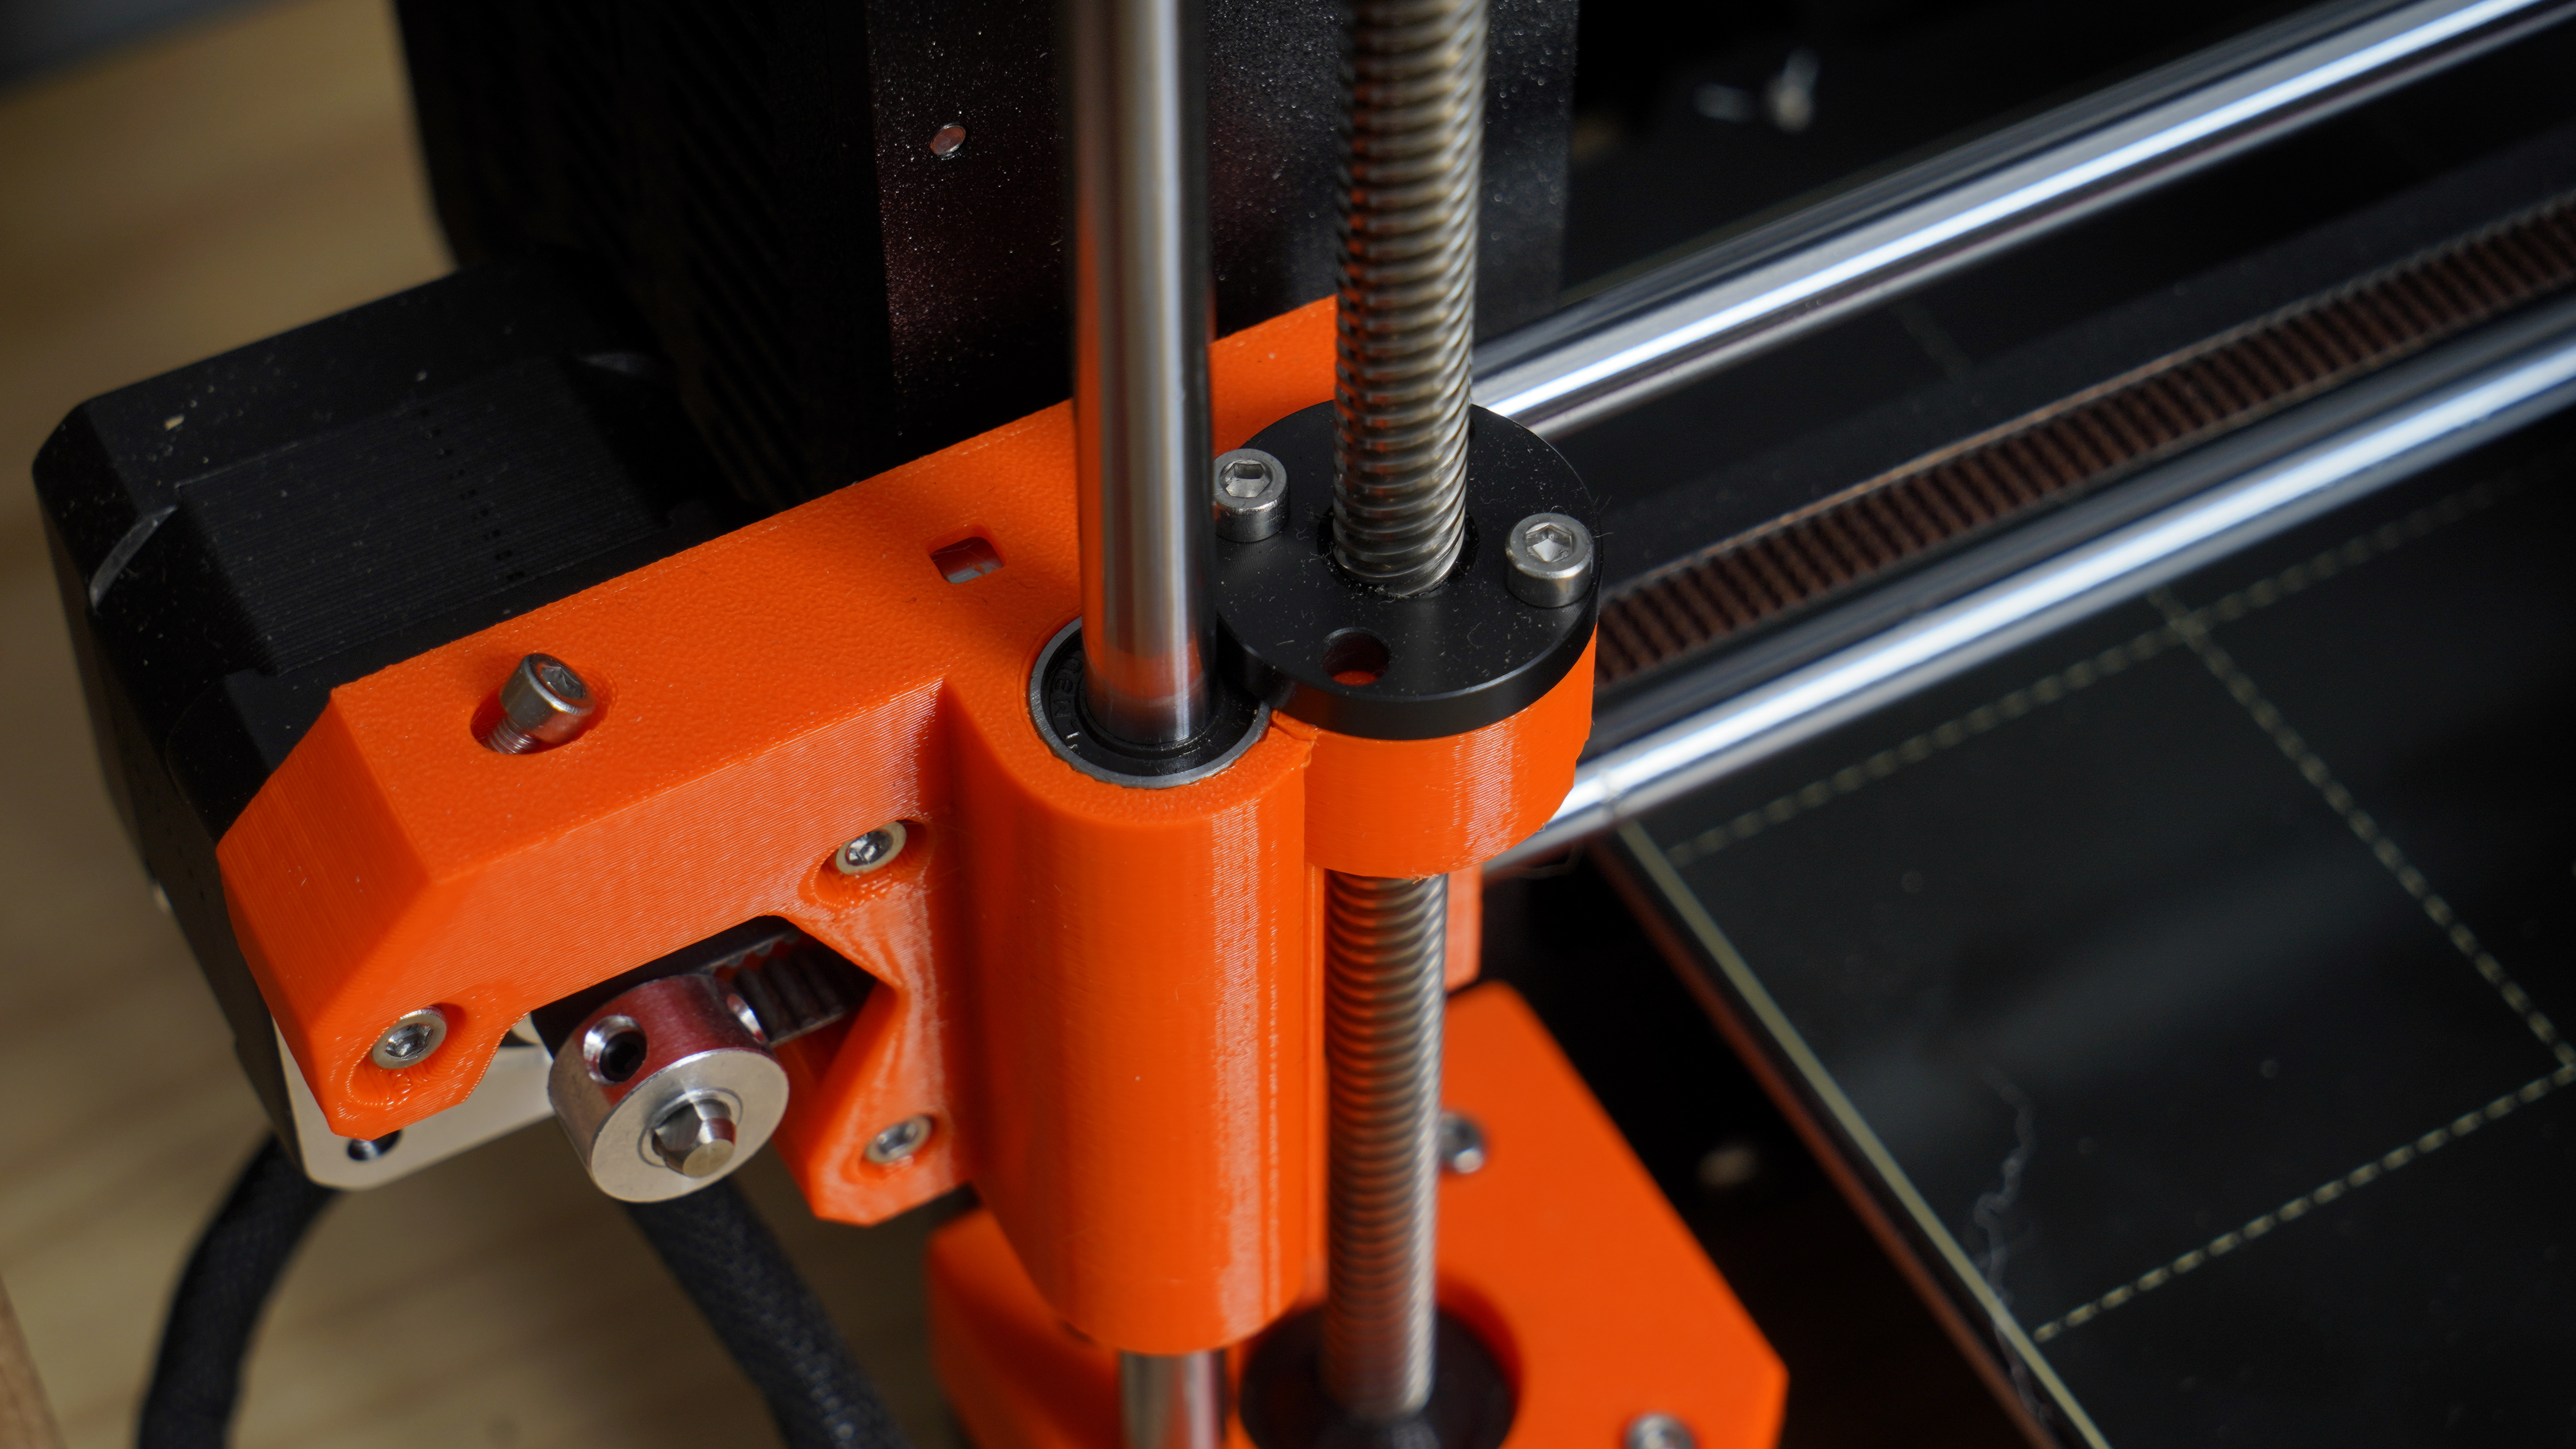
Quiet motors: 3D printers like 2D printers had a reputation for noise due to the multiple stepper motors working away.
The standard was Nema 17, which were relatively cheap, Prusa now uses the highest quality and coupled them with Trinamic2130 drivers with cooling coming from Noctua fans. Adding a stealth mode, now makes this printer far quieter than the majority of other printers on the market.
Power loss recovery: Anyone who 3D prints will know how long some prints can take; hours and sometimes days. There is nothing worse than losing power during that process. Usually from some helpful sole accidentally switching it off or tripping over a cable.
The MK3S has full loss recovery, so if you do lose all power, then don't worry, the printer will restart from where it left off.
Avoid skipped layers: Not a common issue at first, but as your printer gets older, skipped layers can be a problem. As well as helping to dampen down the sound of the motors the Trinamic2130 drivers along with the EINSY RAMBo motherboard can detect if a skip or layer shifted.
Finally on the significant features is the P.I.N.D.A. 2 probe. There are two thermistors on the machine, one to check the ambient temperature of the electronics and the new P.I.N.D.A. 2 probe which helps to adjust for temperature drift at the print level and ensures that the first later is always correct.
This pretty much covers the major new features, and these join the more standard specifications.
Build volume: 25 x 21 x 21cm
Memory: Integrated LCD and SD card reader (8GB SD Card included)
Nozzle size: 0.4mm nozzle (Can be changed)
Layer height: 0.05mm (50 Micron)
Bed: Automatic levelling bed
Print Surface: Heated bed with cold corner compensation
Skew: Automatic Skew axes compensation
Software: PEO print platform
Materials: Extensive material support
Included materials: 1kg filament included
Power: PLA 80W / ABS 120W
Setup and materials
Weighing in at 7kg and measuring 50×40x55 cm (L x W x H) without the spool holder attached, the printer is by no means small. Lift it out of the box, however, and the open design and neatly packed and bound wires and the printer doesn't feel overbearing.
The footprint of 50cm x 40 cm is relatively large, but with your average kitchen worksurface or desk having a depth of around 60cm, the size is just right for sitting on your desktop.
Once in place, the spool holder can be clipped onto the mainframe, all zip ties and packaging remove and the power cord inserted.
Installing the filament is exceptionally easy. With the power and Auto Feed on, dip the end of the filament into the hole in the extruder and it's sucked in, then select the filament type, and a few minutes later molten filament appears through the nozzle.
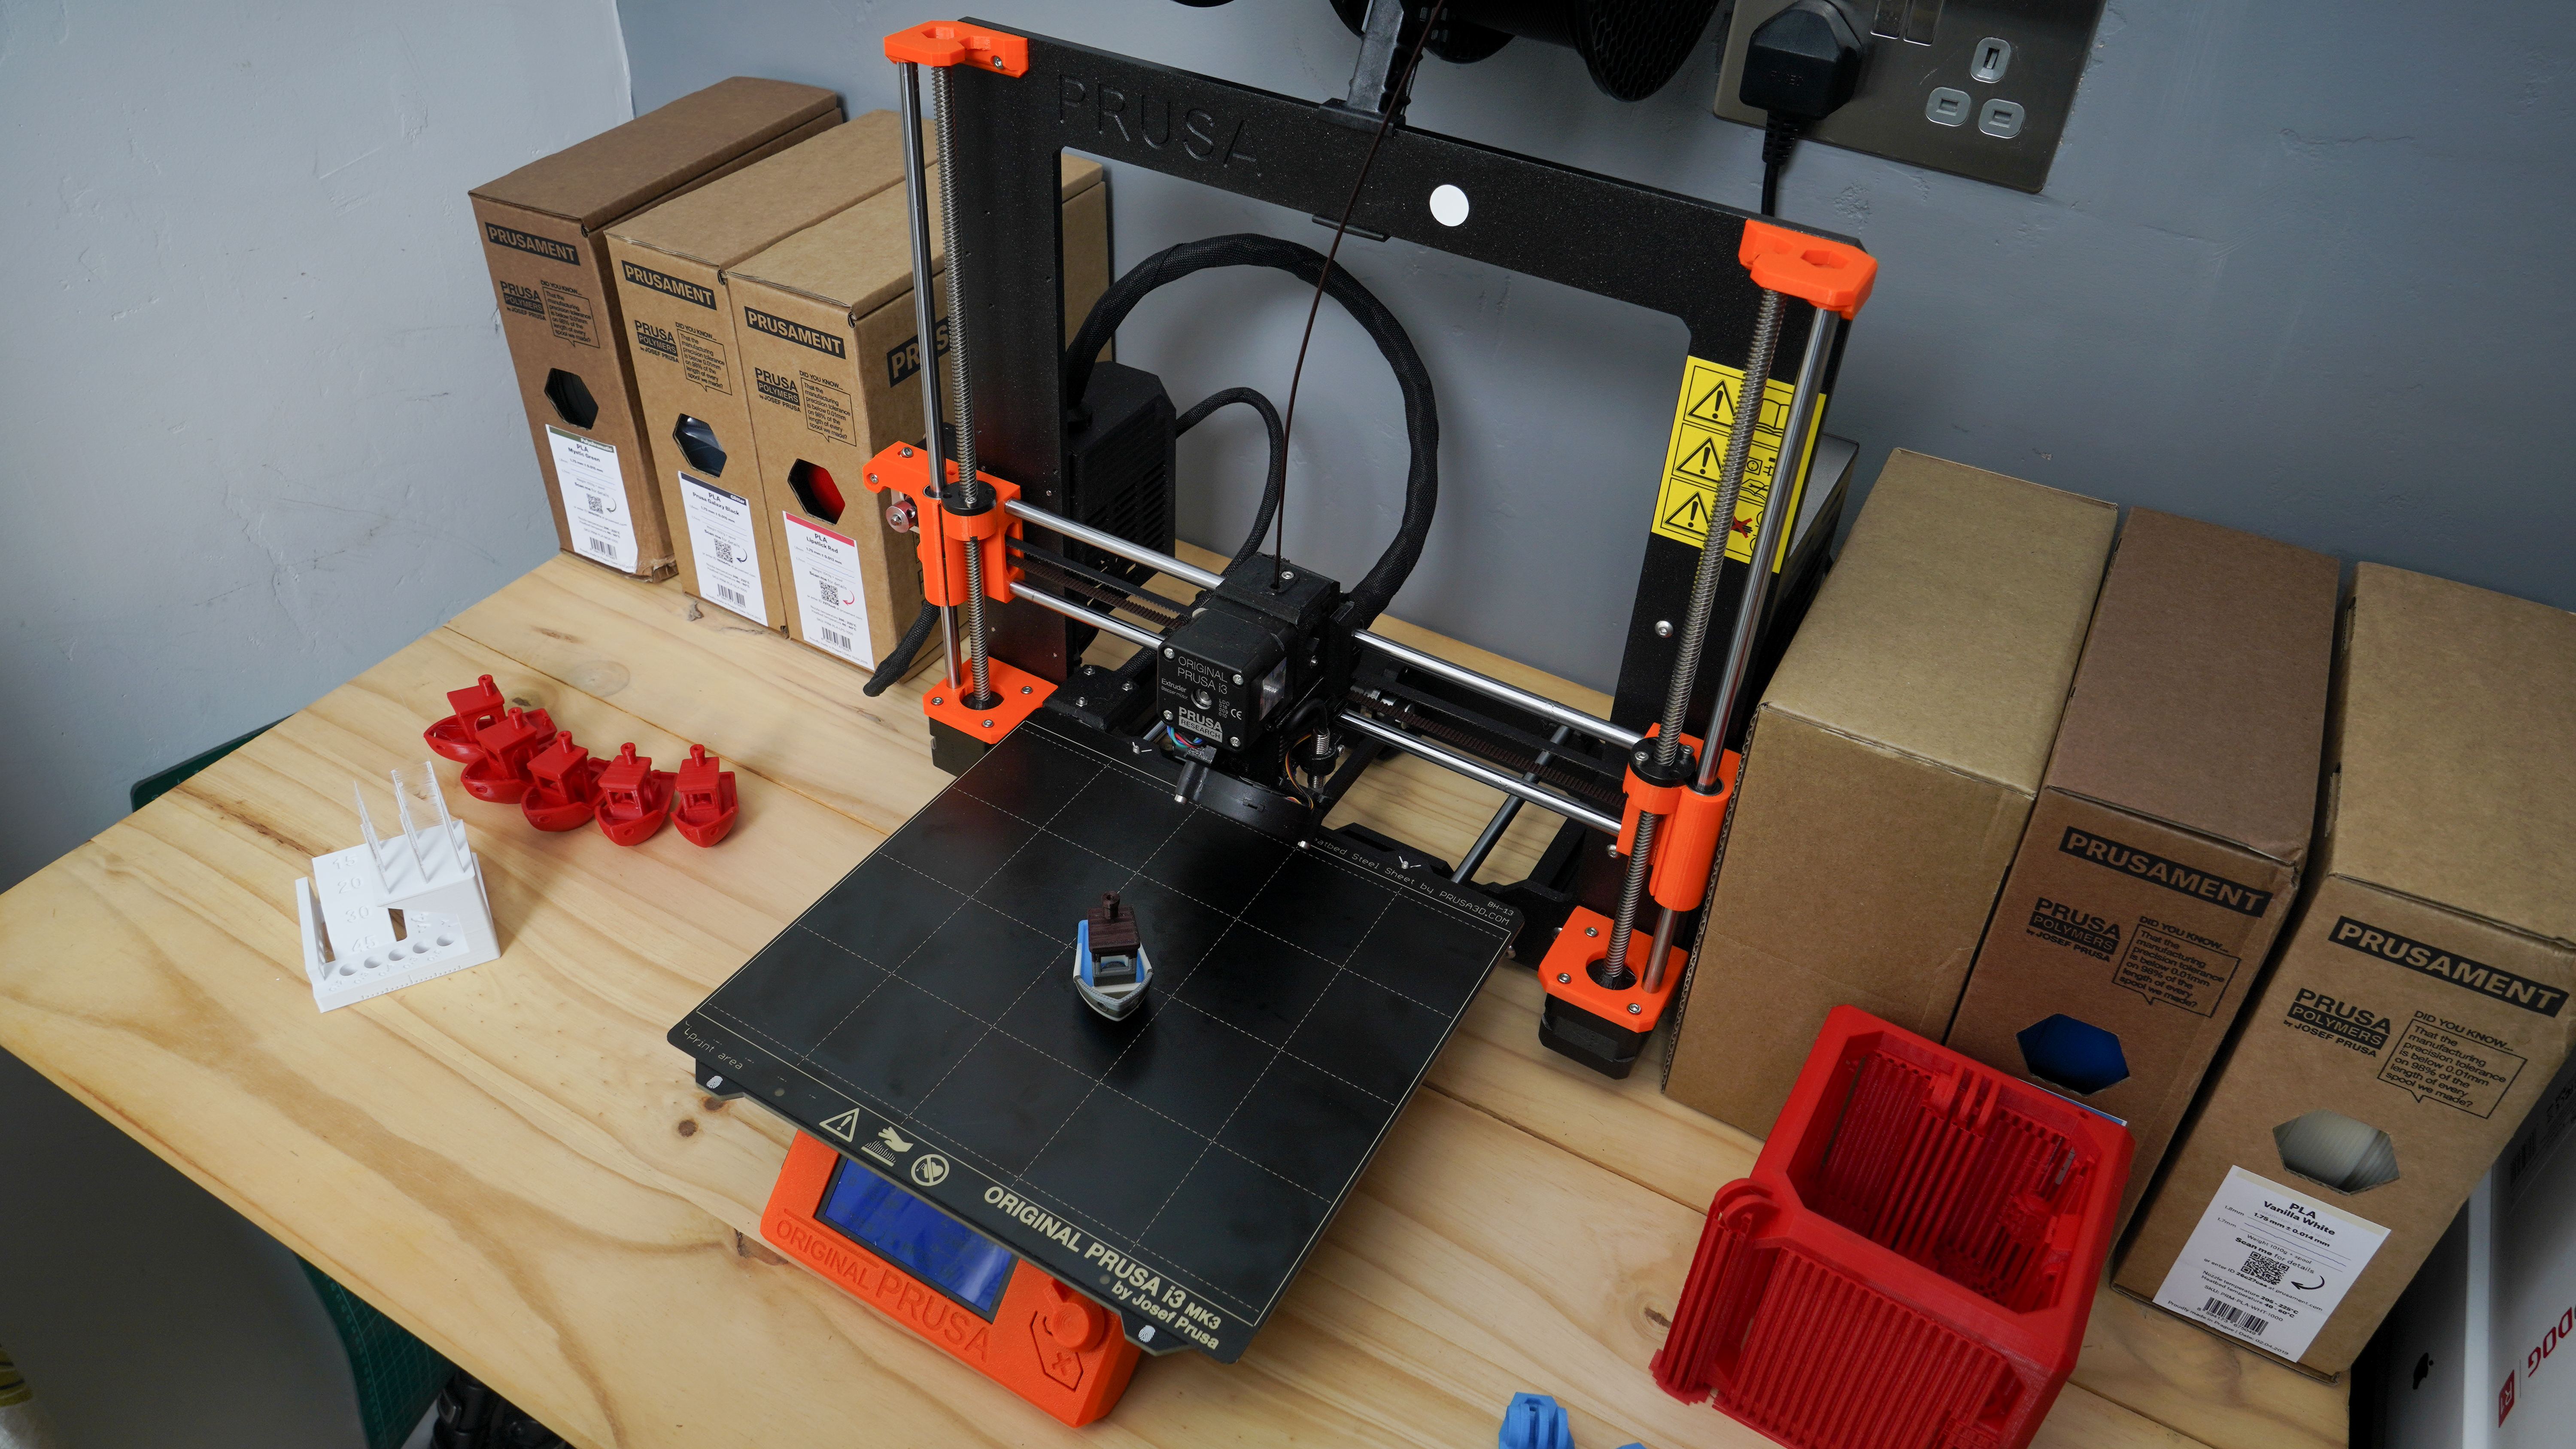
When it comes to changing the filament select eject using the small LCD with the control board, and the filament pops out, and another filament can be installed.
It's then just a case of running through a few flight checks, the handy paper manual that comes in the box outlines these in detail, and then you're ready for your first print.
Before loading my own models, I tested the printer using the 3DBenchy test model, along with a couple of others that came with pre-installed on the SD Card.
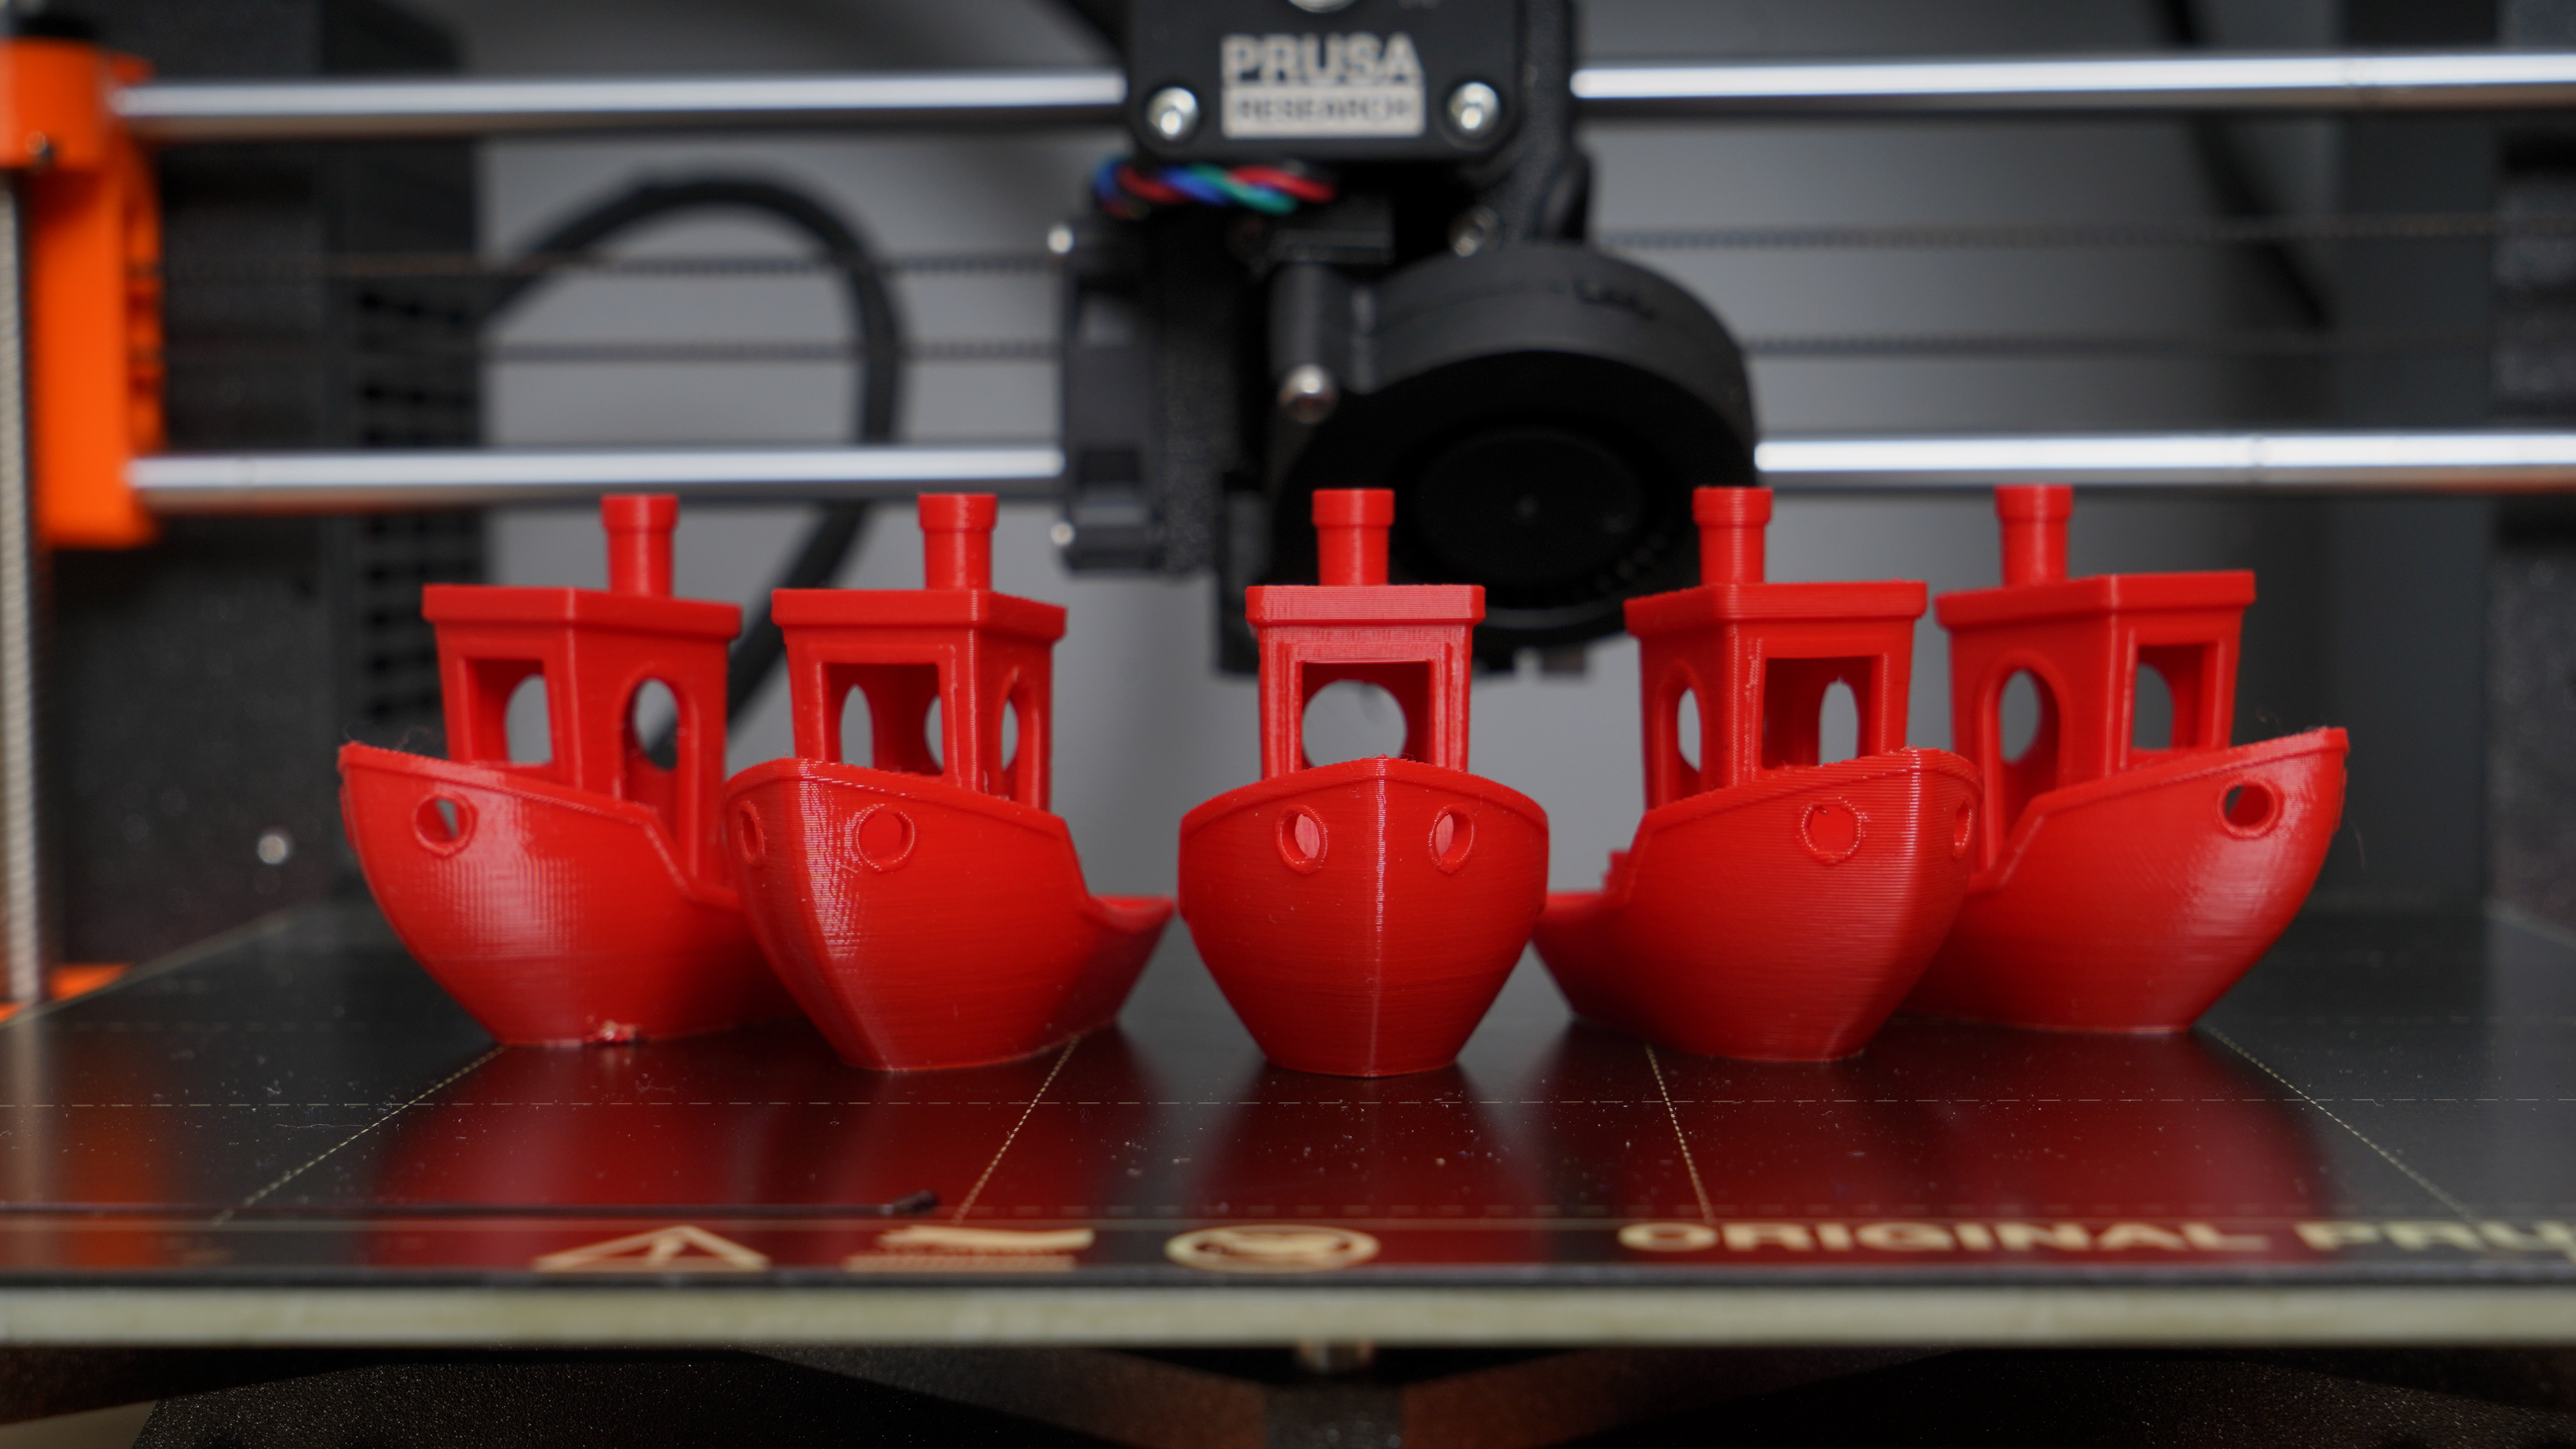
After a couple of hours and the prints had finished and no issues, miss prints or errors. The quality of the prints was also exceptional.
Having confirmed that the printer had arrived in one piece, was all working and nothing was out of place mechanically I checked for firmware updates. This test was conducted using firmware version 3.7.1.
I also loaded three different slicers with the i3 MK3S profiles: Simplify3D, Cura 4.0 and PrusaSlicer.
Setting up the Original Prusa i3 MK3S was easy enough on Simplify3D and Cura, and of course, PrusaSlicer which has been purpose-built for the machine.
PrusaSlicer is relatively straight forward with the application running through the printer selection and options at the outset. It's then just a case of loading your STL file ready for printing and selecting the quality options you want.
For an in-house piece of software, it's impressive with plenty of options, both for the settings and preview.
Navigation through the application is straight forward, and one feature that I like is the ability to flash the firmware directly from the application once connected through USB.
It also has a few convenient options, such as the Place on Face, which is a huge help when rotating the model into position, and Cut, which enables you to cut models in half. The parts can then be exported as plates, there is a little toing and froing, but it's handy.
In use, PrusaSlicer was solid, no glitches through the test and with support for STL, OBJ, AMF and 3MF it has excellent overall compatibility.
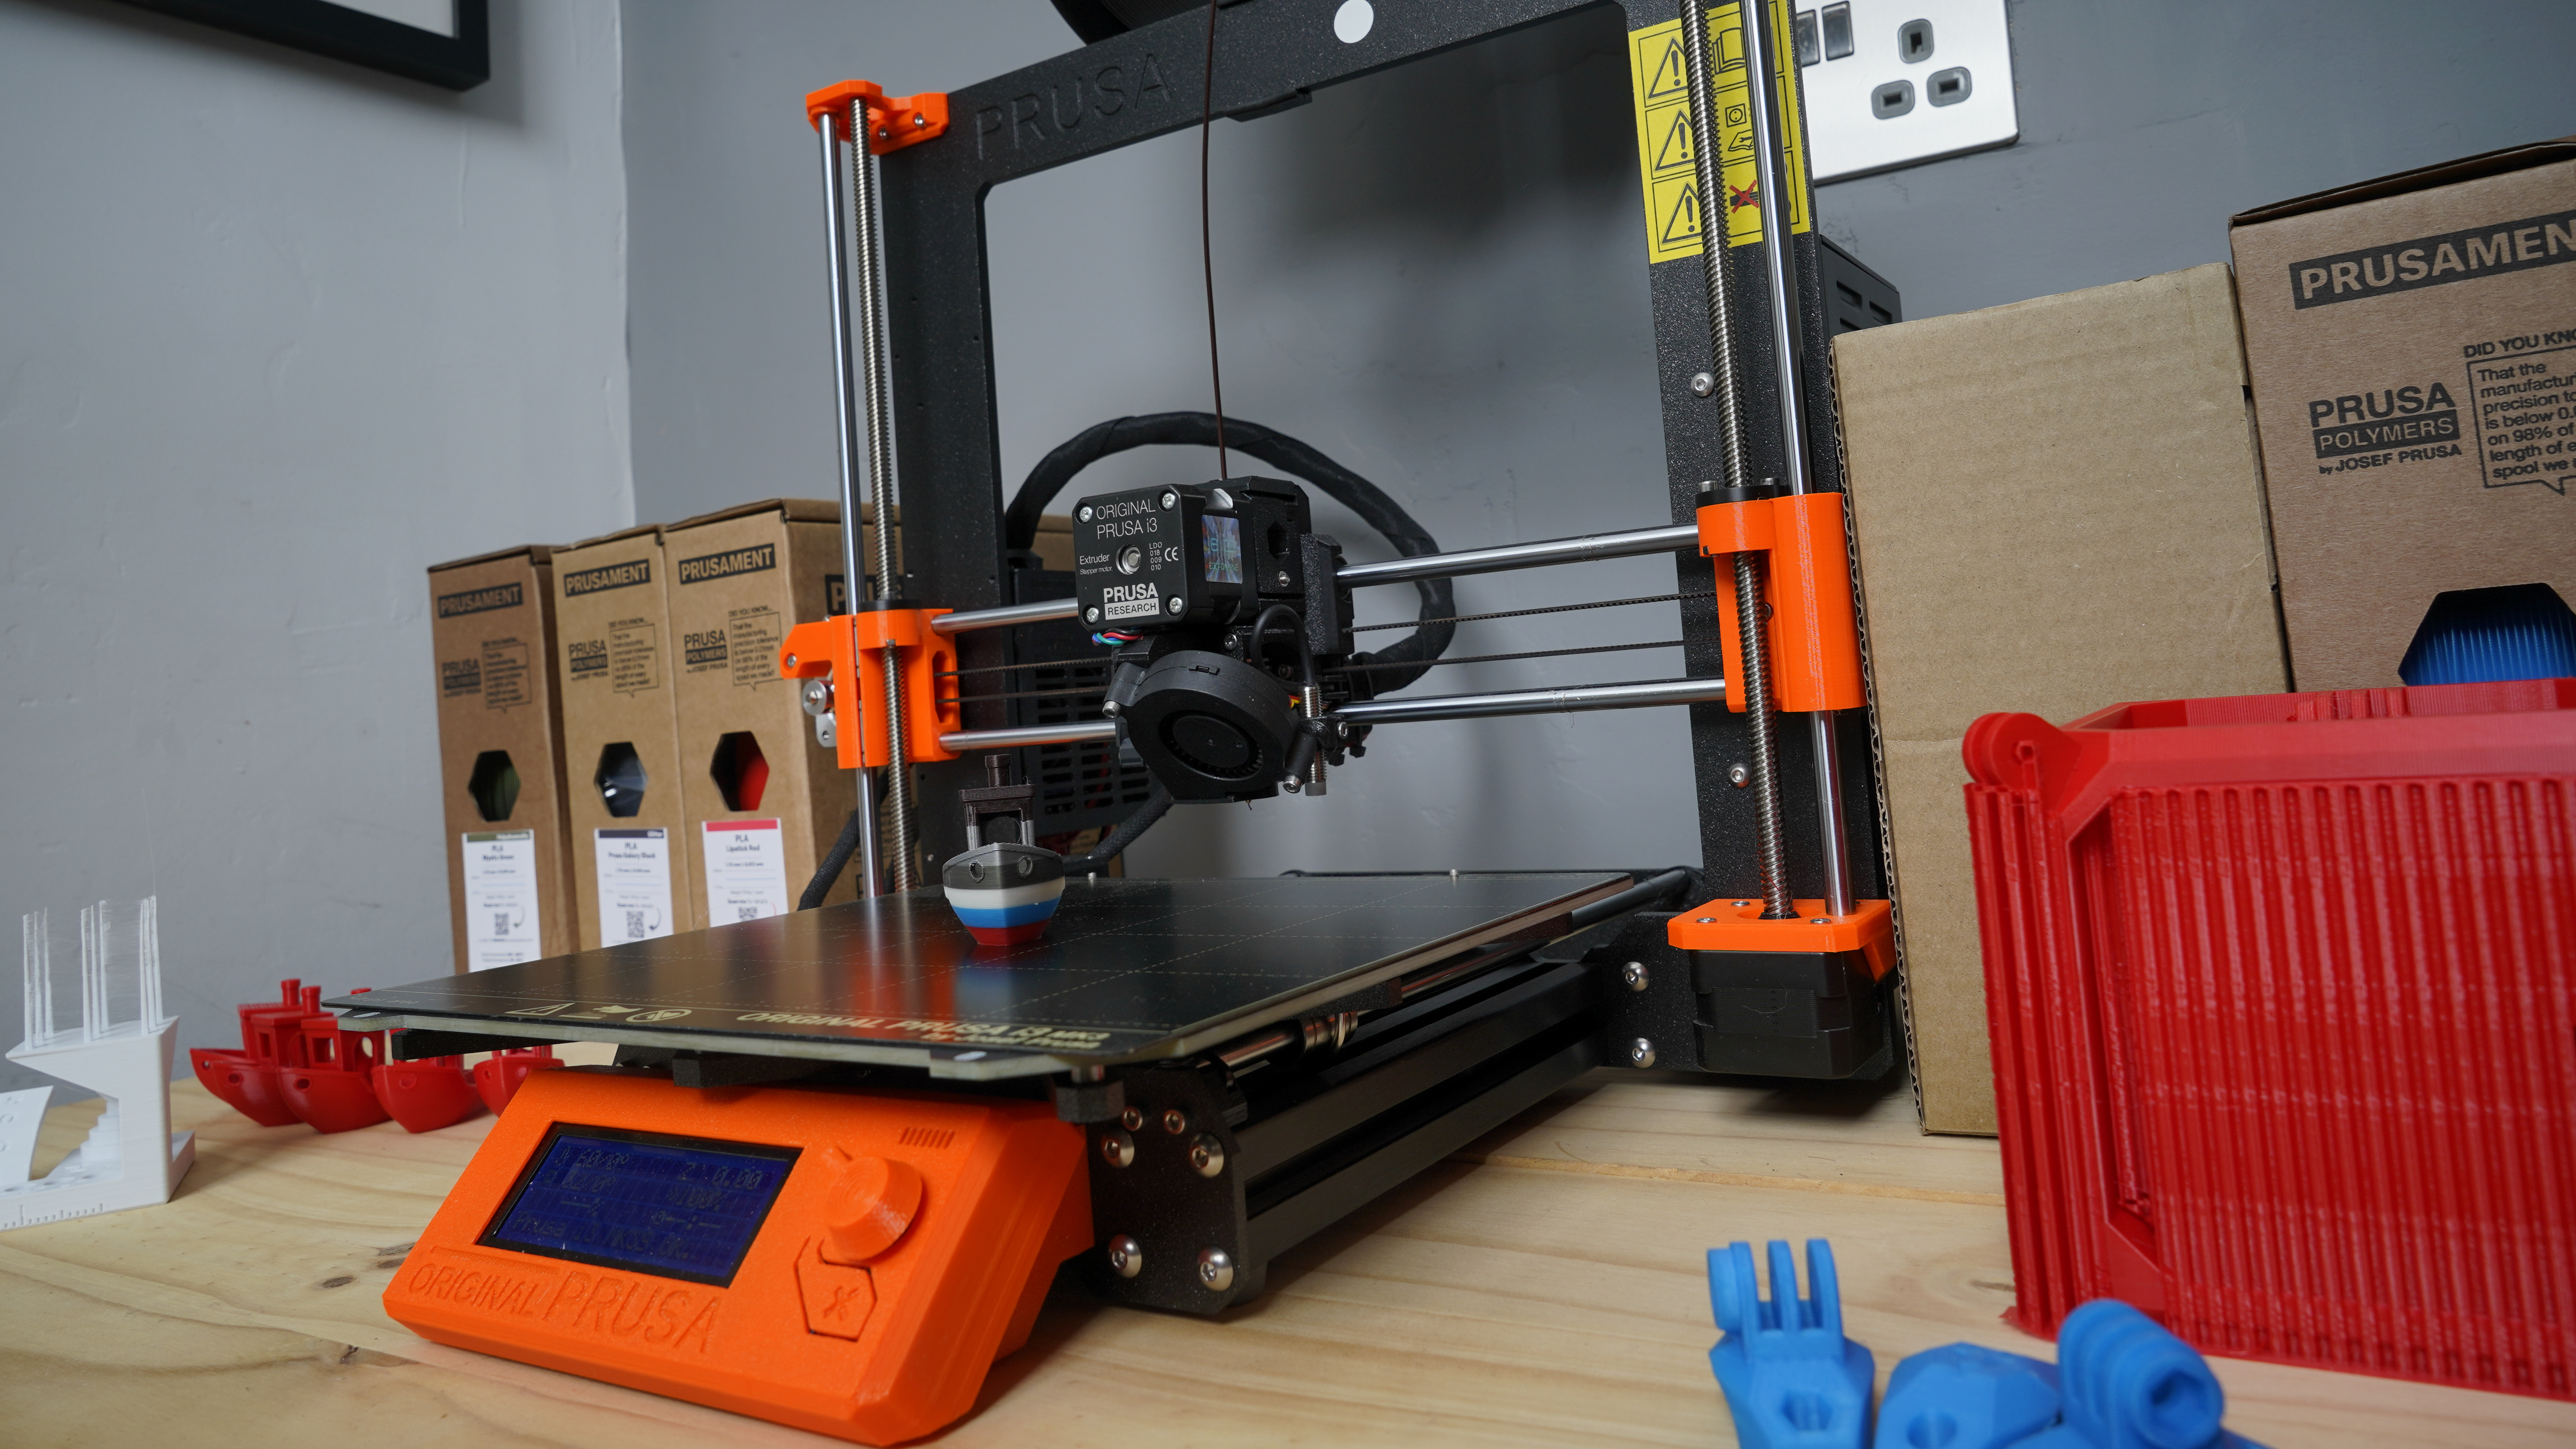
There is an STL fix option which is an excellent addition, for simple fixes it seemed to work well, but for larger more complex models it had few more issues.
Once you've adjusted the settings in PrusaSlicer, you can then export the G-Code out to SD card or print directly.
If you opt for the card route, then the SD card can be slotted into the side of the control panel on the front of the printer, and then the LCD user interface and control buttons enable you to select the print you want.
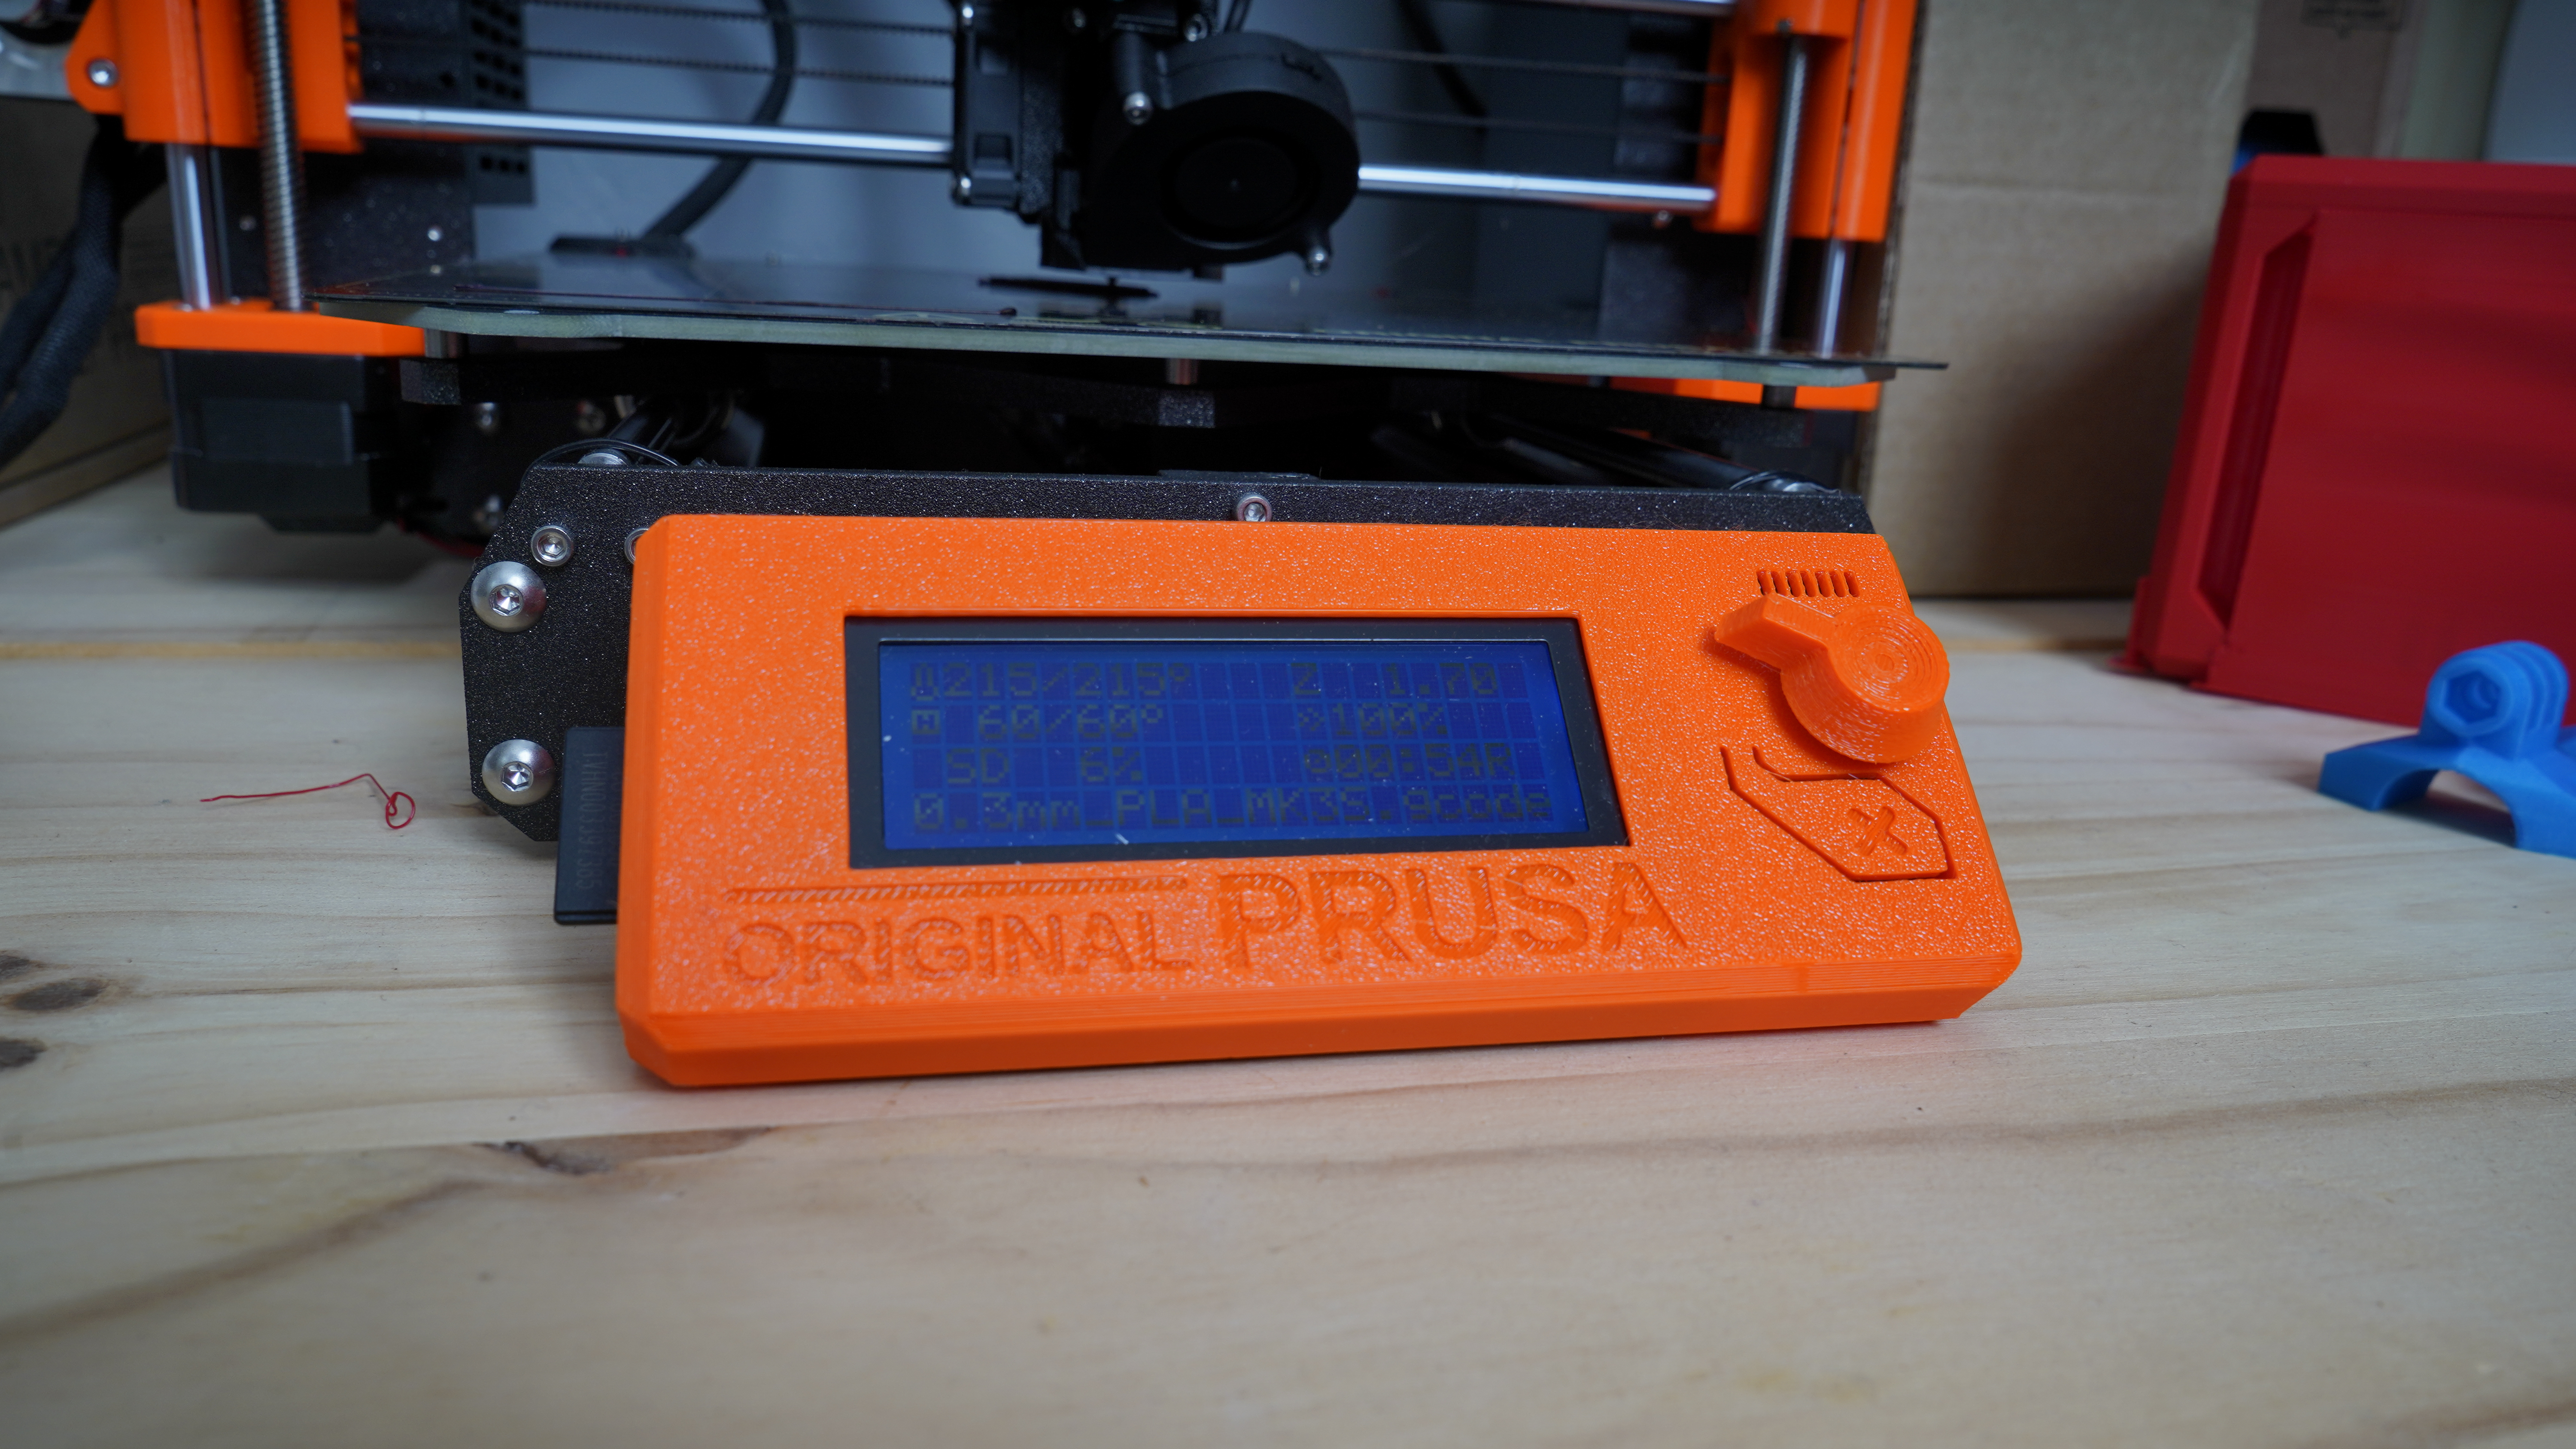
This interface and control board can also be used to abort prints if things go wrong, calibrate when needed, and there are plenty of other options and adjustments that you can delve into.
One notable feature that I started to use despite the slight slowdown in print speeds was the stealth mode. This can be switched on during a print, so if you have to work and the noise of the printer is becoming too much then you can quickly switch on Stealth mode as required.
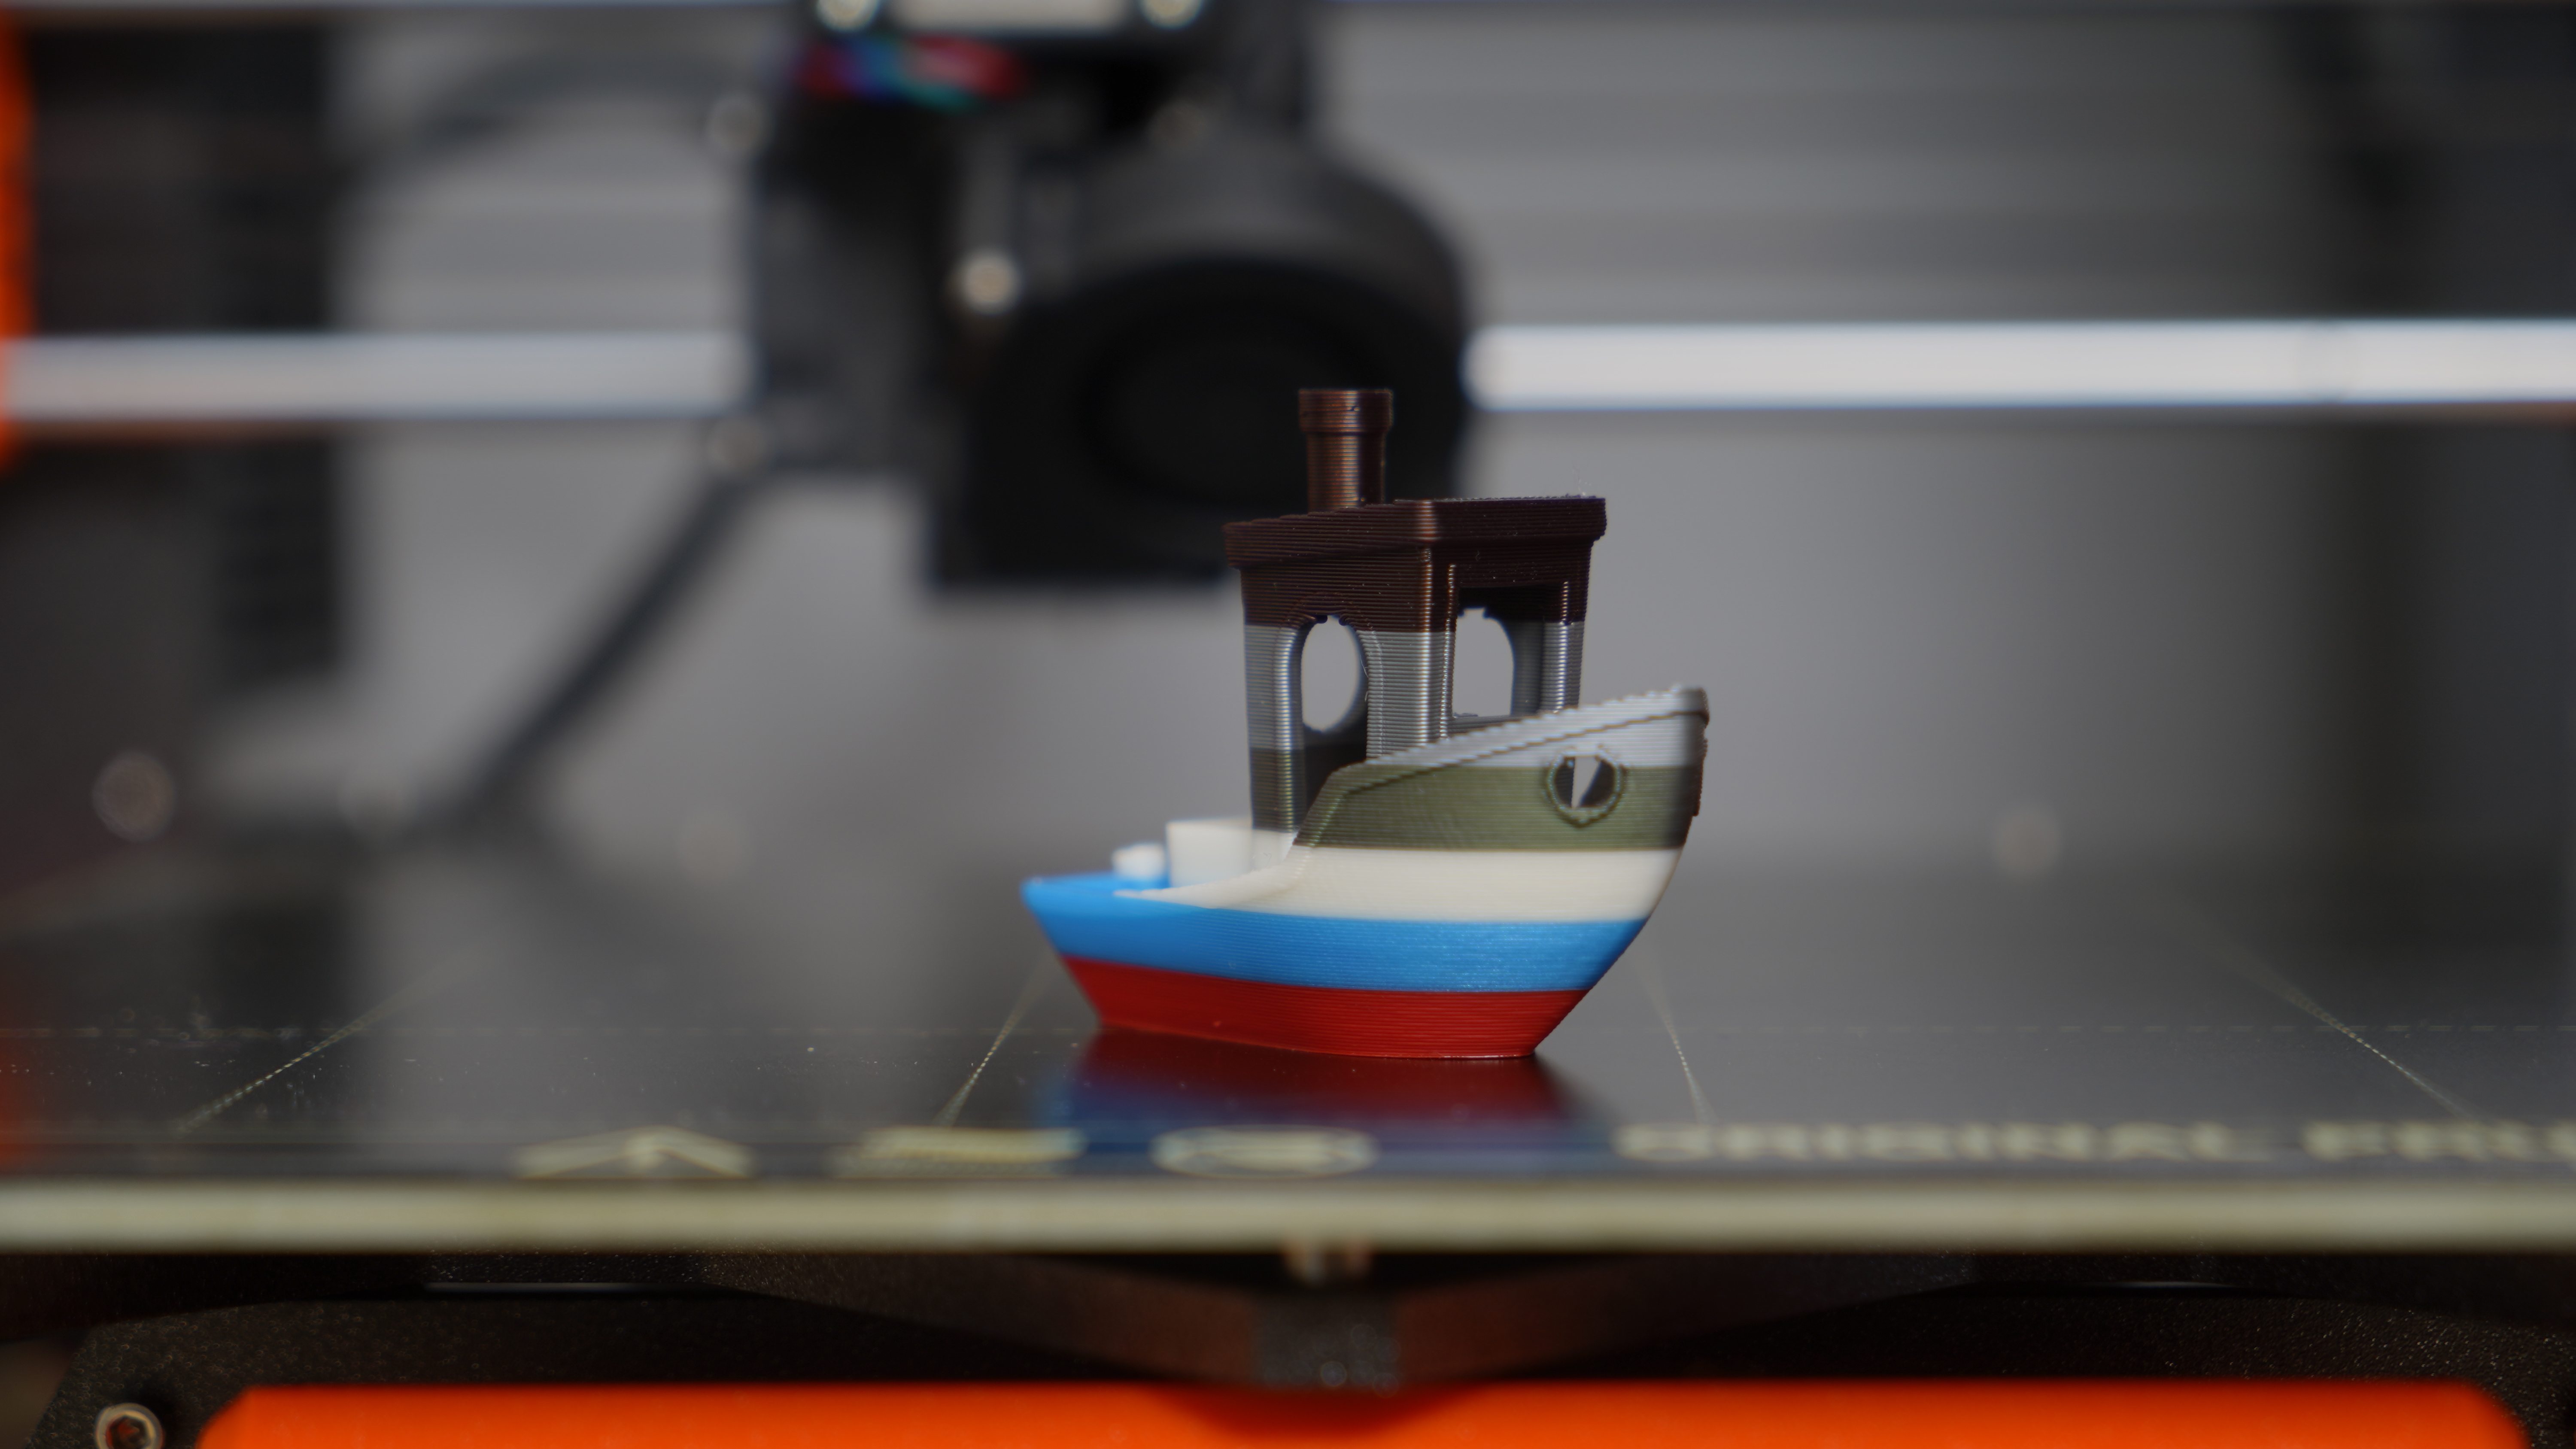
Another feature that has it's used and helped to save on filament is the easy ability to swap filaments during printing. Again just select the option from the menu to unload the old, install the new and the print continues with the new colour, it's all very smooth in use.
Ali Jennings is the imaging lab manager for Future Publishing's Photography portfolio. Using Imatest Master and DxO Analyser he produces the image quality tests for all new cameras and lenses review in TechRadar's cameras channel. Ali has been shooting digital since the early nineties and joined Future's Photography portfolio back in 2003.
