How to download, set up and install a VPN on Mac
VPNs are a very useful tool for Macs - here's how to get started

Apple Macs are generally regarded as more secure than Windows and Linux computers. But while this may be true to some extent, they’re certainly not immune from today’s growing cyber threats - hence why VPNs are becoming a popular solution.
If you browse the web, use internet-connected services, and store sensitive files on your Mac, there will always be security and privacy risks. Mac VPNs will provide a secure, end-to-end encrypted internet connection, allowing you to browse the web without the threat of third-parties monitoring your browsing history and compromising your personal data.
What's more, they also enable you to unblock location-restricted content, stay protected from bandwidth throttling, discover cheaper prices when shopping online, enhance the performance of streaming and gaming, and much more.
If you’ve never used a VPN before, you might struggle to choose, install, and set up one of these services on your Mac. That's where this step-by-step guide comes in...
1. Choose a VPN service
Before installing and setting up a VPN on your Mac, you firstly need to select a provider. This isn’t always the most straightforward task when you consider the huge variety of VPN apps that are available today.
The providers that star in our best VPNs for Mac countdown provide user-friendly macOS software, global servers, unlimited bandwidth and connections, a range of subscriptions, the ability to unblock top streaming platforms, a strict no-logging policy, end-to-end encryption, 24/7 customer support, and many other functionalities.
ExpressVPN is our favorite VPN for Mac
Whether on Windows, Android, iOS or - crucially to you - Apple Macs, ExpressVPN is the best VPN bar none. It's beautifully easy to use on Mac, with fast connections across its 3,000+ servers and 90+ countries. It's also great for unblocking streaming services - plus, you can try it out for 30 days risk-free with its no quibble money back guarantee.
2. Sign up for a subscription
After doing your research and selecting a provider that works for you, the next step will be to sign up for a subscription.
Get daily insight, inspiration and deals in your inbox
Sign up for breaking news, reviews, opinion, top tech deals, and more.
To do this, go to the provider’s official website and look for its sign-up page. This should be in the main navigation bar, at the top of the website.
Generally, the majority of top VPN services provide monthly and annual subscriptions. While monthly plans are more flexible and can usually be cancelled at any time, annual subscriptions work out cheaper monthly but will require a larger up-front fee. Whatever the case, you should find a plan that matches your needs and budget.
3. Download the Mac app
Once you’ve chosen a provider and signed up for a subscription, you can now download its Mac app. It should be available to download in the App Store or from the provider’s website, most likely under an apps page.
The majority of providers - including ExpressVPN as shown below - will send new subscribers a welcome email that explains how to set up their app on Mac. In the welcome email from ExpressVPN, you need to click the red “Set Up ExpressVPN” button, sign in to your account, and press “Download for Mac”. You’ll also be provided with an activation code that you'll need to use later.
Note, the remainder of our step-by-step guide will use ExpressVPN as the case study. But the steps will be virtually identical no matter which VPN you choose.

4. Install the Mac app
When you click the download button, the VPN software will be downloaded onto your Mac. To install the app on your Mac, you’ll need to find the download file in Finder and click on it.
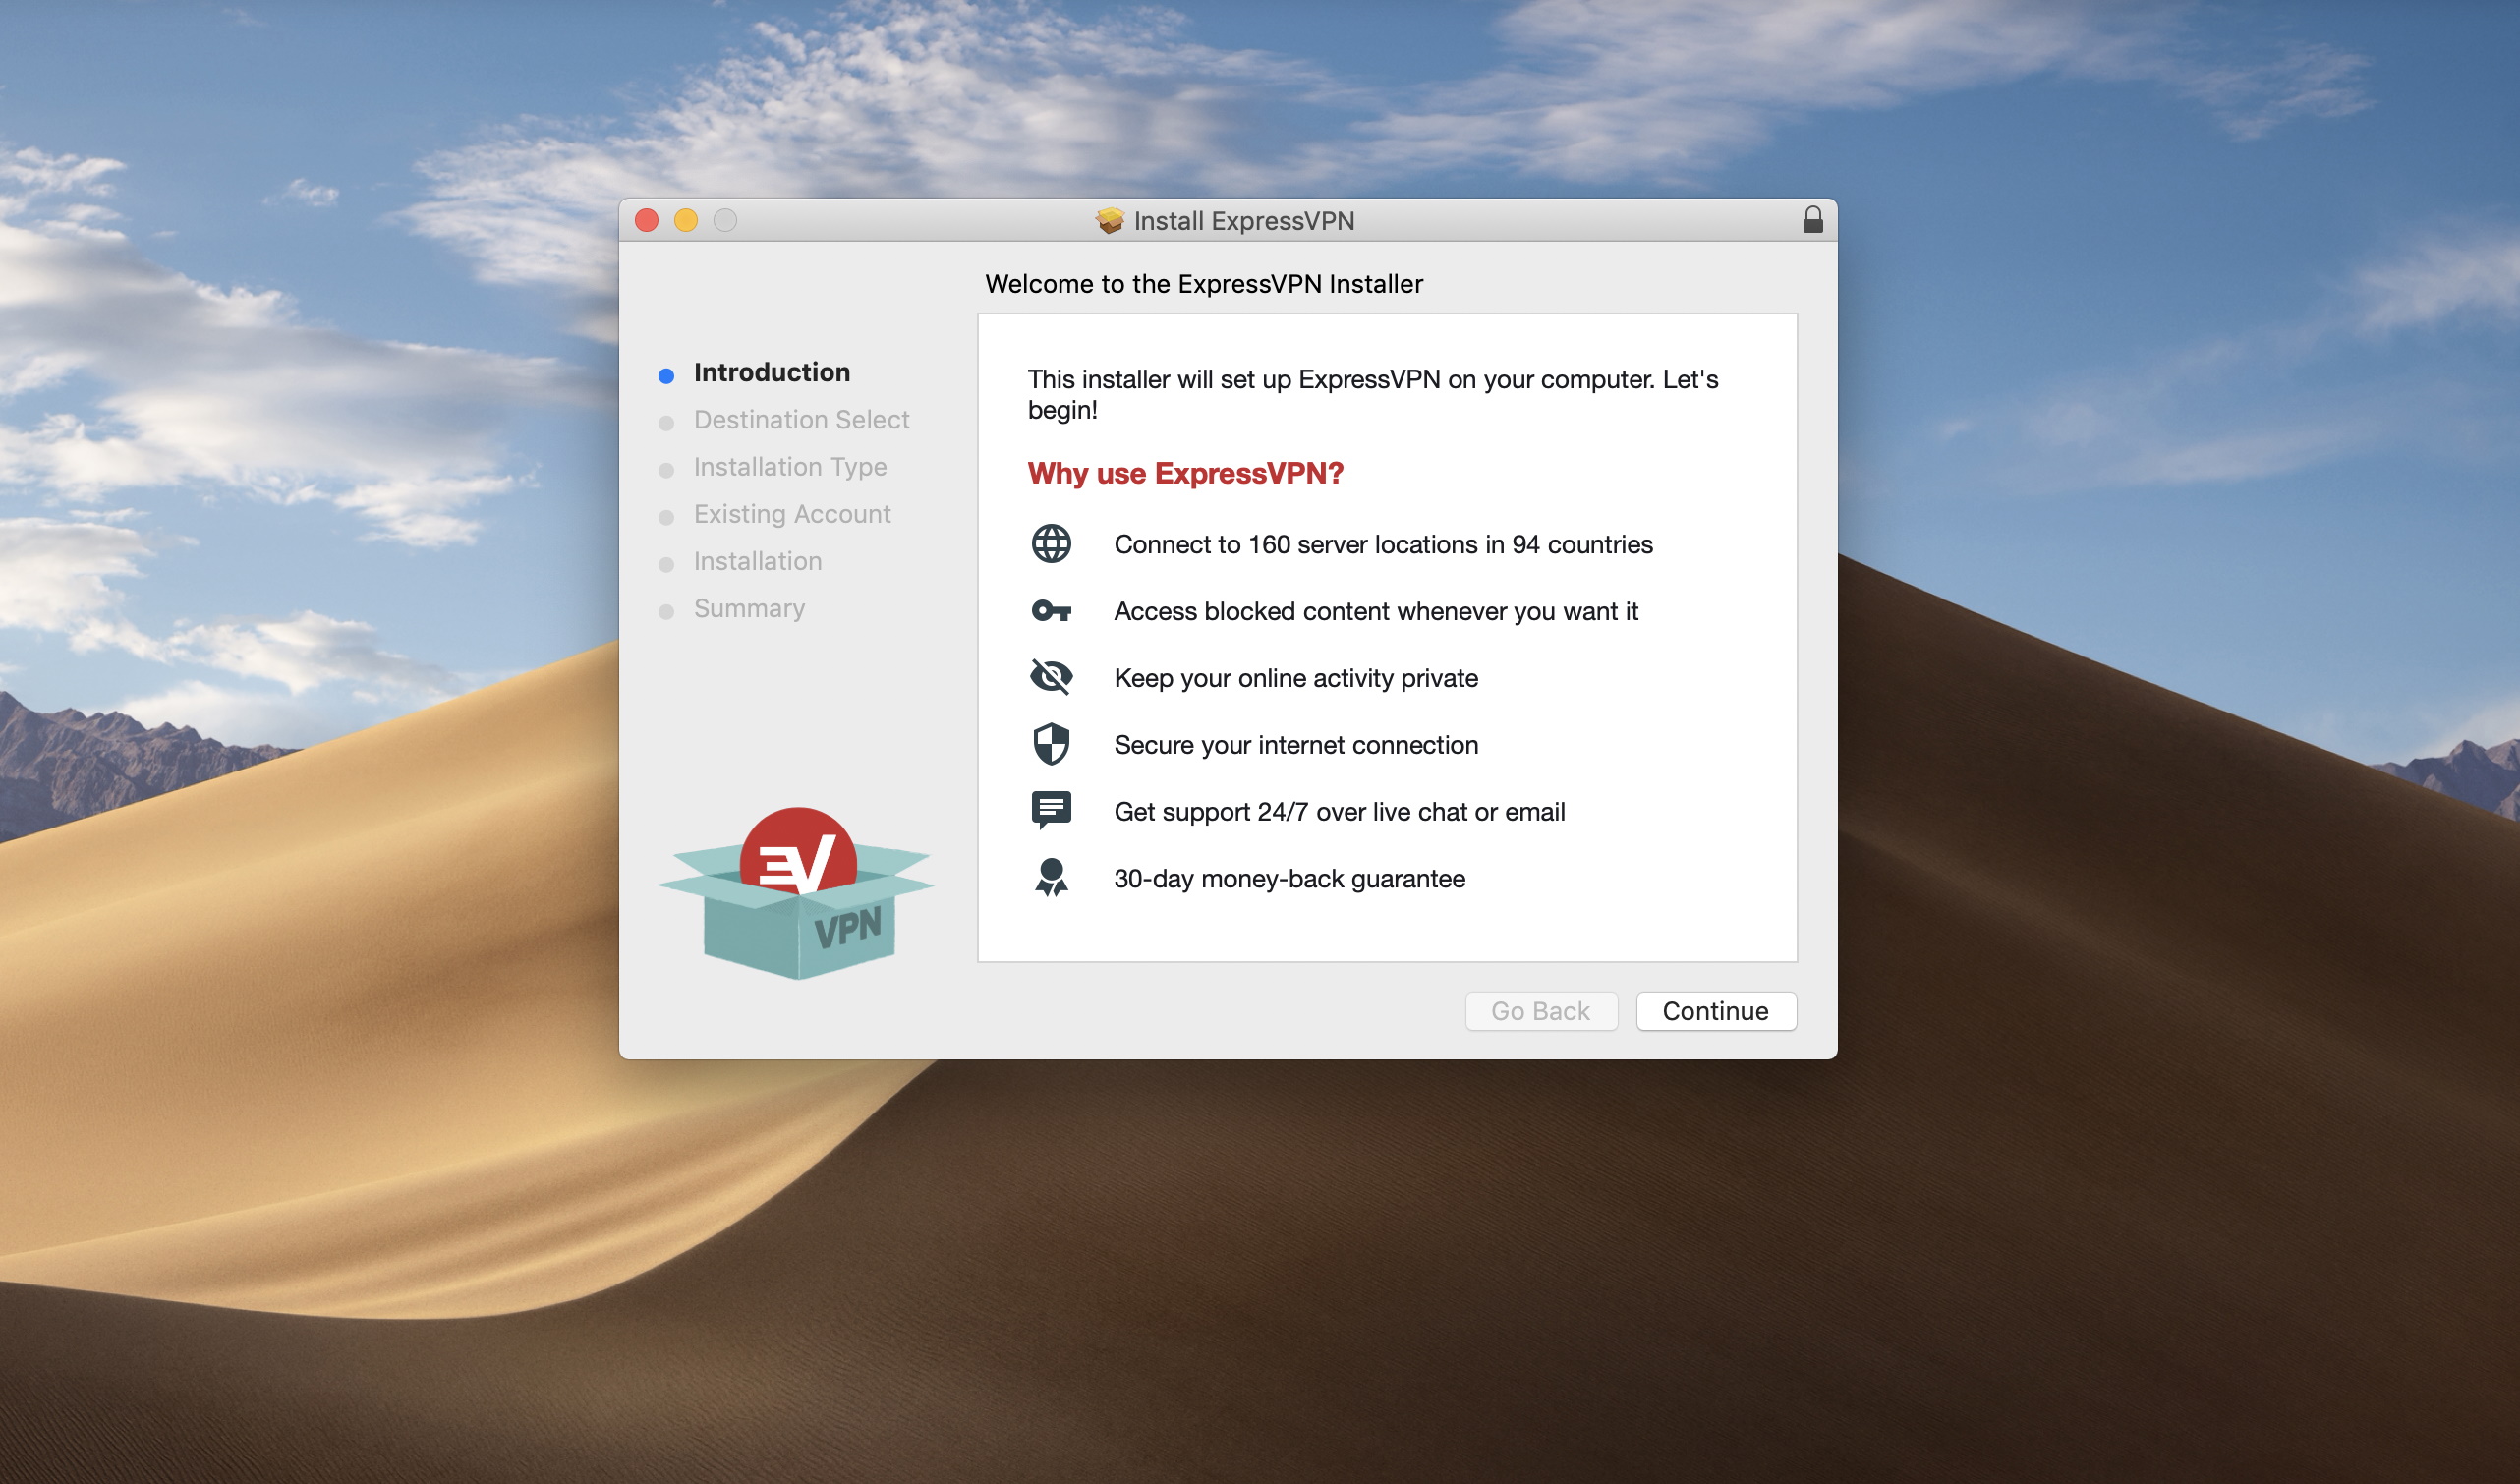
After clicking on the downloaded file, you’ll then see an installation window that consists of pages called “Introduction”, “Destination Select”, “Installation Type”, “Existing Account”, “Installation”, and “summary”.
All you need to do is follow the easy-to-understand instructions until you see a page that says the “installation was successful” and “the software was installed”. At this point, the VPN will now be installed on your Mac.
5. Set up the Mac app
As soon as the VPN has been installed on your Mac, it should launch on its own. And you’ll then need to go through a short set-up process.
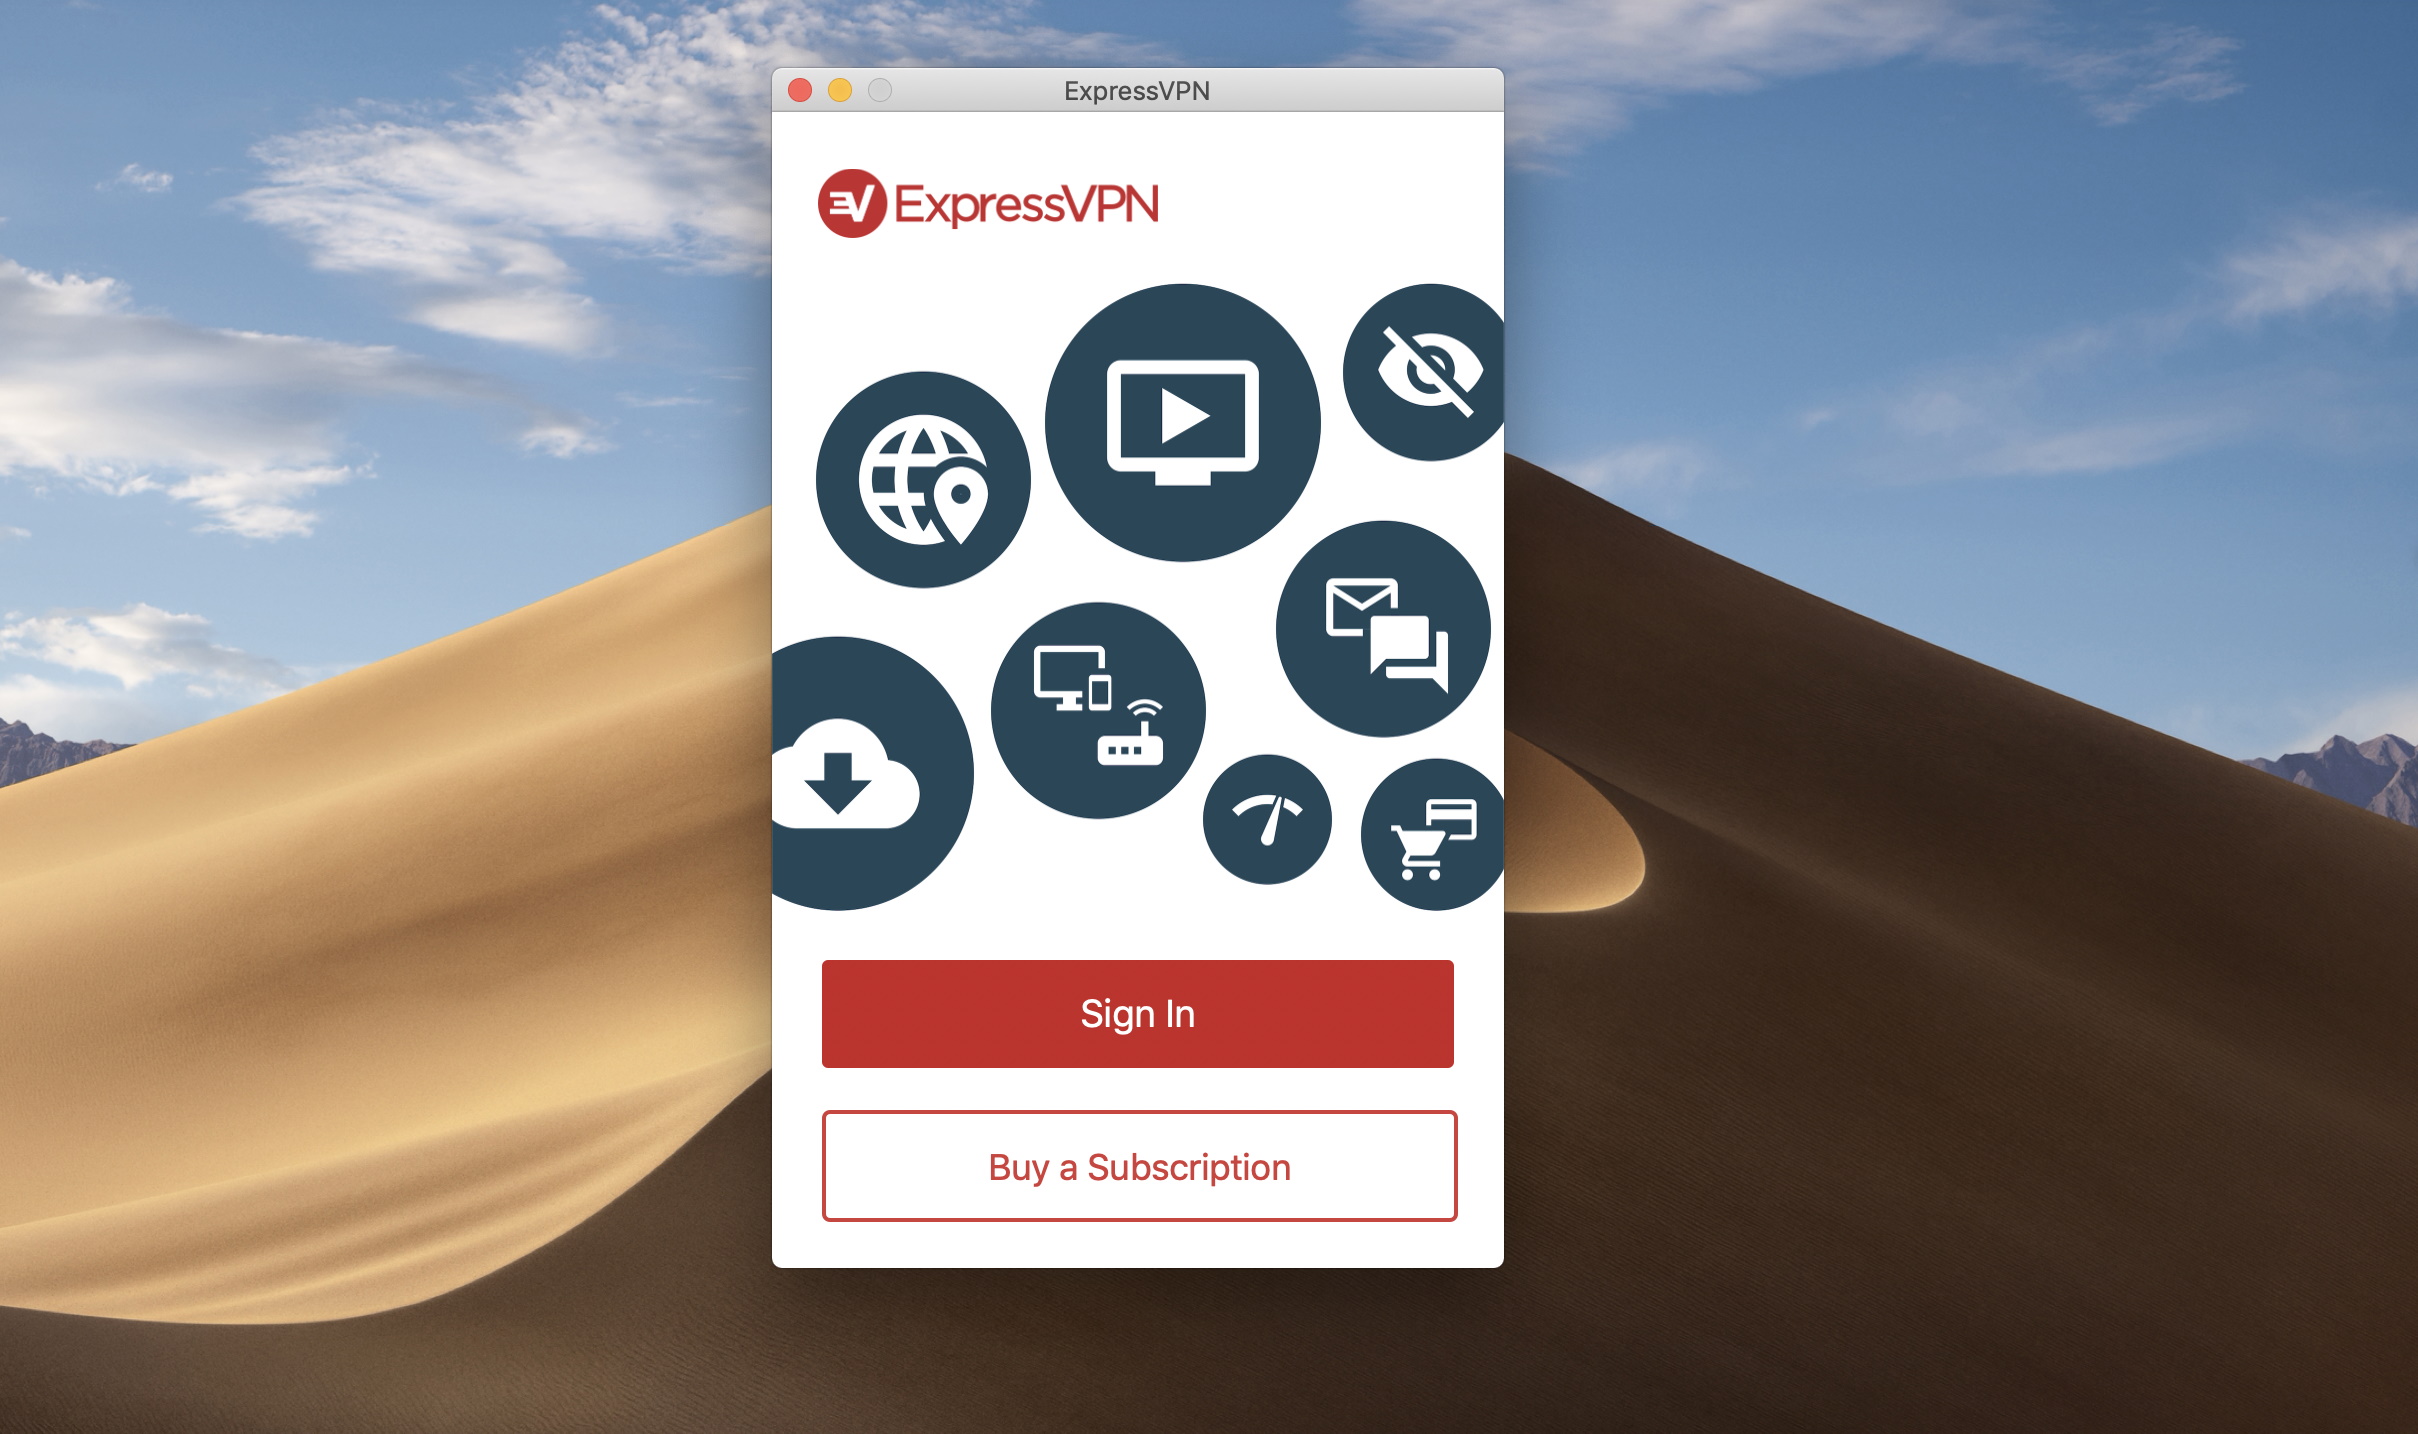
The first thing you need to do in this process is to log into your account using the email and password combination you chose when you signed up in the second step.
Once you’ve logged in, you’ll be asked to provide your activation code. You will have received this in your welcome email. Just paste it into the text box, and click the “sign in” button.
ExpressVPN may ask you to add VPN configurations to your Mac, and all you need to do is press “allow” to move on to the next step.
ExpressVPN will then ask if you’re happy for it to “launch on startup”. If you’re fine with this, press the “OK” button.
Finally, ExpressVPN will ask for your permission to help improve its service by sharing diagnostic information. You can either accept or decline this request. But either way, all diagnostics you share with ExpressVPN will be anonymous.

6. Connect to a server
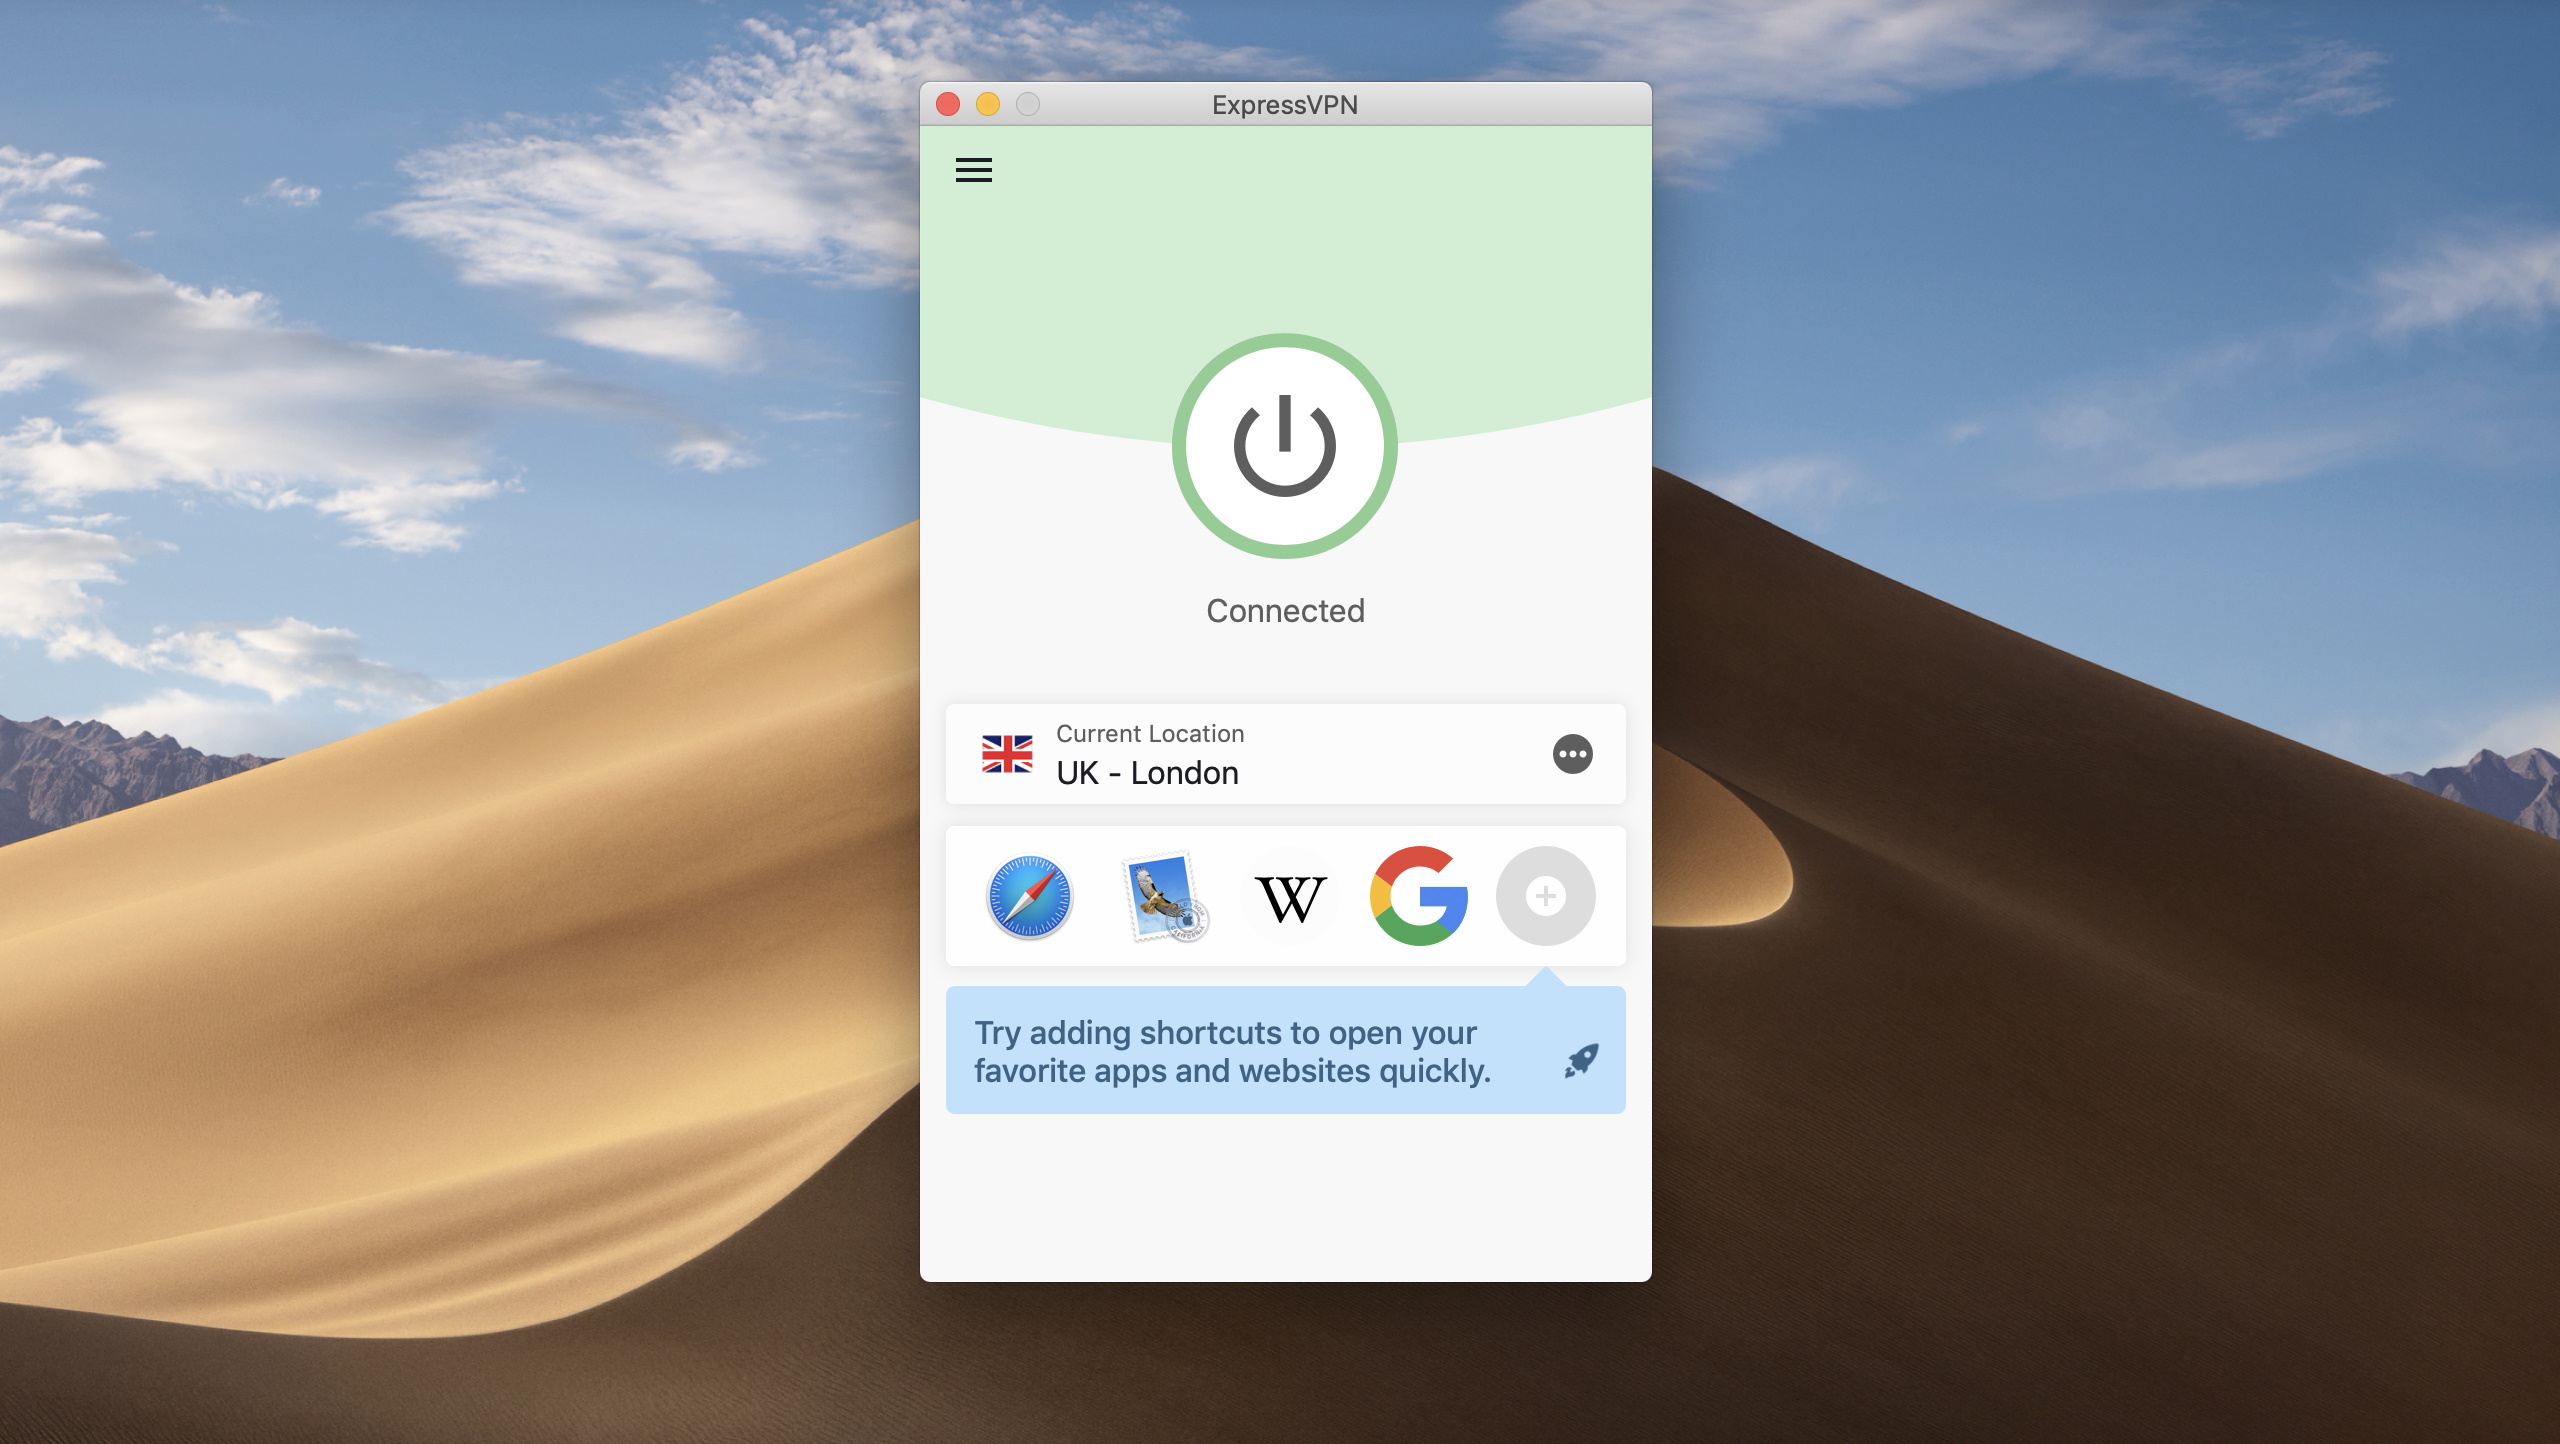
Following the successful completion of these steps, the VPN will be up and running on your Mac. To connect to the best available VPN server, press the circular power button.
You’ll know that the VPN is working because it’ll say “connected”, and you can turn it off by clicking the power button, which will then say “disconnected”. Below is an image of how that looks on ExpressVPN.
If you’d like to connect to a server in a different country or city globally, click the location box. You’ll be able to search for a location or scroll through a list of other servers. Either way, your VPN is now working.

Why should I get a VPN for my Mac?
When you browse the web and use internet apps, there’s always a risk that third-parties could be snooping on your web activities or that cybercriminals could steal your personal data.
But a VPN enables anonymous web browsing, protects your data with end-to-end encryption, and adds an additional layer of cybersecurity protection to your Mac. With one of these services, you won’t need to worry about growing cyber threats.
Along with VPNs' security and privacy benefits, they also provide users with the ability to get around geo-restrictions imposed on websites and online content. This means you can unblock your favorite websites and streaming platforms. Check out our guides to the best streaming VPNs and torrenting VPNs to make the most out of those VPN-friendly online activities.
In terms of other benefits, a good VPN will allow you to circumvent bandwidth throttling, look around the web for the best deals, ensure gameplay is never affected by DDoS attacks, and lots more. As you can tell there are plenty of handy VPN uses on your Mac.

Nicholas Fearn is a freelance technology journalist and copywriter from the Welsh valleys. His work has appeared in publications such as the FT, the Independent, the Daily Telegraph, The Next Web, T3, Android Central, Computer Weekly, and many others. He also happens to be a diehard Mariah Carey fan!
